You are here: Home >> Polymer Clay Surface Effect Tutorials > Alcohol Ink Skinner Blend Mica Shift
Alcohol Ink Tinted Skinner Blend Mica Shift Tutorial
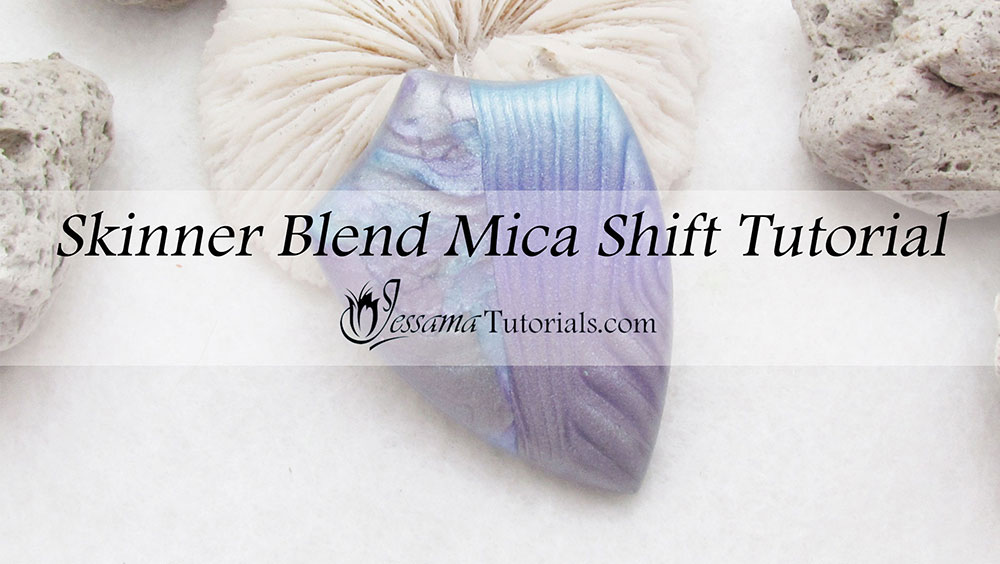
In this tutorial I'll show you how to create a beautiful Skinner Blend Mica Shift and a Mica Smash using alcohol ink tinted polymer clay.
Tinting your metallic clays with alcohol inks opens up a huge range of vibrant color options for your mica shifts, without reducing the mica content of the clay. It's a simple technique that can be used to add your own favorite color combinations to any project.
You will need the following supplies:
- Pearl white and silver Premo polymer clay
- Alcohol ink (I’m using Adirondack Sailboat Blue and Amethyst)
- A large square cutter
- A texture (I’m using a Square Rhythms Kor roller)
- A tissue blade
- A pasta machine
- An acrylic roller
- A cutter (I'm using the Boho Shield from Createalong.com)
- Wet/dry sandpaper / polishing papers
- An oven
- Renaissance wax
How to Do An Alcohol Ink Tinted Skinner Blend Mica Shift Step by Step
- To start with you’ll need to tint your clay. Roll out two sheets of Premo Pearl White polymer clay on the thickest setting of your pasta machine.
- Spread one of each of your alcohol ink colors over each sheet and allow to dry for about ten minutes. I'm using Adirondack Amethyst and Sailboat Blue.
- Once dry, knead the ink into the clay to give a beautiful tinted color.
- Roll out a sheet of Silver Premo on the thickest setting of your pasta machine.
- Using a large square cutter, cut a square from each of your sheets. You should have two colors and one silver.
- Fold each square in half.
-
Line the three resulting triangles up, and create a three part Skinner blend.
See my three part Skinner Blend tutorial for detailed instructions.
- Trim the edges of your Skinner blend.
- Use your chosen texture sheet, or in my case, Kor roller to texture your Skinner blend.
-
Use a flexible tissue blade to shave off the raised areas of your sheet to make a mica shift.
See my Mica Shift tutorial for detailed instructions.
- Gently roll in all directions with your acrylic roller to flatten your sheet.
- Arrange your shavings in a pile and gently squish them together.
- Roll flat with your acrylic roller to create a mica smash.
Suggested links
- All about Mica Clay
- Large Square Cutters
- How to Make a Three Part Skinner Blend
- How to Make a Mica Shift
- Buy Kor Rollers at Linda's Artspot
- Mica Frills Tutorial
- Mica Smash Tutorial
- Buy Boho Shield Cutter at Createalong.com
If I have missed something, or you still have questions, please leave a comment below.
You can like my Facebook page or join the Jessama Tutorials Polymer Clay Community on Facebook to stay up to date with more polymer clay tutorials like this one as they are released.
You may also like:
You are here: Home >> Polymer Clay Surface Effect Tutorials > Alcohol Ink Skinner Blend Mica Shift


Please leave your comments below: