How To Make A Polymer Clay Mica Shift
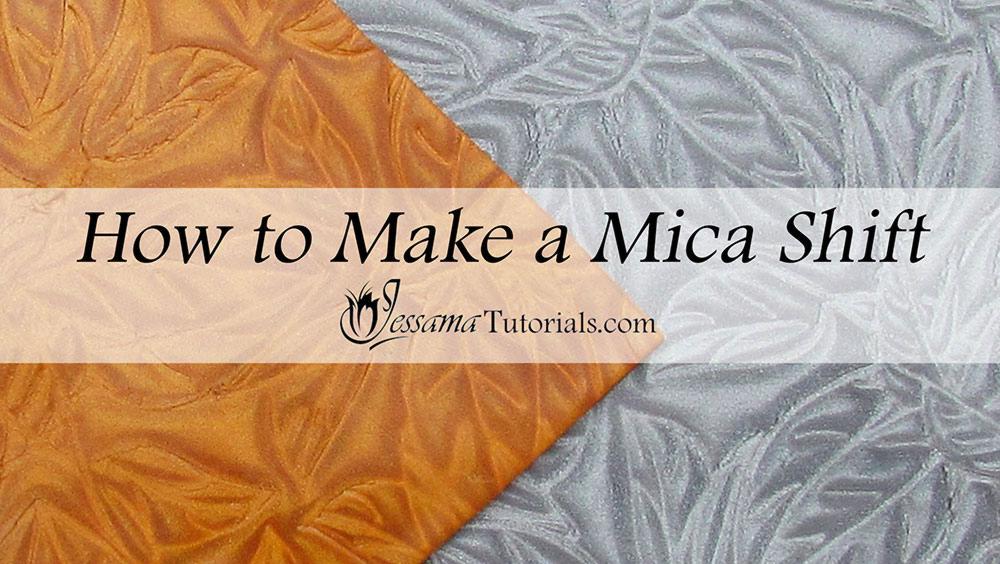
Get the best possible Mica Shift with the tips and tricks I share in this tutorial. With a bit of practice your mica shift problems will be a thing of the past.
In this polymer clay tutorial I’ll be showing you all
the tips and tricks I know to help you conquer the mica shift technique. There are lots of little things you need to
look out for, from ensuring that your clay is properly conditioned, to holding your blade correctly. These little things can really make a difference to the quality of the shadow effect you end up with.
Learning this technique can be frustrating at first, but practice makes perfect. Don’t expect to get
it perfect first time. You’ll need to try a few times before you start to see
results. But once you’ve got it under your belt there’s no telling
where this technique will take you. It's such a wonderful, beautiful way to work with polymer clay.
You will need the following supplies:
- Metallic polymer clay
- Translucent polymer clay
- A tissue blade
- An acrylic roller
- A texture sheet
- A pasta machine
- A spray bottle
- An old rag
Mica clay contains mica particles. These are tiny disks and they are what gives the clay the ability to retain an imprinted pattern even when flattened. The flat side of the disk is a lighter version of the color while the edge is the darker version. This is why when you first cut a piece out of a block of mica clay the color isn't uniform. The disks will all be lying in different positions, hence the marbled look.
If you want to learn more about mica clays please look at my article: Mica Clay Unwrapped.
Steps To Making a Polymer Clay Mica Shift
- Before starting you need to condition your clay properly. Then you need to get your clay to one solid color. You can do this by running your chosen mica clay through the pasta machine over and over again. You can fold it in any direction you want. You just want to flatten out the mica particles in the clay.
- Don’t worry if some of the edges are still marbled. This is unavoidable. Just trim them off.
- Now that you’ve got a sheet of solid color, you need to choose a texture stamp. The stamps with the deep imprints work best.
- Take a spray bottle filled with water, and spray the surface of your stamp. Place your mica clay over the top of the stamp and spray the surface of the clay. This will prevent it from sticking to your fingers or roller.
- Working from one end of the stamp to the other, press the clay into the stamp with your fingers. It's important to work from one end of the stamp to the other to push out air bubbles and water. (I press the clay into the stamp with my fingers before using a roller to make sure that I get a good imprint. You can just use your roller, but there is a risk of the clay lifting as you roll. The professionals make it look easy, but it actually takes a lot of practice to get a good imprint like this every time.)
- Once you’re happy that the clay is completely pushed into the stamp, you can take a roller and make one quick pass. If you feel your clay lift up out of the stamp, don’t roll again. You’ll end up wrecking your imprint.
- Dry your work surface and both sides of the clay. If you leave any water, it will cause the clay to slide around and stick to your blade, making the next step impossible.
- When your clay and work surface are dry, gently press the clay down onto the work surface. You want to press hard enough that the clay will stick to it, but not so hard that you lose the pattern.
- Take your tissue blade (I like the flexible one) and hold it as close to the middle as possible. Keep your hands resting on your work surface, as you slowly shave away the raised areas of the pattern. Go slow with this. You don’t want to gouge your clay.
- When all the raised areas have been removed, flatten out your clay with a roller or pasta machine. I prefer a roller as I have more control over what I’m doing and there is less distortion.
TIP: To create a stronger effect you can mix 1 part translucent to 1 part mica clay.
Suggested links
- Mica Clay Unwrapped
- How to Clean Your Pasta Machine
- How to Use a Pasta Machine Without Width Guides
- How to Prevent Pasta Machine Ripples
If I have missed something, or you still have questions, please leave a comment below.
You can like my Facebook page to stay up to date with more polymer clay tutorials like this one as they are released.
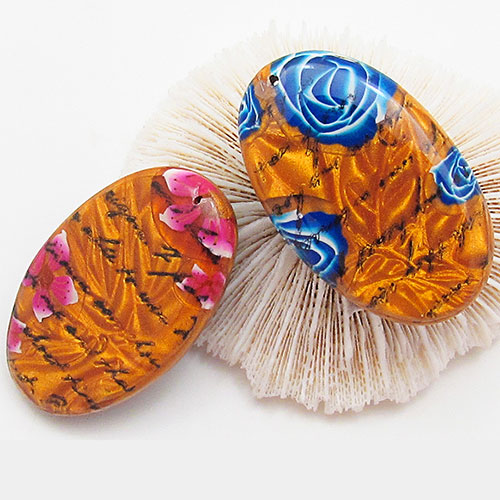
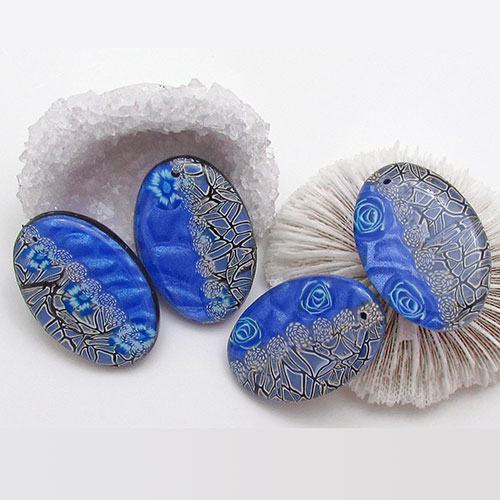
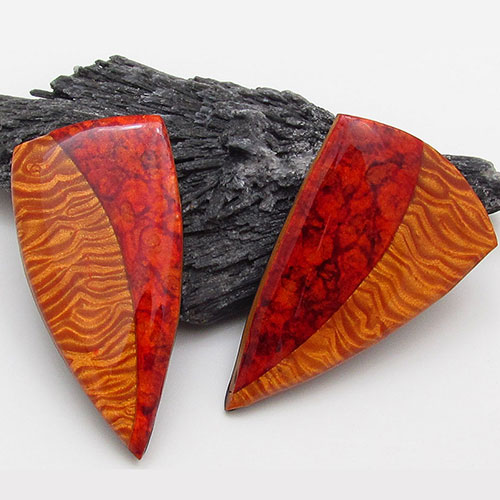
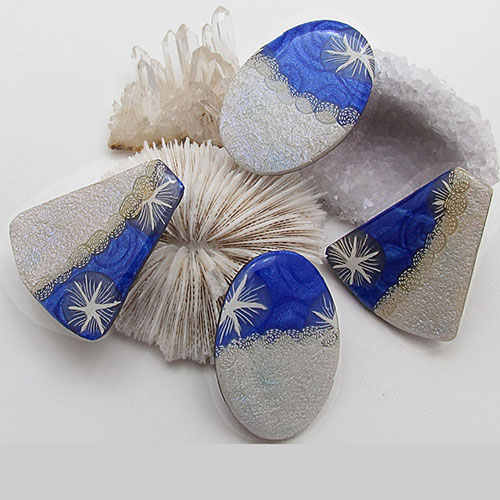
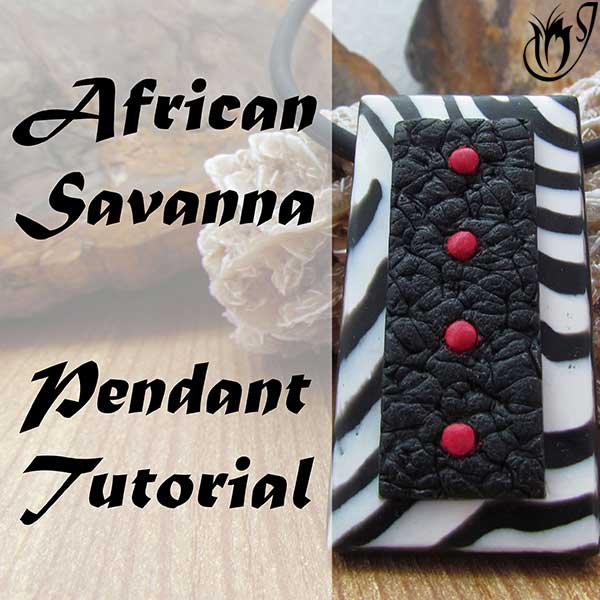
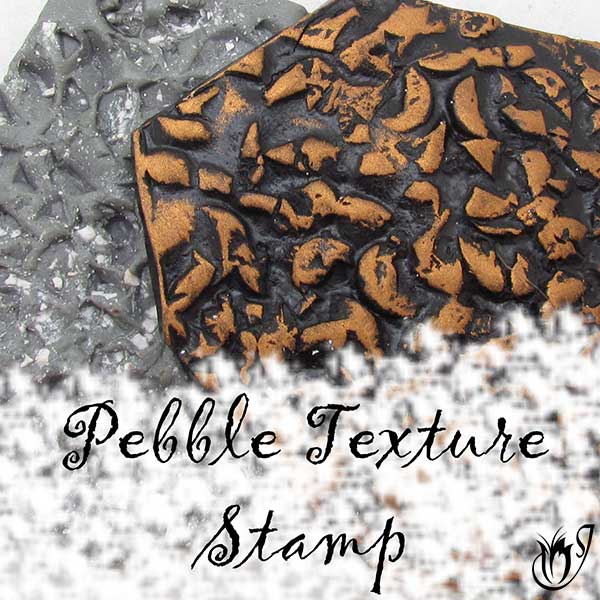
More Mica shift Technique Projects
Click on photos for larger pictures.


Please leave your comments below: