Polymer Clay Jewelry Project Tutorials
The polymer clay jewelry tutorials on this page will show you how to create your own polymer clay jewelry sets, step by step, from start to finish.
I'll be using lots of different polymer clay techniques, as well as stringing ideas and designs in various combinations, to make finished products with a professional finish that you can replicate to wear or sell.
I hope that the polymer clay projects on this page will also serve as inspiration for you to create your own beautiful and original jewelry designs.
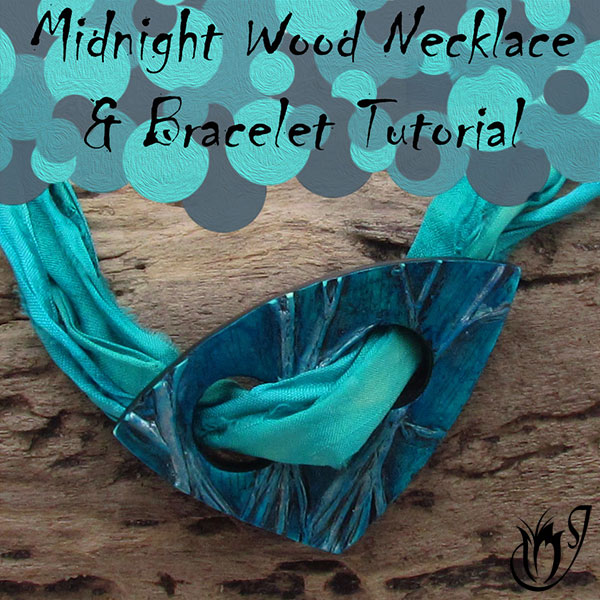
Midnight Wood polymer clay jewelry project
In part three of the Midnight Wood polymer clay project series I'll be showing you how to use sari ribbon and end caps to turn the finished pieces from the Midnight Wood Pendant Tutorial into a beautiful, bright necklace and bracelet set.
If you haven't watched part one and part two of this series, watch those before beginning this video.
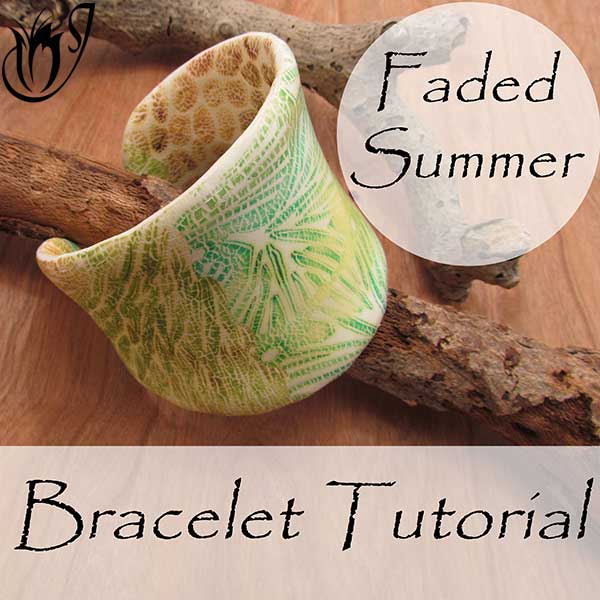
Faded Summer Polymer Clay Cuff Tutorial
In this polymer clay cuff project tutorial, I'll be showing you how
to make another polymer clay bracelet cuff using a metal blank. We will
be combining three alcohol polymer clay crackle sheets to make the cuff,
which means no sanding!
The tutorial includes lots of tips and tricks
to help get
your bangle smooth, and perfectly finished off around the edges and on
the inside. You can apply these techniques to any bangle project.
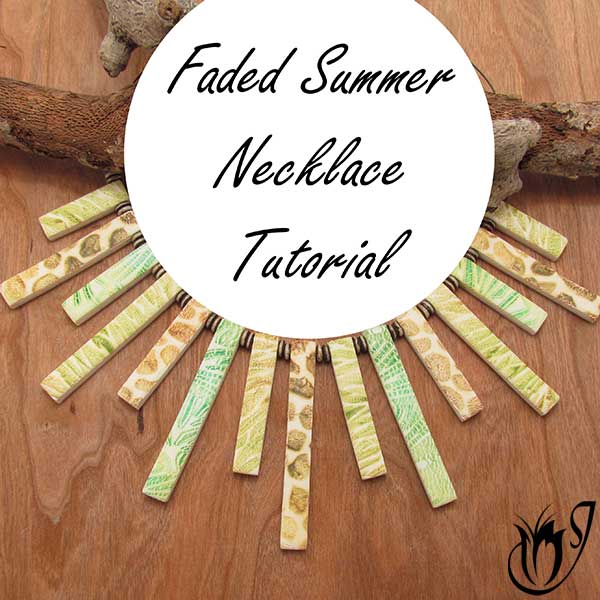
Faded Summer Polymer Clay Fan Necklace Tutorial
In this polymer clay fan necklace tutorial I'll be showing you how to make a beautiful necklace
using the faded summer alcohol ink crackle veneers we used for the cuff in the previous tutorial.
I’m going for a
tribal theme to match the colors we’re using, but this crackle technique
can be used in an endless range of necklace designs, so don’t be afraid
to experiment.
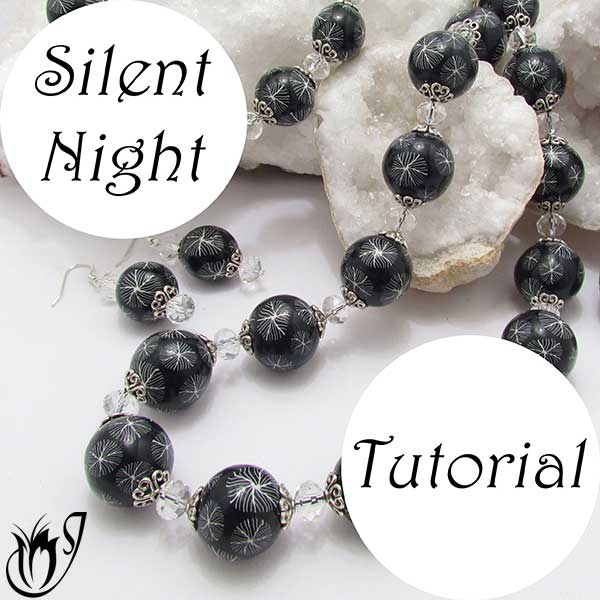
Silent Night Polymer Clay Snowflake Cane Tutorial
In this polymer clay jewelry tutorial we will be making a simple, but really pretty, polymer
clay snowflake cane. I'll show you how to make it, reduce it to various
sizes and how to use it to make the stunning silent night beads that
this project is named after.
This polymer clay cane is really
easy to make, but so effective. Please do give it a try. It's great fun
and produces a beautiful and rewarding result.
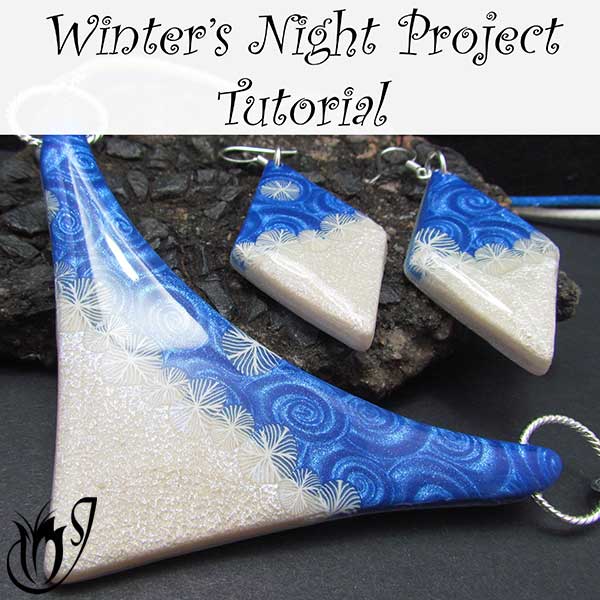
Winters Night Polymer Clay Bib Necklace Tutorial
In this tutorial we will be making a beautiful Winter's Night polymer clay bib necklace with earrings to match.
The
result is really eye-catching, but you will find that it is so simple
to make. The project consists of simple elements of mica shift and
texture, with a few slices of snowflake cane to give that wintery feel.
I'll show you tips and tricks to get your veneer nice and flat and how
to achieve a smooth, glassy finish.
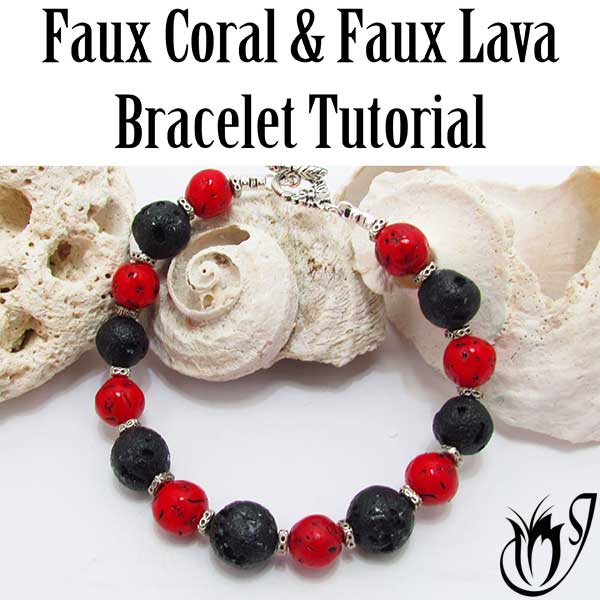
Faux Coral and Lava Polymer Clay Bracelet Tutorial
In this polymer clay tutorial, I'll be showing you how to make Faux
Coral and Faux Lava from polymer clay. These are two of the simplest
faux techniques, but the results are realistic and beautiful.
In this project we will be making a simple bracelet. Be sure to check out part two below, for the matching Boiling Bubbles Pendant.
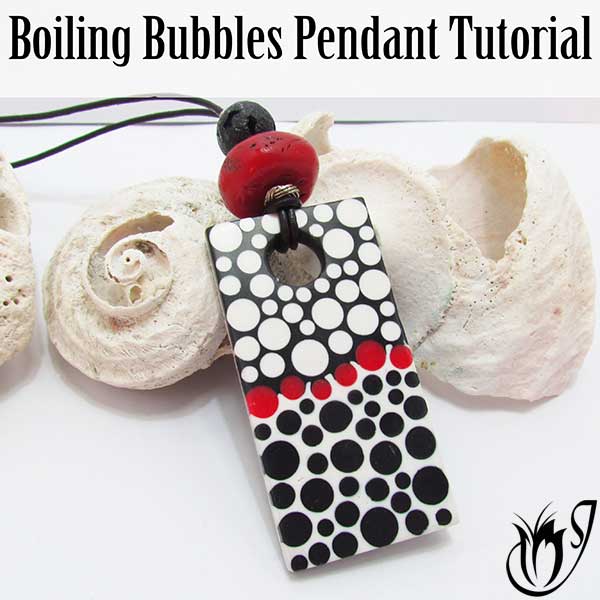
Boiling Bubbles Polymer Clay Design
This Boiling Bubbles polymer clay design is a follow on from my Faux
Coral and Lava tutorial above. If you haven't seen that video, you'll need to
watch it before you continue with this one.
In
this tutorial I'll be showing you how to use a basic back-filling
technique to create a stunning modern pendant to go with the Faux Coral
and Lava bracelet. The polymer clay techniques in this project are fun
to do, and I'll show you all the tips and tricks you need to make it
nice and easy to achieve a great result.
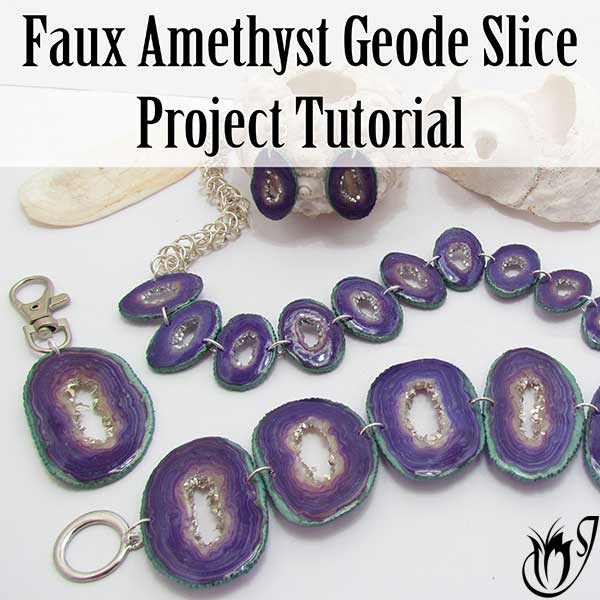
Faux Amethyst Geode Slice Project Tutorial
In this tutorial I'll be showing how to make a Faux Amethyst Geode Slice
which we will then use to make a full jewelry set, as well as a
keyring. This polymer clay project is much easier than it looks, and
best of all it requires no sanding, so it's sure to be a favorite!
You
can switch up the colors used in this technique to create all sorts of
different agate slices, so be sure to try out other combinations.
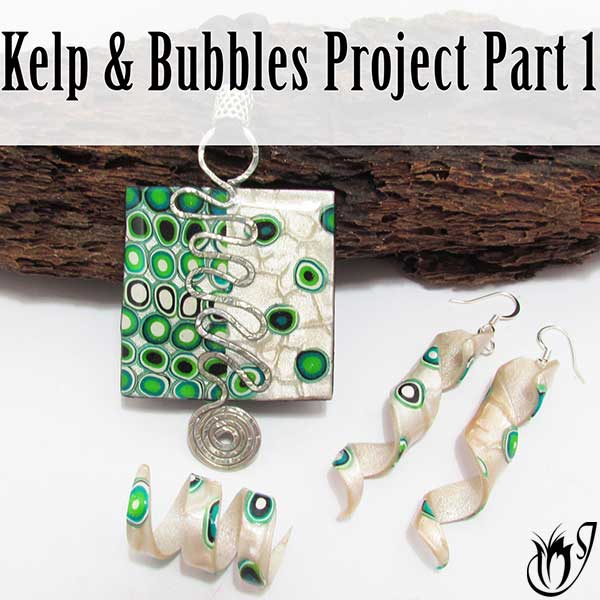
Kelp and Bubbles Polymer Clay Earring Project
This polymer clay earring project is the first part in a 2 part series
where we will be using the simple mod cane to create a matching pendant,
earring and ring set.
Although there are quite a few different
techniques in this tutorial, these interesting and eye-catching earrings
are really simple, quick and fun to make. You can switch up the colors
to make endless designs, all of which will be perfect for the markets.
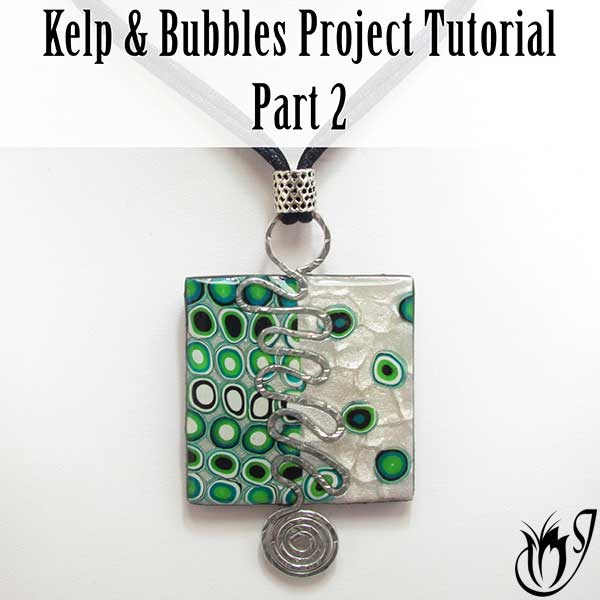
Kelp and Bubbles Polymer Clay Pendant Project
This polymer clay pendant project is part two of the Kelp and Bubbles
earring project. In this second part we will be using the mod cane we
made in part one to create a beautifully, eye-catching pendant with a
hammered wire insert. This tutorial includes lots of information on
burnishing, joining seams and using Ice Resin. I love how this pendant
came out. I hope you enjoy making it.
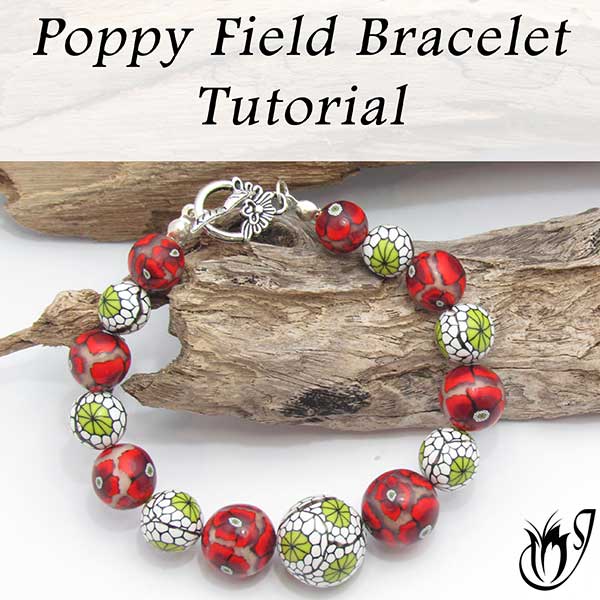
Poppy Field Polymer Clay Bracelet and Earring Tutorial
In this Poppy Field tutorial we'll use the easy Poppy Cane we made in a
previous tutorial to create a stunning bracelet and pair of earrings.
It's an easy,
fun project and would make a great gift or something easy to sell at markets.
It's also an easy project for beginners in polymer clay as I teach a few basic
techniques such as creating equal and graduated bead sizes as well as
demonstrating how to avoid sanding round beads.
I'll be adding many more jewelry project tutorials to this page over the coming months. If you would like to stay up to date with new articles and tutorials as they are released, please join my Facebook Group.
The group is the best place to keep up with all the latest news, product
releases and tutorials, and you will have early access to new material
before it is released on YouTube or the website. There are also exclusive
giveaways and a discount coupon for my shop, JessamaDesign on Etsy.
We have a fabulous group of members already. It's a great place to
share, be encouraged and ask all of your polymer clay questions.
If you are looking for something a little more complex, take a look at my Patreon page. The community over there is steadily growing and I have lots of surprises and additional features coming up soon for my Patreons, so do come over and join us. We would love to welcome you. You can also find some of my more complex tutorials at my Etsy shop.
Don't forget to like and share with your friends, so that they can learn too.


Please leave your comments below: