Cracklathon : Polymer Clay Crackle Course
Welcome to my 30
Day Cracklathon with polymer clay. I'll be creating a different polymer clay
crackle veneer every day for a whole month. I'll be showing everything from
basic clay crackles all the way through to more complex mixed media crackles.There are lots of beautiful veneers and projects to look forward to, so let's get started.
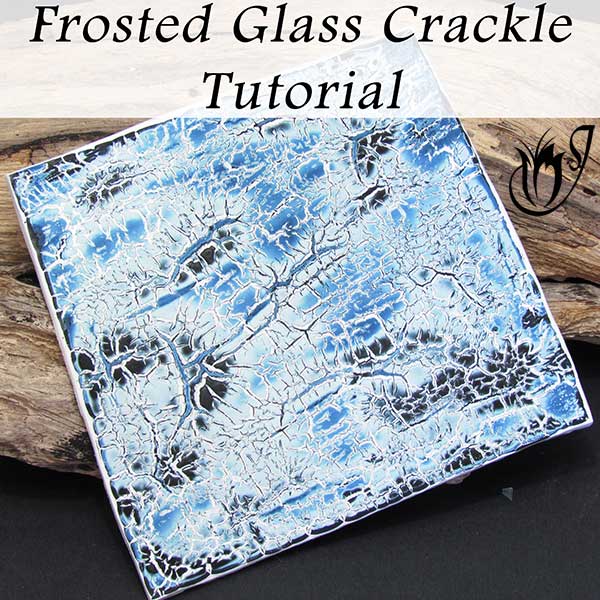
Cracklathon Day 1: frosted glass polymer clay crackle
Welcome to Day One.
Today
I'll be using Kroma Crackle with black paint to create a beautiful
frosted polymer clay crackle. Be sure to play around with different
color paints and clay for a completely different look each time. I'll
also
demonstrate an easy way to use the crackle in a project. You can use
this
project design with any crackle in the Cracklathon.
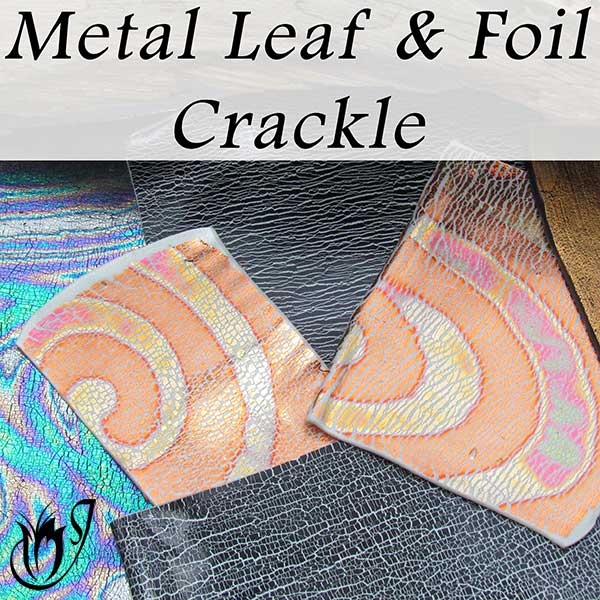
Cracklathon Day 2: metal leaf and foil polymer clay crackle
Welcome to Day Two.
In day two of the polymer clay cracklathon I'll go through
the basics of using metal leaf and foil. I'll include as many tips and tricks
as I can to help you get the best result possible when using foil and metal
leaf.
This is a basic tutorial, but we will be doing more complex tutorials
later in the course with foil and metal leaf, so practice the tips and tricks
now, so that later it's super easy to use.
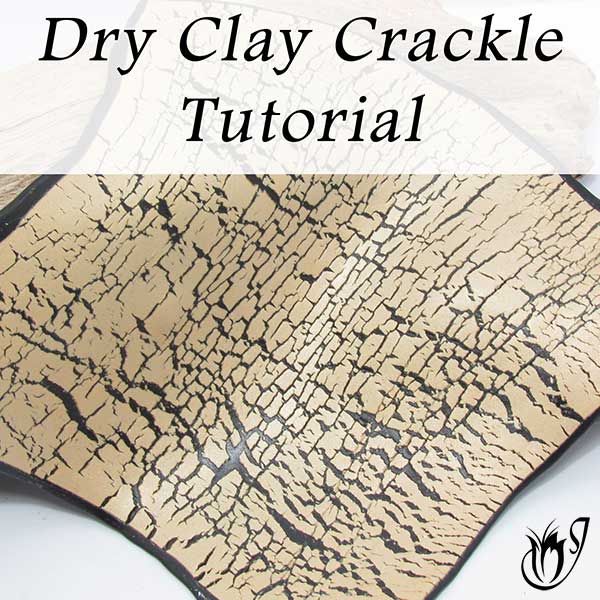
Cracklathon Day 3: Dry polymer clay crackle
Welcome to Day Three.
In day three of the polymer clay cracklathon I'll show you
how to create a polymer clay crackle with just a pasta machine, polymer clay
and some plain printing paper.
This is a great technique for those who don't
have the various mixed media often used to create crackles. It's simple, easy
and doesn't require many materials. I'll be exploring this technique more in
depth further along in the course, so keep a look out for that.
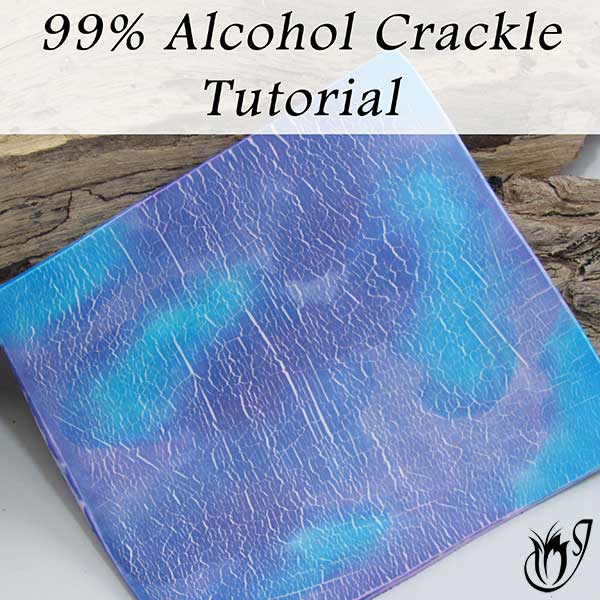
Cracklathon Day 4: 99% Alcohol polymer clay crackle
Welcome to Day Four.
Today I'll be teaching a polymer clay crackle using alcohol
inks, polymer clay and most importantly 99% isopropyl alcohol.
This is another
great technique for those who don't have a lot of specific supplies, as the
isopropyl alcohol technique can be applied to many different veneers, ranging
from plain metallic clay to Mokume Gane. This is another foundation technique
that we'll be exploring further later on in the course.
Cracklathon Day 5: Heat Gun polymer clay crackle
Welcome to Day five.
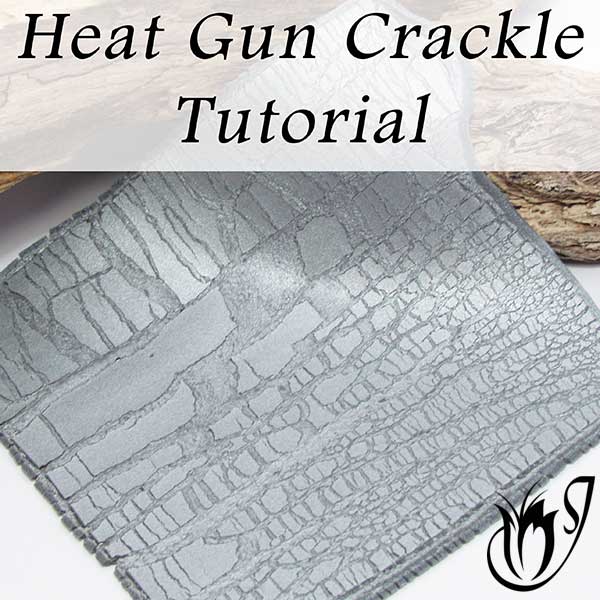
In day five of the polymer clay cracklathon I'll show you how to create a polymer clay crackle with a heatgun. This is one of the more challenging of the crackle techniques as it only takes a second to over cure the clay. I demonstrate this in the tutorial.
The key to a great crackle is a heatgun (a hair dryer won't do) 5 seconds of warm up time for the heatgun before letting it near the clay and most of all practice. Use some old leftover clay to practice.
Cracklathon Day 6: Martha Stewart Paint polymer clay crackle
Welcome to Day six.
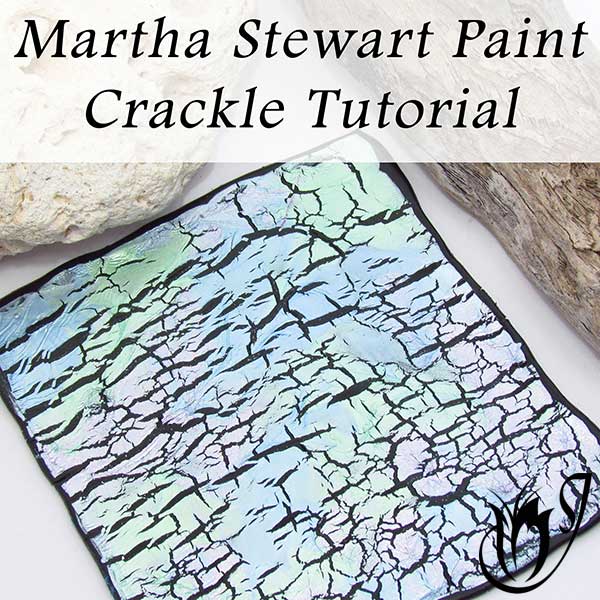
In day six of the polymer clay cracklathon I'll show you how to create a polymer clay crackle effect using Martha Stewart Paints. Some brands of paint will crackle on polymer clay while others won't, so be sure to check the brand you want to try before creating a large veneer.
This is great technique for those who have a lot of paint and like a multi colored crackle. Try out different colors or even play around with some patterns for a different effect each time.
Cracklathon Day 7: Mica shift polymer clay crackle
Welcome to Day seven.
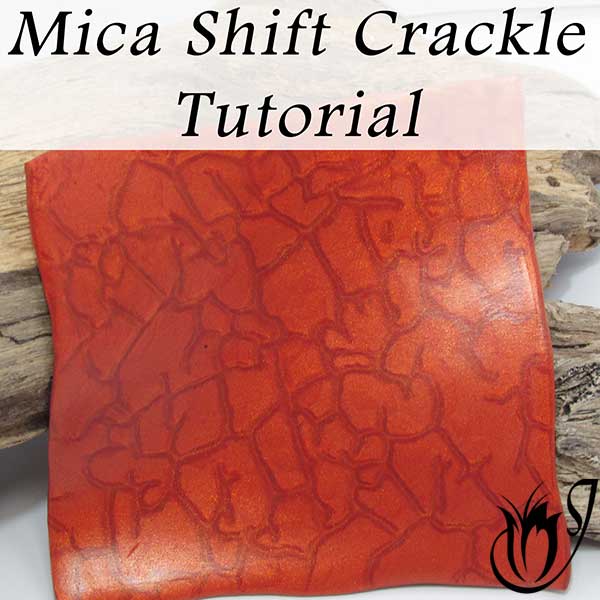
In day seven of the polymer clay cracklathon I'll show you how to create a polymer clay crackle effect without crackling the clay. Some might call this a cheat, but it works really well and is great for those who don't have a lot of supplies.
It's also a great start for beginners as a mica shift is what I'd call one of the easiest polymer clay techniques to create. All you need is a crackle stamp. You could also press your own crackle pattern into the clay by hand if you wanted.
Cracklathon Day 8: Vintage Metal Leaf polymer clay crackle
Welcome to Day Eight.
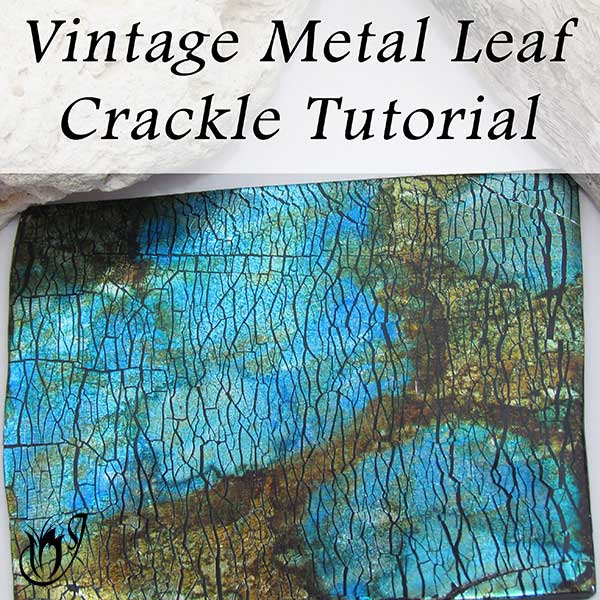
Today I'll be using metal leaf and alcohol inks to create this vintage looking polymer clay crackle veneer. Keep in mind that depending on the alcohol inks you use you can create vintage or colorful veneers.
This is a fun, easy technique and is a step up from just putting metal leaf on polymer clay. Play around with the color of metal leaf and the backing clay for a different effect each time.
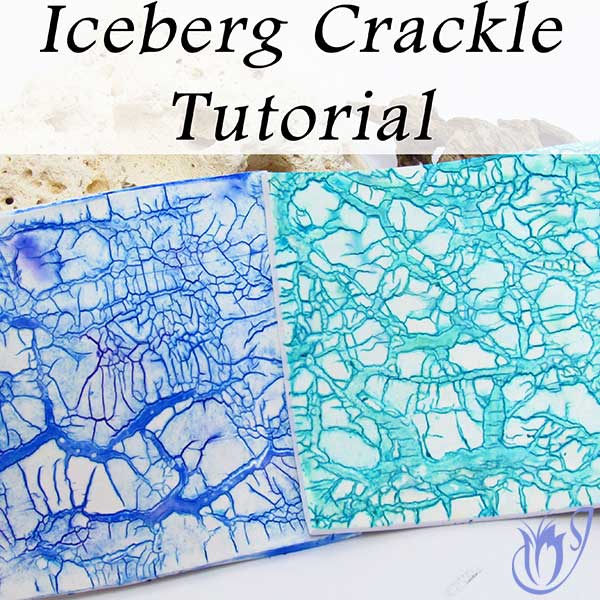
Cracklathon Day 9: Iceberg polymer clay crackle
Welcome to Day nine.
Today I'll be using Kroma Crackle again to create this beautiful polymer clay crackle veneer with alcohol inks. We’ll apply the Kroma Crackle, let it dry, then apply the alcohol inks and rub away the Kroma Crackle. It’s well worth the effort.
As I show in this tutorial you can also use different colors of alcohol ink to create a different veneer every time. It's a fun technique and comes out with a stunning effect.
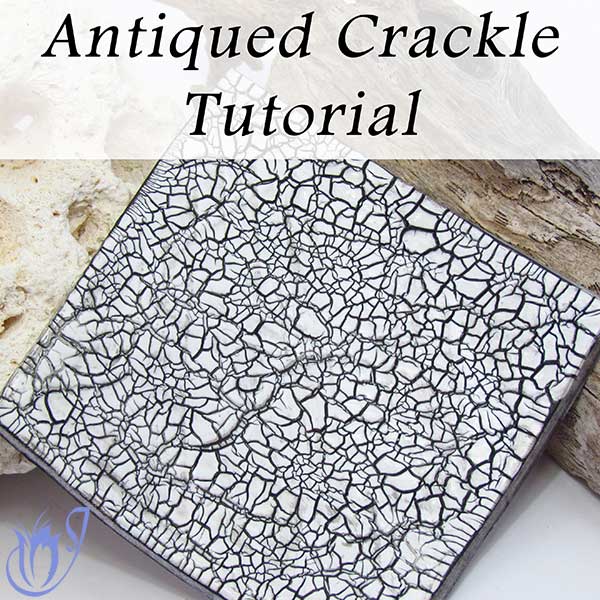
Cracklathon Day 10: Antiqued polymer clay crackle
Welcome to Day ten.
Today I'll be using a crackle paste and some pastels to create this striking polymer clay crackle. Keep in mind that you can also use Kroma Crackle for this technique.
You can also use the heat gun crackle technique for this so be sure to play around with it. Try out different colors of pastels or mica powders for a different look each time.
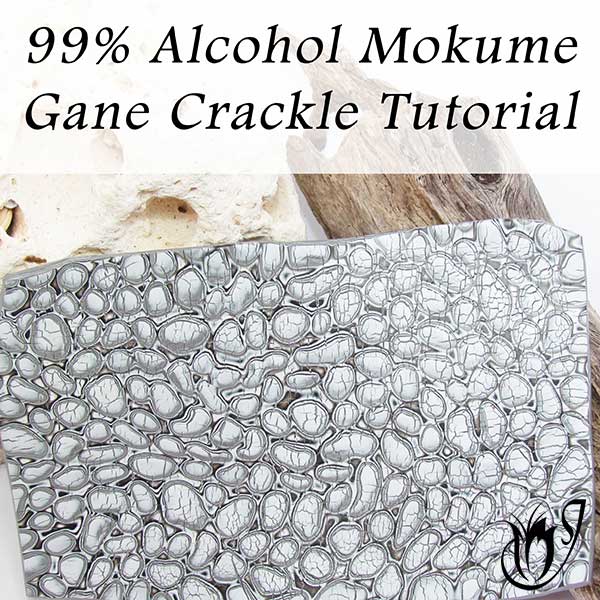
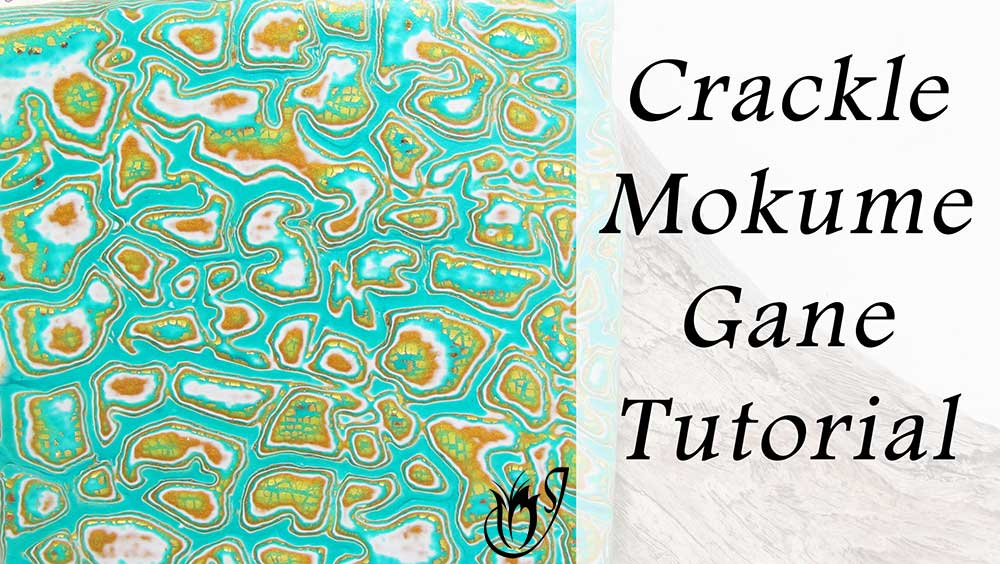
Cracklathon Day 11: 99% Alcohol Mokume Gane Polymer Clay Crackle
Welcome to Day 11.
Today I'll be using 99% alcohol to create a polymer clay crackle on a mokume gane veneer.
Keep in mind that this technique works for any veneer, so if you have a cane veneer, mokume gane, mica shift, or just about any veneer made of just clay you can use this technique on it. Just make sure the veneer is made of clay and doesn't have any fancy surface treatments.
Play around with it and have fun.
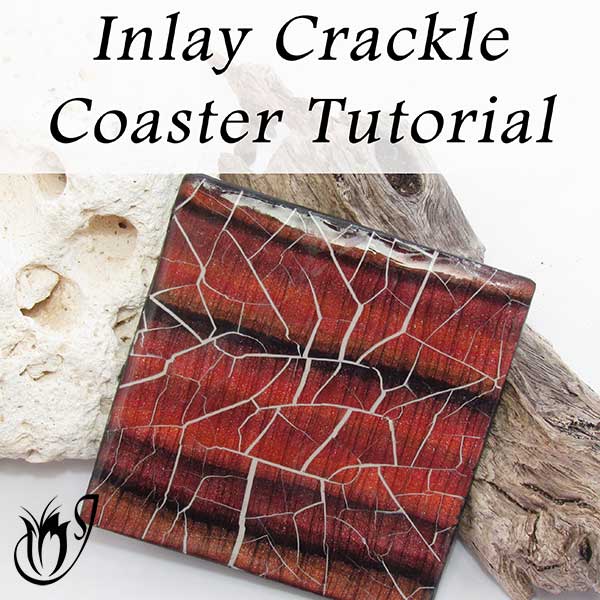
Cracklathon Day 12: Inlay Polymer Clay Crackle Coaster Tutorial
Welcome to Day 12.
Today I'll be using a ready made faux red tiger eye veneer to create a beautiful coaster with an inlay polymer clay crackle. It's a great crackle technique that can be used across many projects to create an aged, cracked look. There's a link to my faux red tiger eye tutorial in the suggested links box below the video.
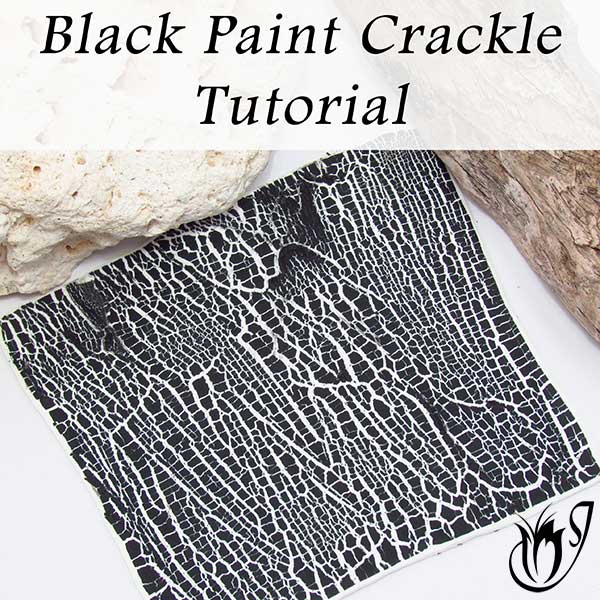
Cracklathon Day 13: Black Paint Polymer Clay Crackle
Welcome to Day 13.
Today I'll be using a special brand of paint that crackles after drying. It creates a great polymer clay crackle and is super easy to use. You can get multiple colors of this paint so you can imagine the possibilities it presents when it comes to silkscreens and stencils.
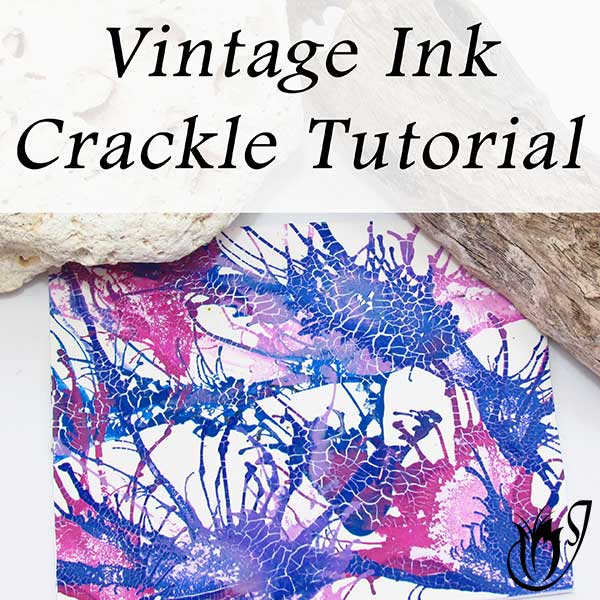
Cracklathon Day 14: Vintage Ink Polymer Clay Crackle
Welcome to Day 14.
Today I'll be using Patina ink to create a beautiful polymer clay crackle. I use a straw in the tutorial to blow the ink into tendrils, but you can just let it spread for a different effect.
Also remember that the thickness of the ink matters. The thicker the ink the larger the cracks and vice versa.
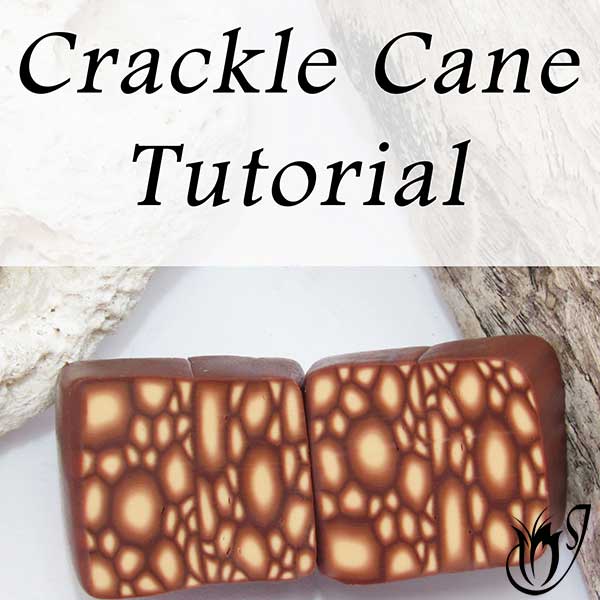
Cracklathon Day 15: Polymer Clay Crackle Cane Tutorial
Welcome to Day 15.
In day 15 of the polymer clay cracklathon I'll be showing you another "Polymer Clay Crackle Cheat" technique for those of you who only have polymer clay to work with. It's a crackle cane.
It's a super easy technique that even beginners to polymer clay can do and it’s great fun.
You can play around with the color to create different effects. You could even go a few steps further and make it into a kaleidoscope cane. So experiment and see what you come up with.
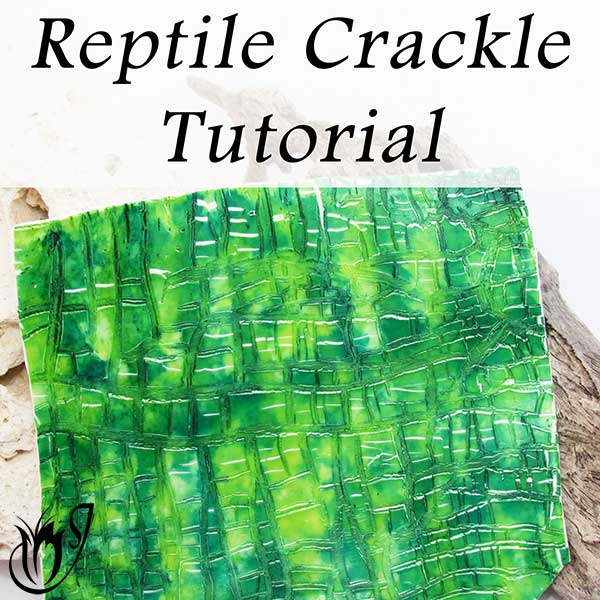
Cracklathon Day 16: Reptile Polymer Clay Crackle
Welcome to Day 16.
In day 16 of the polymer clay cracklathon I'll be showing you how to create a polymer clay crackle with One Step Crackle by Deco Art. A few of you have asked me about this crackle medium in the past so I decided to do a tutorial on it.
There are lots of ways to use it. Try antiquing techniques or alcohol ink techniques on it for a stunning result. It's very similar to Deco Art Perfect Crackle, so if you have that feel free to use it instead.
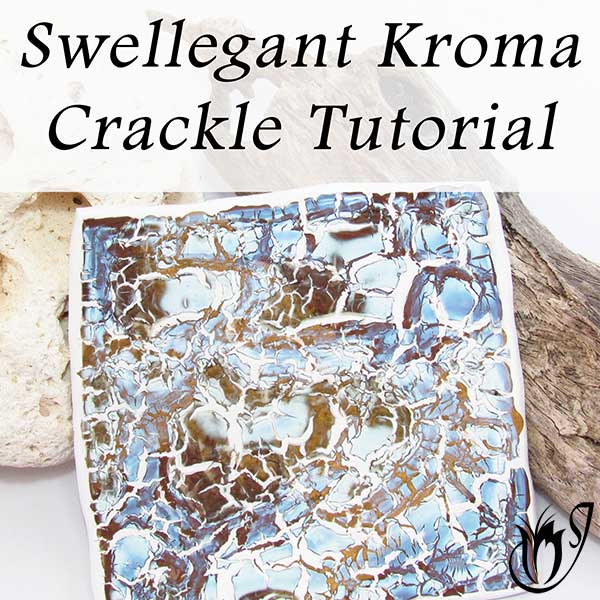
Cracklathon Day 17: Swellegant Kroma Polymer Clay Crackle
Welcome to Day 17.
In day 17 of the polymer clay cracklathon I'll be showing you another Kroma Crackle effect but this time we'll throw a little Swellegant into the mix. It creates a super cool polymer clay crackle effect and is such fun to create.
Play around with different Swellegant Metals and different clay backings for a different result each time.
Keep in mind you can still create a cool effect by swapping the Swellegant for any paint you want if you don't have Swellegant.
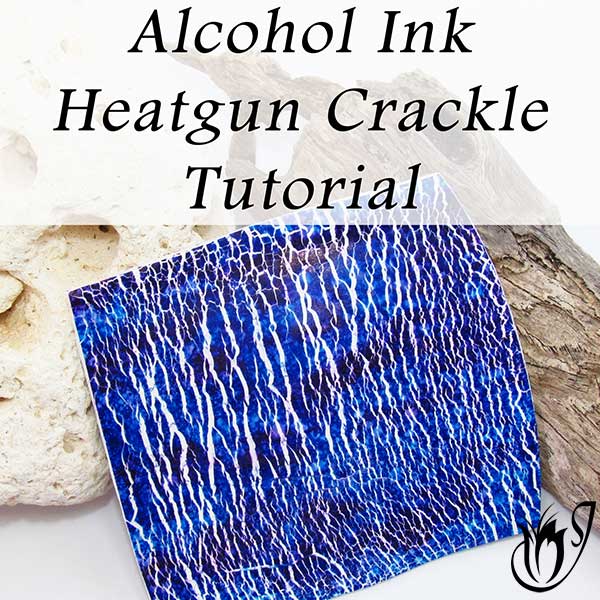
Cracklathon Day 18: Alcohol Ink Heatgun Polymer Clay Crackle
Welcome to Day 18.
In day 18 of the polymer clay cracklathon I'll be showing you how to create a polymer clay crackle veneer with a heat gun. I'll then apply alcohol ink to the surface to highlight the beautiful crackle.
You can also use a paint antique technique to highlight the cracks if you happen to not have alcohol inks. Also play around with the color of clay you're starting with. Maybe try a skinner blend for a completely different look.
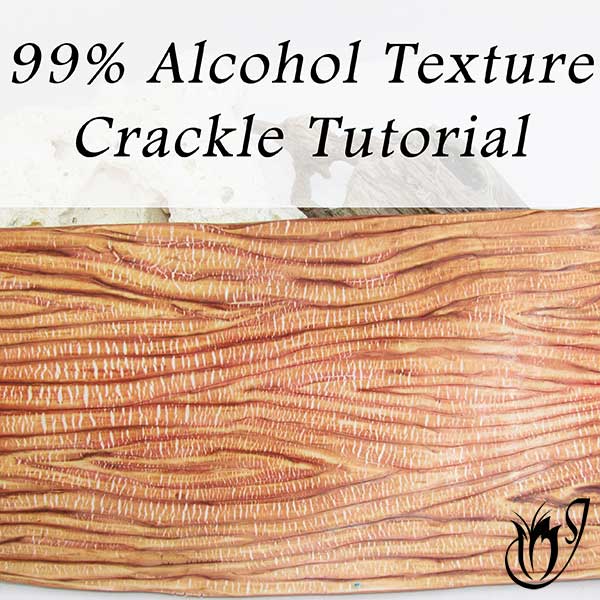
Cracklathon Day 19: 99% Alcohol Texture Polymer Clay Crackle
Welcome to Day 19.
Today I'll be using a texture stamp, 99% alcohol and alcohol inks to create a beautiful polymer clay crackle veneer.
This technique can be done with any texture stamp, any polymer clay and any color of alcohol ink you want. The one thing you need is 99% alcohol. I got mine from an electronics store.
The technique creates a smooth veneer with a slight leather feel all the while keeping the texture's pattern. It's fun, easy and creates a stunning effect.
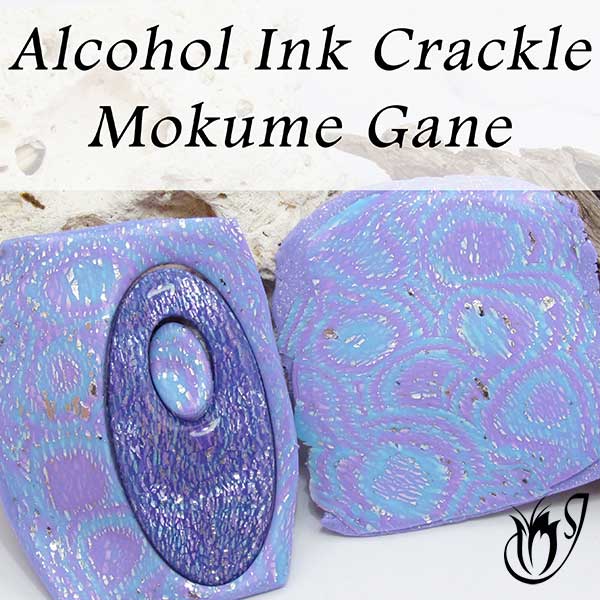
Cracklathon Day 20: Alcohol Ink Mokume Gane Polymer Clay Crackle
Welcome to Day 20.
Today I'll be using a crackle texture, translucent clay and metal leaf to create a stunning mokume gane polymer clay crackle. It's a great technique to pair with other veneers to create beautiful pendants.
I've used this technique a few times with great results. Play around with the colors to get different effects each time.
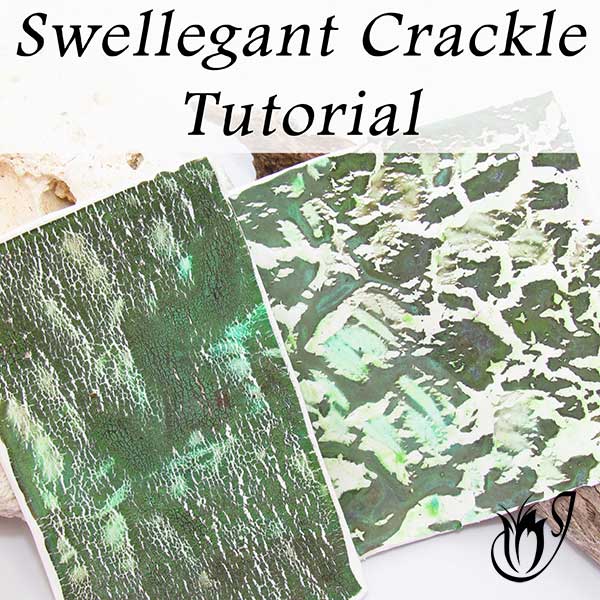
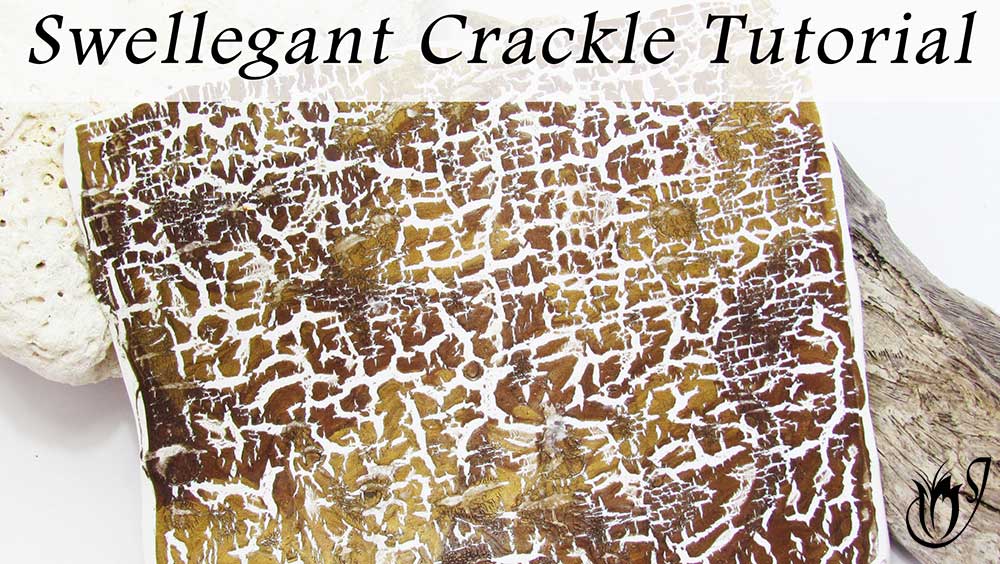
Cracklathon Day 21: Swellegant Polymer Clay Crackle Tutorial
Welcome to Day 21.
Today I'll be using Swellegant on polymer clay to create a beautiful polymer clay crackle. There are a few conditions to create a crackle with Swellegant and that's something I'll talk about in depth in the tutorial.
I'll show two examples of this crackle in the tutorial; one fine and mossy, the other a more bold crackle. This all depends on one element which I'll show on the tutorial. I look forward to your comments.
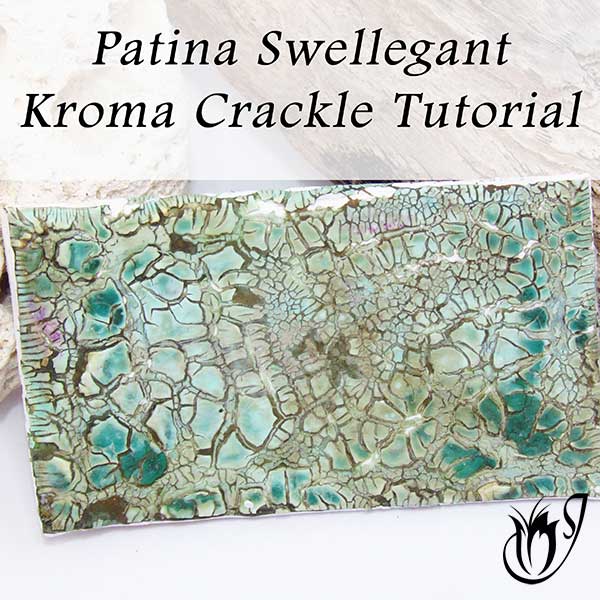
Cracklathon Day 22: Patina Swellegant Kroma Polymer Clay Crackle
Welcome to Day 22.
Today I'll be using the Swellegant veneer we made yesterday to create an aged paint polymer clay crackle with Kroma Crackle.
It's a wonderful effect as it looks just like weathered paint and would look stunning on the right projects.
Choose what projects you use it on carefully though, as it’s a little delicate and won’t stand up to wear and tear.
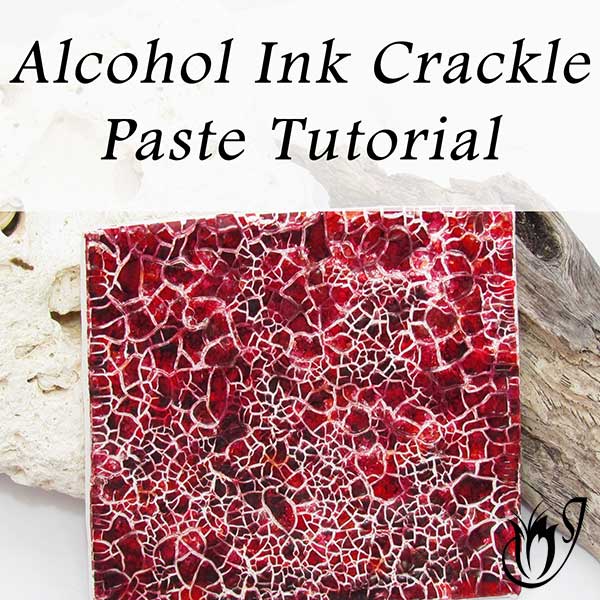
Cracklathon Day 23: Alcohol Ink Crackle Paste Polymer Clay Crackle
Welcome to Day 23.
Today I'll be using Viva Decor Artline Crackling Colour White to create a beautiful polymer clay crackle with alcohol inks.
Keep in mind you can get a similar effect by replacing the crackle medium with a heatgun crackle. Use different alcohol inks and clay colors to achieve a different effect each time. I love the colors in this project.
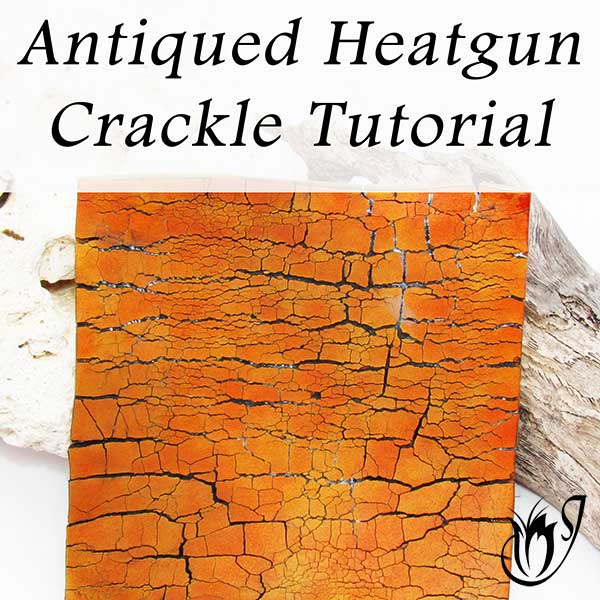
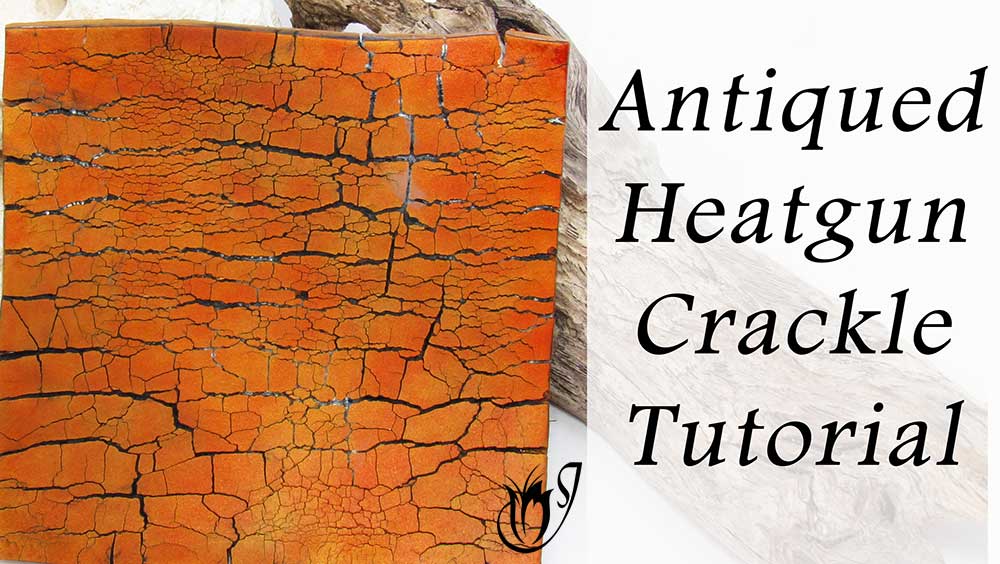
Cracklathon Day 24: Antiqued Heatgun Polymer Clay Crackle
Welcome to Day 24.
Today I'll be using a heatgun on some gold polymer clay to create a beautiful, rustic polymer clay crackle. We'll then mess around with some paint to antique the crevasse and finally we'll give it a brush with some alcohol ink to brighten the whole thing up.
This is a fun crackle and I go over quite a few techniques that can be used across a wide range of projects so please do play around and see what you can come up with.
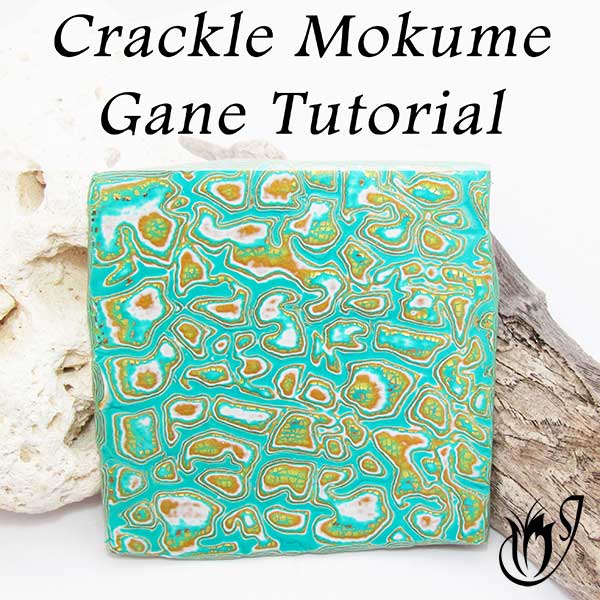
Cracklathon Day 25: Mokume Gane Polymer Clay Crackle
Welcome to Day 25.
Today I'll be creating another cheat polymer clay crackle; this time a metal leaf mokume gane. This is a fun technique and although I use a crackle texture in the video, you can use any texture you want with the mokume gane.
Try using different colors of clay, translucent layers and even different metal leaf colors for a whole new effect. Have fun.
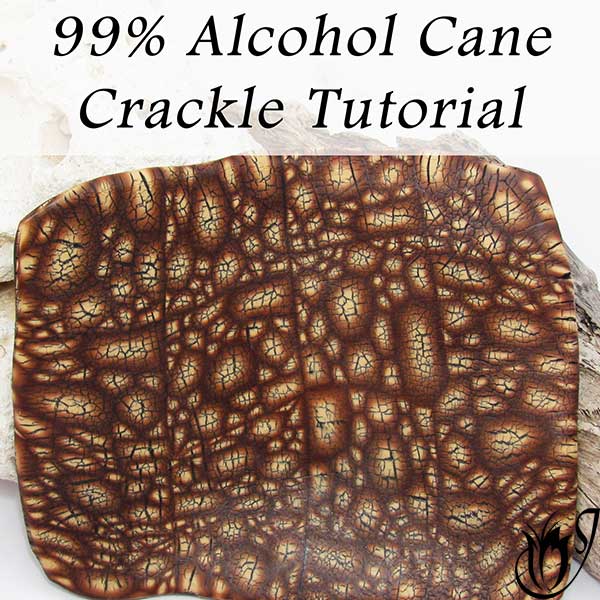
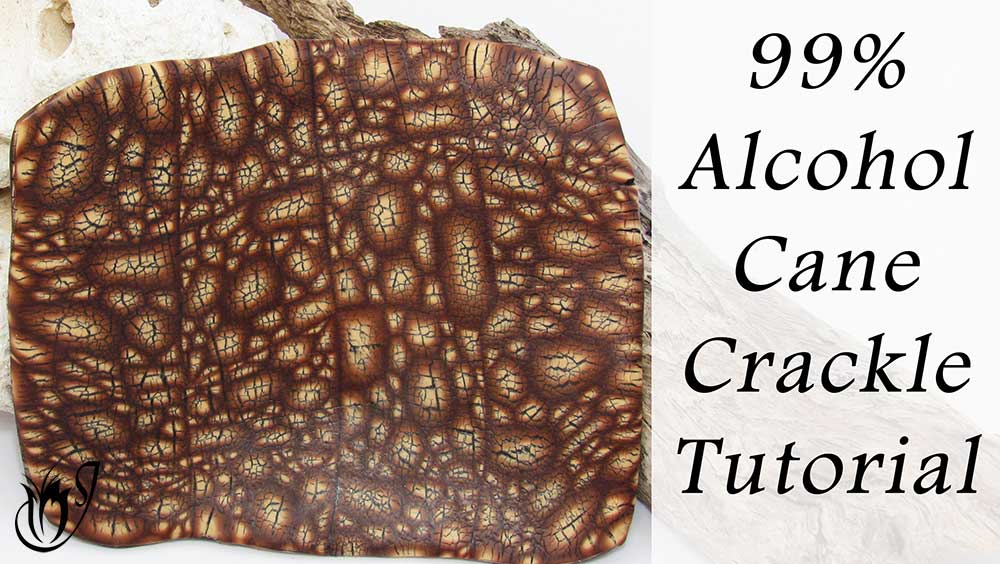
Cracklathon Day 26: 99% Alcohol Cane Polymer Clay Crackle
Welcome to Day 26.
Today I'll be creating a polymer clay crackle veneer using a cheat crackle cane we made in day 15. Keep in mind you can use any cane for this technique ranging from the simplest bulls eye to a complex flower cane.
You can also use mokume gane or mica shift veneers. Play around and have fun.
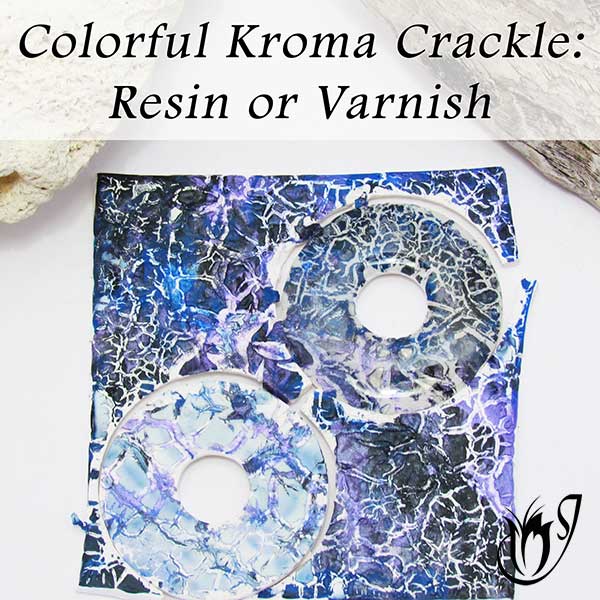
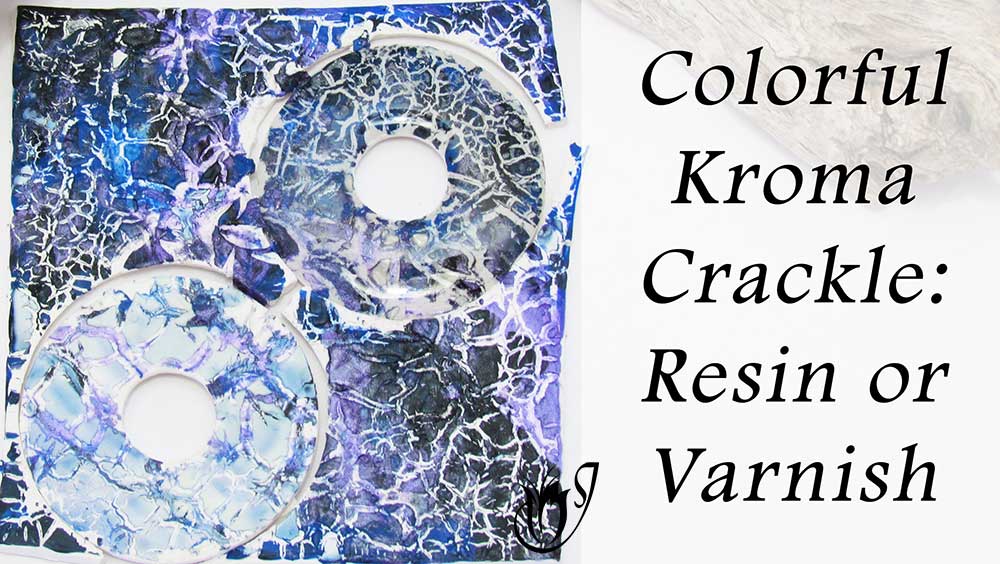
Cracklathon Day 27: Colorful Kroma Polymer Clay Crackle: Resin or Varnish
Welcome to Day 27.
Today I'll be creating a polymer clay crackle veneer with kroma crackle and I'll go into details regarding how to achieve color and how varnish and resin will affect the finished result.
The tests are quite interesting as resin turns the kroma crackle translucent and the varnish keeps the original effect. Hopefully this will answer all of your questions regarding this. Let me know if you have any more questions. I'll be happy to help.
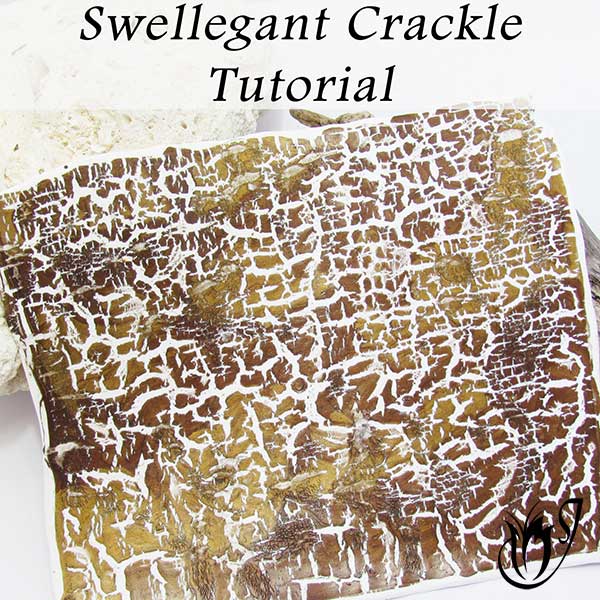
Cracklathon Day 28: Swellegant Polymer Clay Crackle
Welcome to Day 28.
Today I'll be creating a polymer clay crackle veneer using just swellegant and polymer clay. It's easy as long as you follow the tips I include in the tutorial. You can also do the same thing if you patina the swellegant.
I cover patina and swellegant on day 22 of the Cracklathon. It's a cool effect and can be used on just about any project.
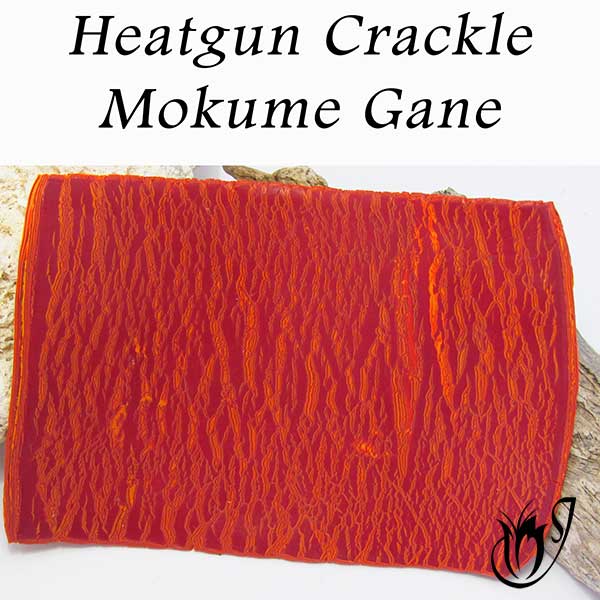
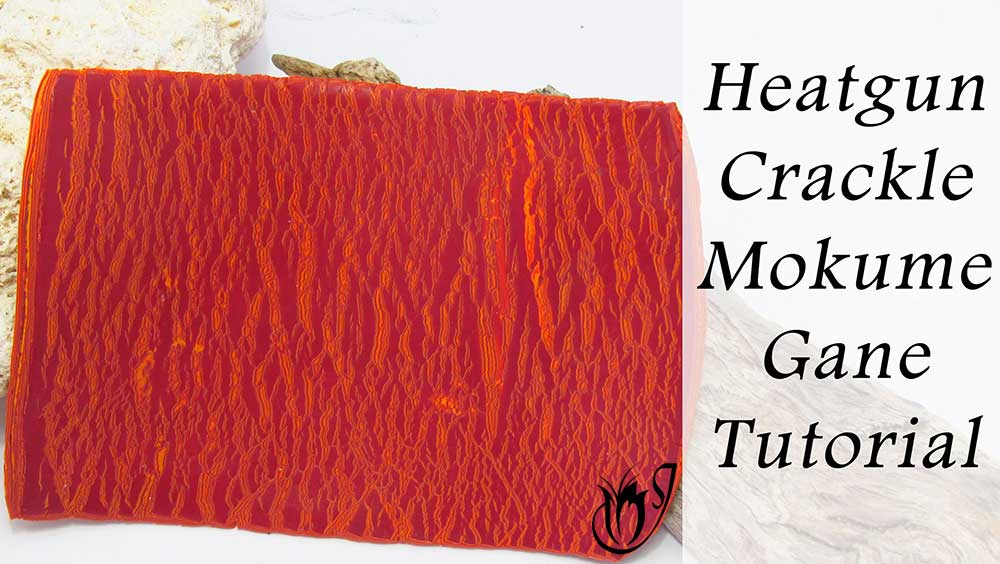
Cracklathon Day 29: Heatgun Mokume Gane Polymer Clay Crackle
Welcome to Day 29.
Today I'll be creating a mokume gane polymer clay crackle veneer using a heatgun. This is a fun, subtle technique that can be used in a wide range of projects.
Try different colors and different thicknesses throughout the mokume gane layers for a different effect each time.
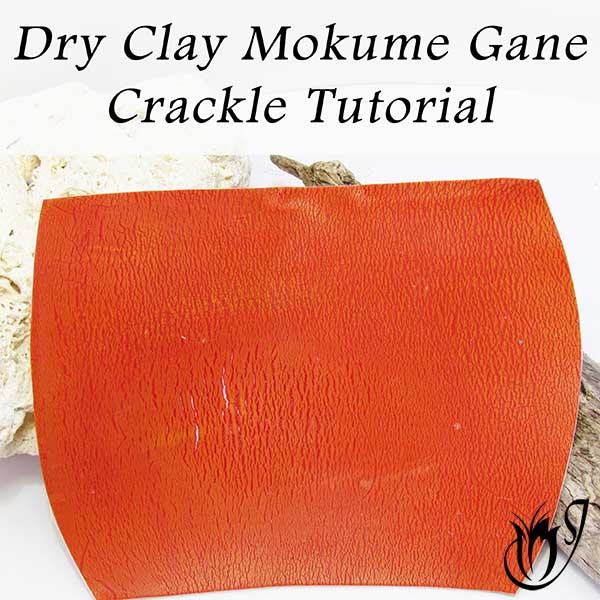
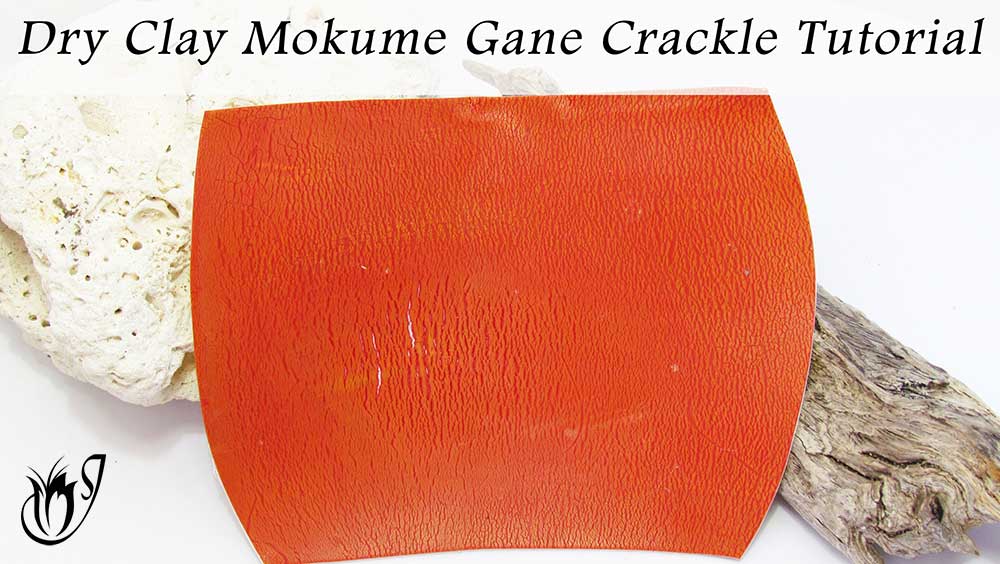
Cracklathon Day 30: Dry Clay Polymer Clay Crackle
Welcome to Day 30.
Today I'll be creating a mokume gane polymer clay crackle veneer using plain printing paper to dry out the clay. It's a soft, subtle effect that's easy to create and use across any project.
Try different colors and thin out the layers for a different effect. You can replace the paper used to dry the clay with 99% alcohol sprays. I've presented this technique in previous cracklathon days.
If you would like to stay up to date with new articles and tutorials as they are released, please join my Facebook Group, and don't forget to like and share with your friends.
The group is the best place to keep up with all the latest news, product
releases and tutorials, and you will have early access to new material
before it is released on YouTube or the website. There are also exclusive
giveaways and a discount coupon for my shop, JessamaDesign on Etsy.
We have a fabulous group of members already. It's a great place to
share, be encouraged and ask all of your polymer clay questions.
I also add more complex or unusual polymer clay tutorials and techniques for my Patreon community every month. If you're interested in taking a look at those you can check out my Patreon page here. I also have lots of additional features and surprises planned for my Patreon group and they will be coming up soon, so do come over and have a look. We would love for you to join us.



Please leave your comments below: