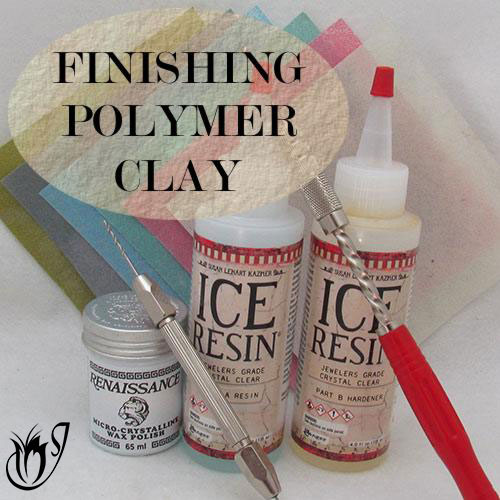
finishing polymer clay - techniques and resources
Finishing polymer clay correctly can make or break your piece. In these articles and tutorials, find out how to get the best professional finish all the way from baking to sealing.
Finishing polymer clay basically involves six steps:
- Getting your work ready for the oven (removing fingerprints etc.)
- Baking your clay
- Finishing your edges
- Sanding
- Buffing
- Sealing your clay
- Drilling your holes
The articles and tutorials on this page will address all of these issues. You will find answers to the most frequently asked questions around finishing polymer clay. I have also included lists of the materials and supplies I recommend for the best results.
baking polymer clay
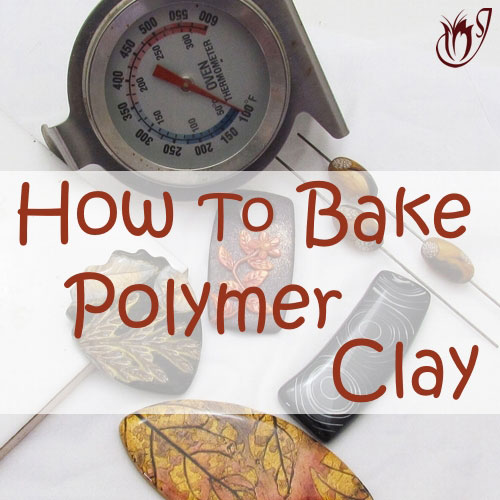
how to bake polymer clay
How to bake polymer clay is one of the first basic things you will need
to know when you begin your polymer clay journey.
In this article I’ll
be covering this question from start to
finish, showing you how to get the best results out of your baking.
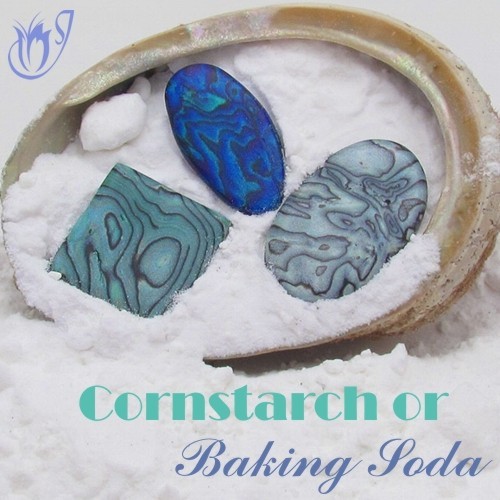
baking polymer clay in cornstarch or baking soda
Baking
polymer clay in cornstarch or baking soda has long been recommended.
These products protect the shape of your bead and prevent flat spots,
stop your beads from rolling around, and, most importantly, help prevent
burning.
In this article I’ll talk about the ins and outs of using cornstarch and baking soda and things to look out for. I’ll also show
you a few alternatives that achieve the same results without as many
hassles.
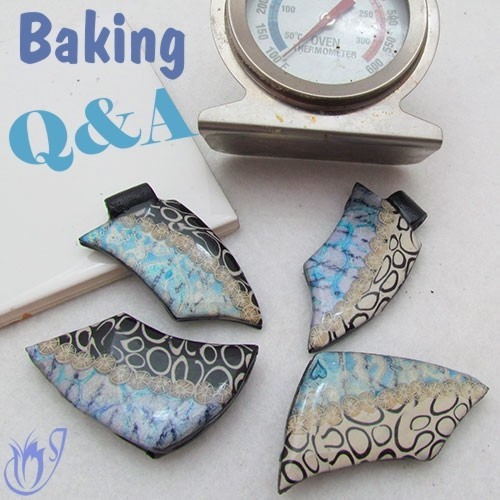
baking polymer clay - questions and answers
Baking polymer clay is without doubt the single topic that generates the
most questions across polymer clay communities and forums around the
globe. It just isn't that simple. In fact it's downright finicky. And
annoying.
In this question and answer article I hope to put most
of your questions about baking polymer clay to rest.
Finishing your edges
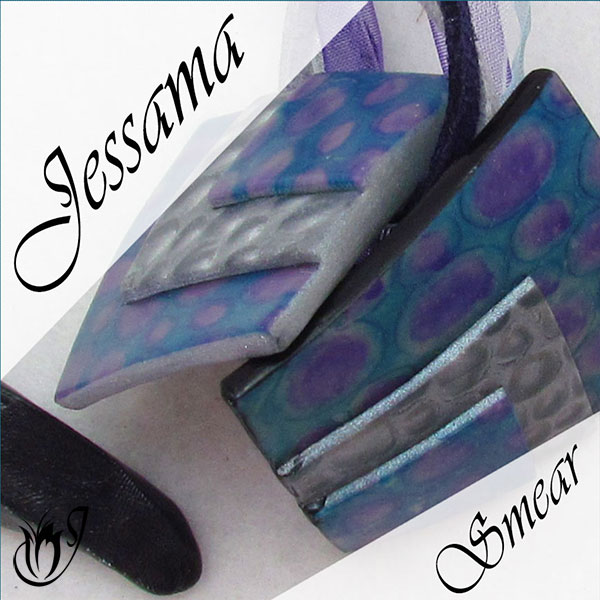
The jessama smear
Finishing polymer clay edges neatly and professionally, can take your work to a whole new level, and it's so easy to do.
Using the Jessama Smear Technique, you can finish off and sand your edges to hide any irregularities or seams that might still be there after baking.
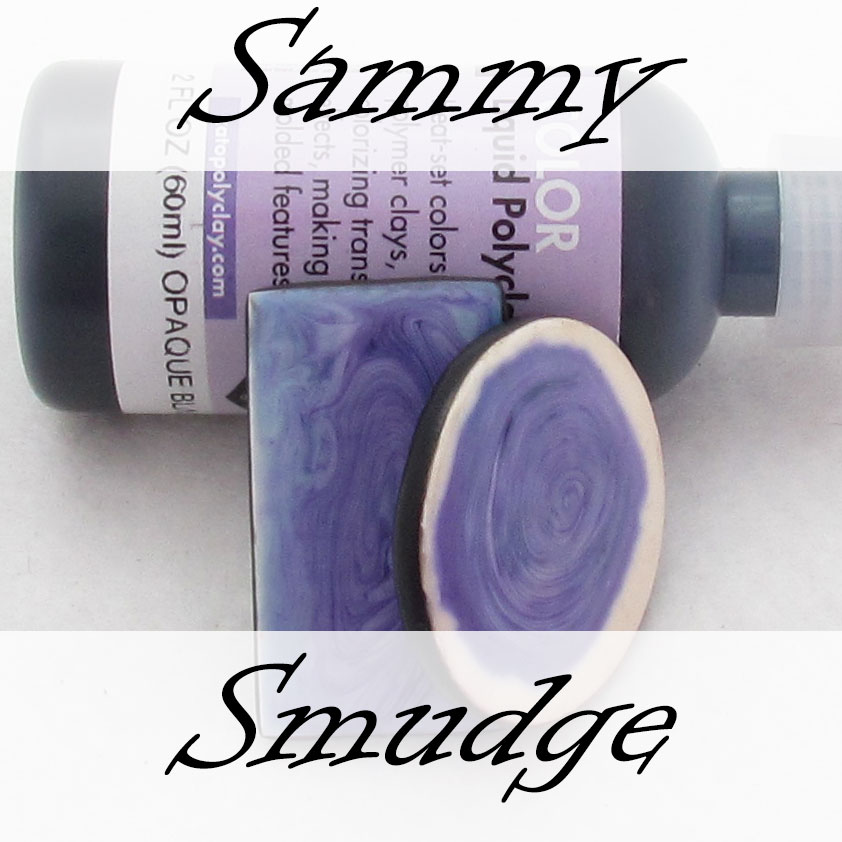
The Sammy Smudge
The Sammy Smudge finishing technique is another way of finishing polymer clay edges so that they look neat and tidy.
This technique uses liquid clay and gives the edges a more glossy appearance than the Jessama Smear. It's a bit less tricky, and doesn't need to be sanded afterwards so it's worth giving it a try.
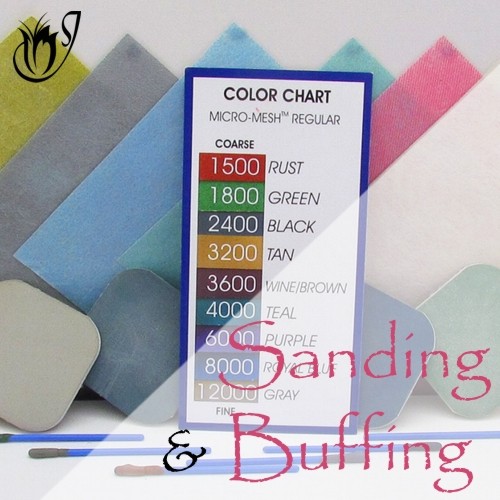
Sanding and Buffing polymer clay
finishing polymer clay the right way - sanding and buffing
So you’ve baked your bead and managed to avoid all the twists and turns
involved. Who knew finishing polymer clay could be so taxing? The next
step is to sand and buff your bead.
In this article I’ll give you a
run down on sanding and buffing, including the most popular sanding materials and what they're best
used for, as well as how to get a good shine from your buffing.
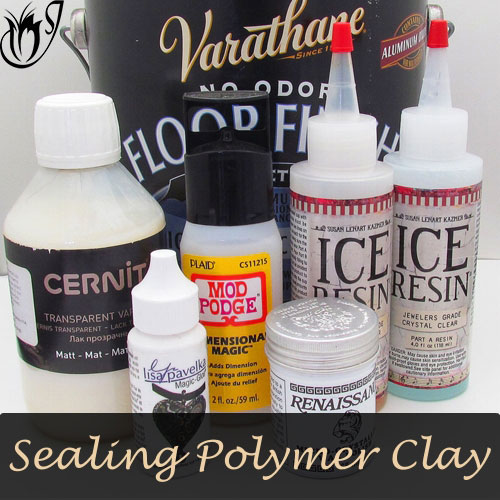
all about sealing polymer clay
Overview of polymer clay sealers
Varnishing and sealing polymer clay has to be the most
discussed problem in the polymer clay community next to baking. Which
one should I use? Which one does what? Where can I buy them? How do I
know if my surface effect is going to work with the sealer I’ve chosen?
It’s enough to make you want to tear your hair out.
In this
article, I'll be going through each of the different types of polymer
clay sealers and what they are best used for.
sealing polymer clay with resin
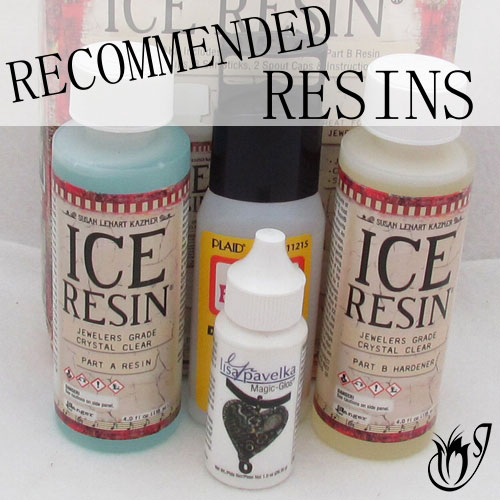
which polymer clay resin should i use?
Polymer clay resins are a safe way to finish your polymer clay, as many of
them are formulated to be used with mixed media like alcohol ink and
gilders
paste. This reduces the likelihood of them reacting with your polymer
clay or
something you applied to the surface, the way many varnishes and sealers
do.
In this article I'll discuss my favorite polymer clay resins and
I'll compare the advantages and disadvantages of each.
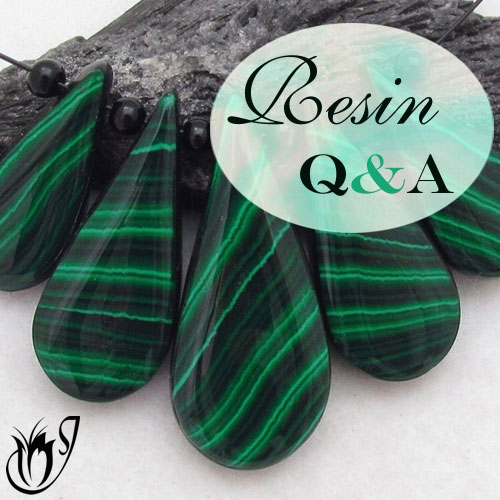
how to seal polymer clay with resin - questions and answers
Resin can be a bit tricky to use, but once you get over the quirks of your
particular polymer clay resin, it is a really wonderful way of finishing polymer clay jewelry. With a bit
of patience you can achieve the most wonderful professional finishes.
In this article I'll address the most common questions around how to
seal polymer clay with resin, some of the problems people have, and how
to fix them.
sealing polymer clay with varnish
which polymer clay varnish should i use?
There are plenty of varnishes available through hardware stores the
world over, but you have to be very careful which one you use. Many
varnishes react with polymer clay and mixed media.
You will find that I have recommended a fairly limited range of polymer clay varnishes, but these are the ones that have been tried and
tested. Because it can be so unpredictable it really pays to stick to the varnishes recommended by experienced polymer clayers.
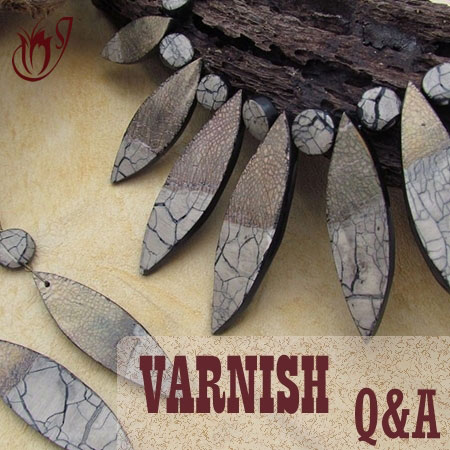
how to seal polymer clay With varnish - questions and answers
As mentioned above, many
varnishes react with polymer clay and mixed media. They also hate moisture
and dust. Unfortunately, this can cause quite a few problems when you are finishing your polymer clay.
In
this article, I'll show you how to seal polymer clay with varnish
without all the hassles. I'll address some of the most common varnishing
problems polymer clayers run into, the likely causes and what you can
do about them.
sealing polymer clay with wax
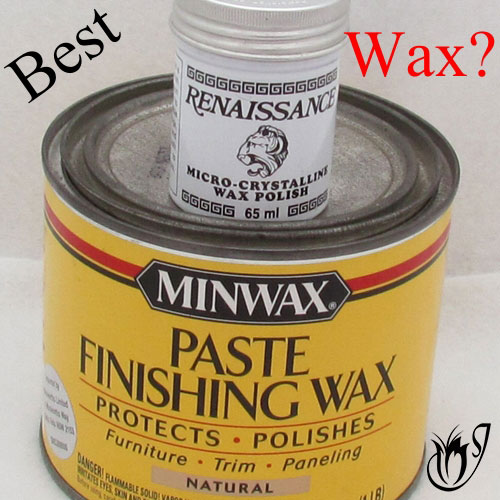
Which Polymer Clay Wax Should I Use?
Polymer clay wax is another great way of finishing polymer clay. It's inexpensive and easy to use. If you wish to keep the
texture of your bead, this is the best way to
seal it. It's a great way to preserve the special matte texture of
Souffle clay. The wax will also enrich and deepen your colors and give
your work a beautiful sheen.
In this article I'll discuss my favorite polymer clay waxes and I'll compare the advantages and disadvantages of each.
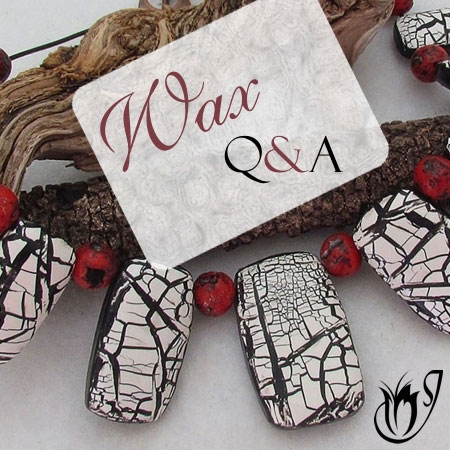
How to Seal Polymer Clay With Wax - Questions and Answers
Polymer clay wax doesn't really require too much
practice to get the application just right. However, there are a few things that are useful to know.
In this article I'll address the most common questions around how to
seal polymer clay with wax, some of the problems people have, and how
to fix them.
sealing polymer clay with liquid clay
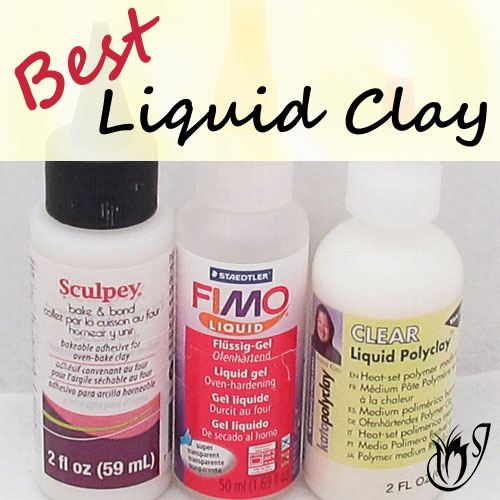
Which Liquid Polymer Clay Sealer Should I Use?
Liquid clays are a great way to seal the surface effects on your polymer
clay. Since they’re basically polymer clay in liquid form, you don’t
have to worry about chemical reactions with any mixed media you have
used. They don't produce the best finish though, so you will probably
want to add a layer of varnish or wax after sealing.
In this article I'll discuss the different translucent liquid clays on the market and compare them to one another.
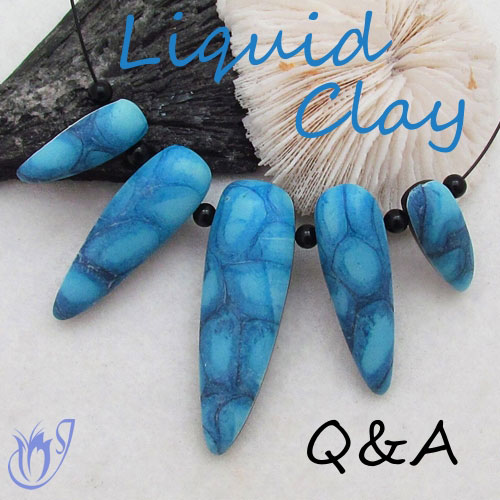
How to Seal Polymer Clay With Liquid Clay - Questions and Answers
Unfortunately
figuring out how to seal and finish polymer clay with liquid clay can be a bit
fiddly. It can burn, under-bake, go cloudy, bubble and more.
In this
article I'll be discussing some of the problems that crop up when sealing with liquid clay and what to
do about them.
all about Drilling polymer clay
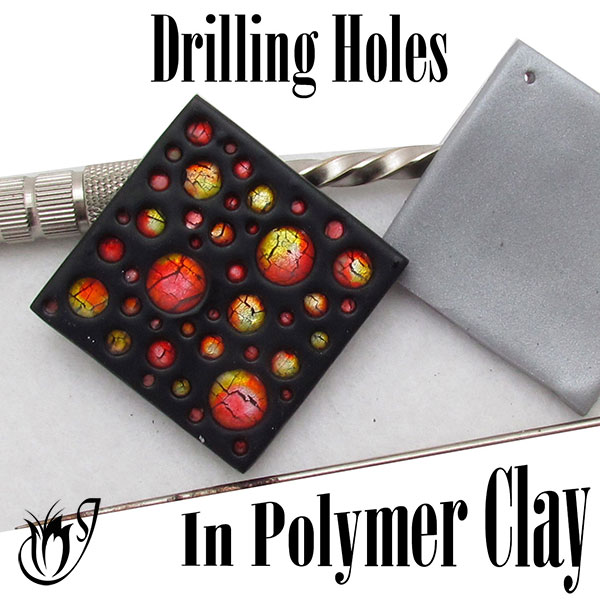
Drilling polymer clay beads: Video
In this tutorial I'll be comparing how to make holes in your polymer clay beads using a
push drill when your clay is baked and a piercing
pin when your clay is raw.
Many polymer clay beginners are intimidated by the thought of using a drill, I know I was. But I hope to show you how easy it is to use the manual drill and the
far superior results it delivers. Drilling polymer clay is a huge step towards finishing polymer clay professionally.
Do you have a question around finishing polymer clay that I haven't addressed? Let me know in the comments, and I'll be glad to add it in.
If you would like to stay up to date with new articles and tutorials as they are released, please join my Facebook Group, and don't forget to like and share with your friends.
The group is the best place to keep up with all the latest news, product
releases and tutorials, and you will have early access to new material
before it is released on YouTube or the website. There are also exclusive
giveaways and a discount coupon for my shop, JessamaDesign on Etsy.
We have a fabulous group of members already. It's a great place to
share, be encouraged and ask all of your polymer clay questions.



Please leave your comments below: