Polymer Clay Tips


All the polymer clay tips and tricks I have accumulated over the years. You'll get a glimpse into the things the professionals know
about that make working with polymer clay so much easier and more
rewarding.
I will be constantly adding to them so check back often. If you don't want to miss an update, like my Facebook page to stay in the loop.
Polymer Clay Tip Videos
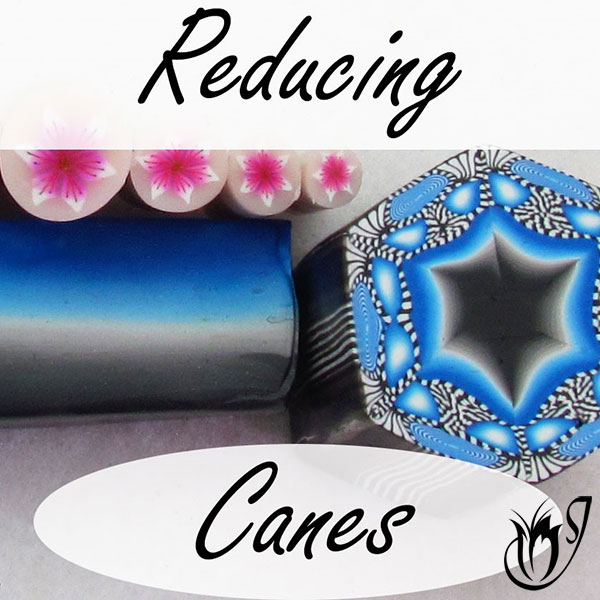
How to reduce polymer clay canes
Reducing canes is an important skill for all polymer clayers to learn.
In this cane reduction tutorial, I'll be showing the correct procedure for reducing round, square, triangular and hexagonal polymer clay canes.
how to clean your polymer clay pasta machine
I
find that a quick clean everyday is more than enough to keep my pasta machine
in tip top condition. As long as I'm diligent about doing it every
evening, when I am finished working for the day, I don't have any
trouble with clay build up on my blades.
In this tutorial I'll show you how to clean your polymer clay pasta machine without removing the blades or fenders. It’s really simple and easy to do, and it only takes five minutes.
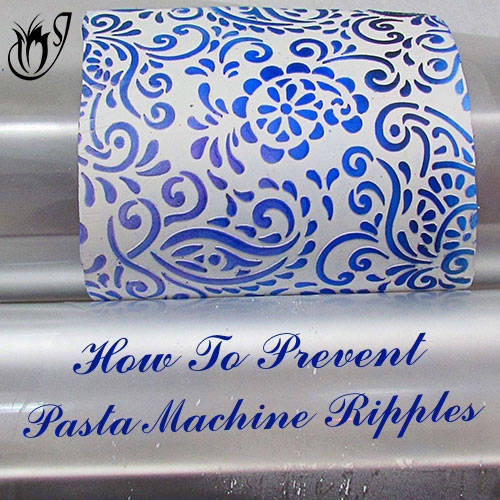
How To Prevent Pasta machine Ripples
Don't you hate it when
you've worked so hard to make a Skinner Blend, only to have it ripple in your
pasta machine?
In this video tutorial I'll show you how to prevent your clay from rippling in your pasta machine, as well as, how to prevent pasta machine poop from getting onto your polymer clay.
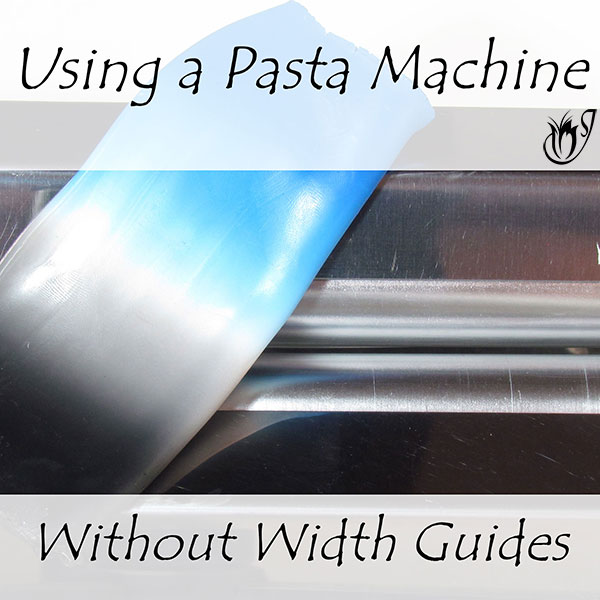
Using a polymer clay pasta machine without width guides
Pasta machine width guides are great for keeping your Skinner Blend or polymer clay veneer to a specific maximum width, but they aren't available for all makes of pasta machine. So what to do?
In this polymer clay
tutorial I’ll demonstrate how to use your pasta machine
without width guides and still prevent your Skinner
Blend or veneer from expanding to the width of your rollers.
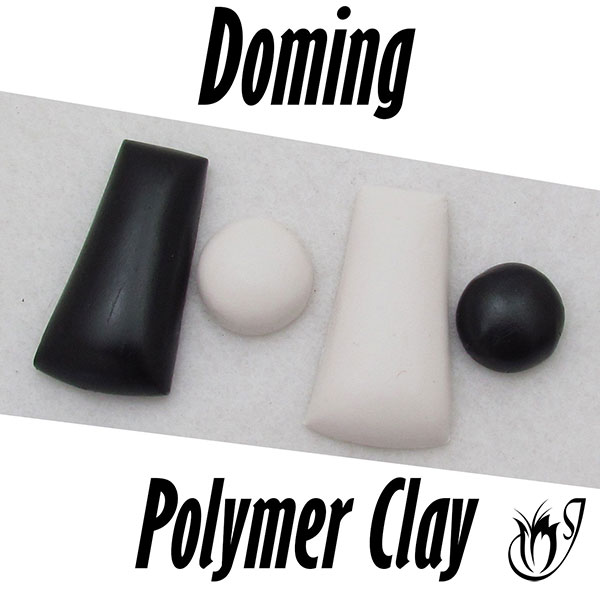
How to dome polymer clay
In this polymer clay tutorial, I'll be showing you how to dome
polymer clay beads using two different methods. The first and more common method is done by using a
cutter. The other is with a template.
Depending on your particular project, doming can add
a new and interesting dimension to your work. Knowing how to dome polymer clay is a simple, but useful
polymer clay tip that is worth adding to your repertoire.
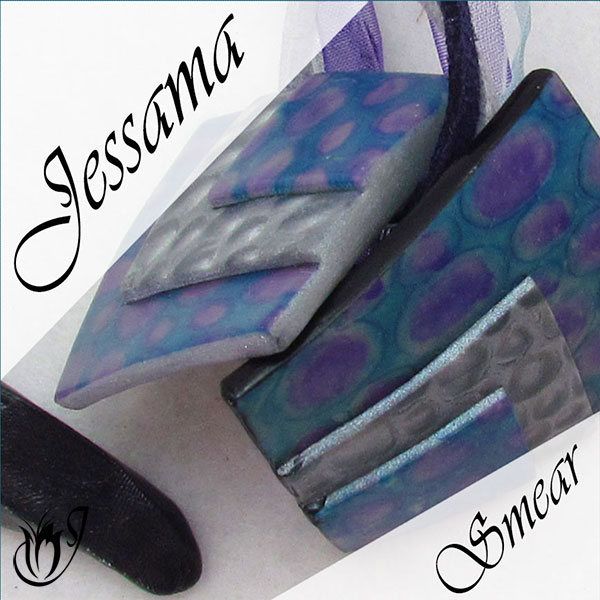
The Jessama Smear
In this polymer clay tutorial I’ll
show you how to finish off your beads using a technique that I call the
Jessama Smear.
I've shown this technique in other videos, but in this detailed Jessama Smear Tutorial, I'll show you all the tips and tricks you need to get it right every time. It takes a bit of practice, so hang in there and you'll soon have it mastered.
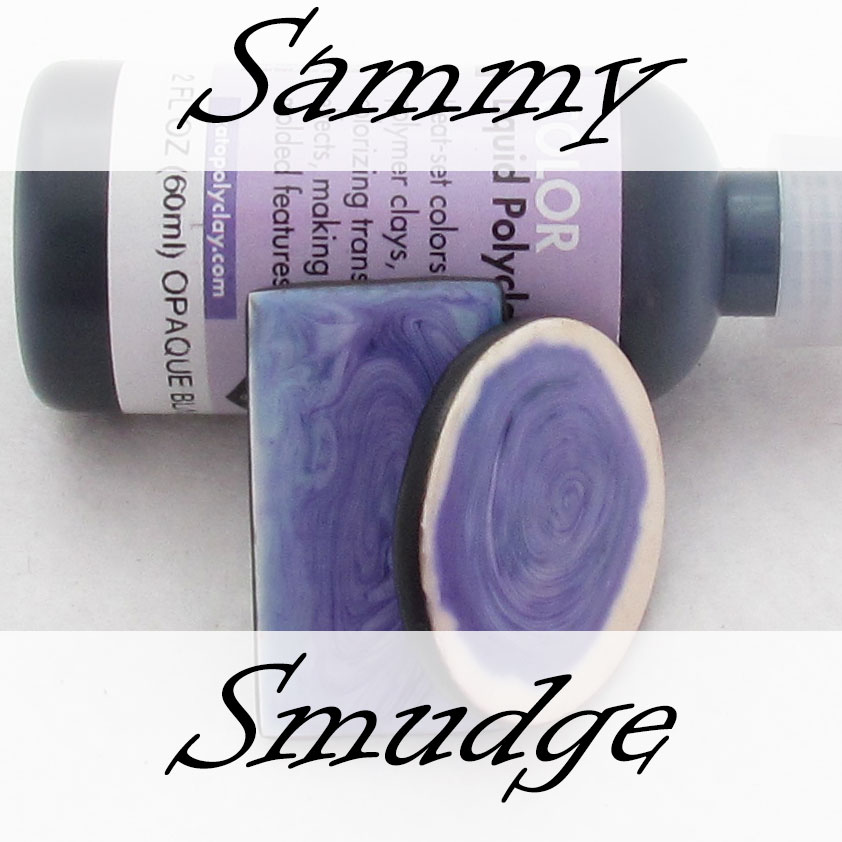
The sammy smudge
The Sammy Smudge is another great technique for finishing off your polymer clay pendants.
It gives a wonderful shiny finish, and reduces the need for sanding. It can be used as a stand alone technique, but using it over the Jessama Smear will yield the best results.
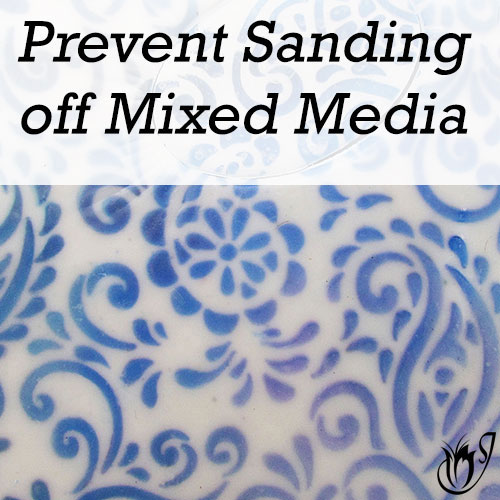
Preventing Polymer Clay Surface Techniques From Smudging
In this polymer clay tutorial I'll show you an indispensable little trick that prevents your
mixed media polymer clay surface techniques from smudging or scratching
off.
It also allows you to sand and buff surface effects, such as alcohol inks, mica powders and other mixed
media that you normally wouldn't be able to.
How to sharpen polymer clay tissue blades
In this polymer clay tip tutorial I'll be showing you three different ways to sharpen your polymer clay blades.
I'll also show you how to clean your blades between uses. It reduces residue and
will make your cuts crisper.
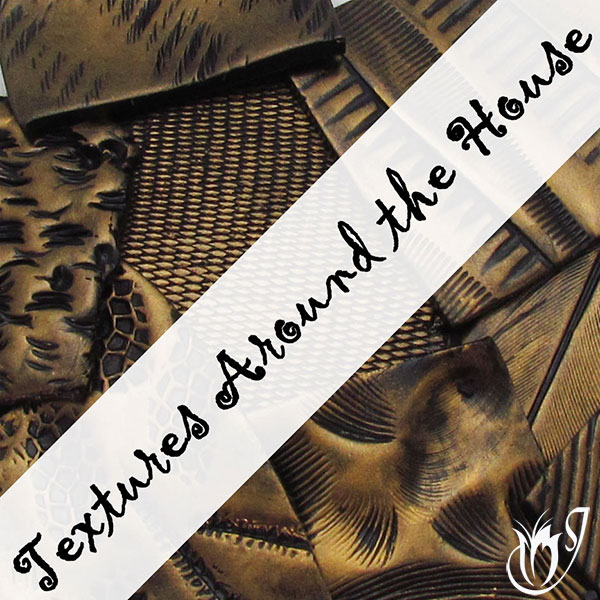
Polymer clay textures around the house
In
this video I’ll show some of the many polymer clay textures that are found lying around in most homes and gardens. From feathers to
pasta, they're all right there in front of you.
They're a great way to add
interest to your polymer clay designs, and unlike polymer clay texture sheets and stamps, they don't cost a cent.
Polymer Clay Articles
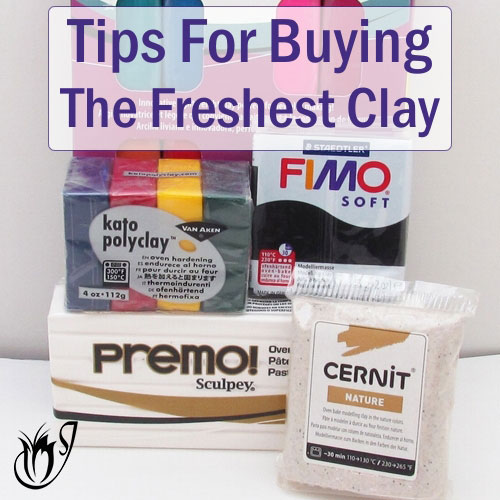
Tips for Buying the freshest polyclay
Old clay can make your life a real
misery no matter what brand you choose!
Once you've figured out which polymer clay brand will best suit your
needs, you can use the tips and tricks in this article to make sure that
the polyclay you buy is soft and fresh.
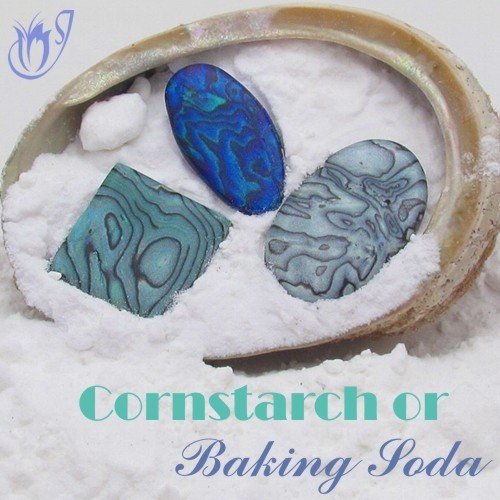
Baking Polymer Clay In Cornstarch or Baking Soda
Baking
polymer clay in cornstarch or baking soda protects the shape of your bead and prevents flat spots,
stops your beads from rolling around, and, most importantly, helps prevent
burning.
In this article I’ll talk about the ins and outs of baking polymer clay in cornstarch and baking soda and things to look out for. I’ll also show
you a few alternatives that achieve the same results without as many
hassles.
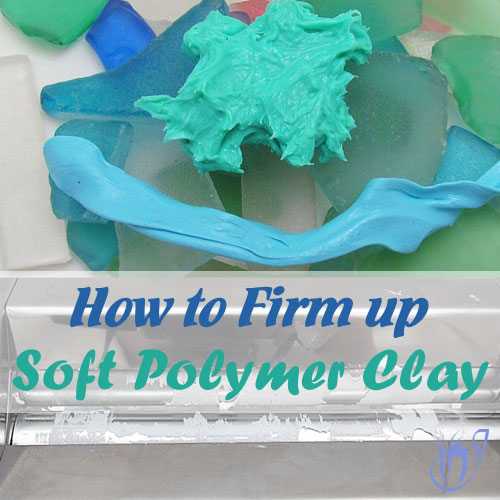
How to Firm Up Soft Polymer Clay
Soft polymer clay is almost impossible to work with. It sticks to everything, and everything sticks to it, and
worst of all, it can gum up your pasta machine. Some brands are more
likely to be the culprits than others, but even the firmest brands can
turn sticky during the summer.
In
this article I’ll show you a few tips to help firm up your soft polymer clay, and keep it workable, even through the hottest months of the year.
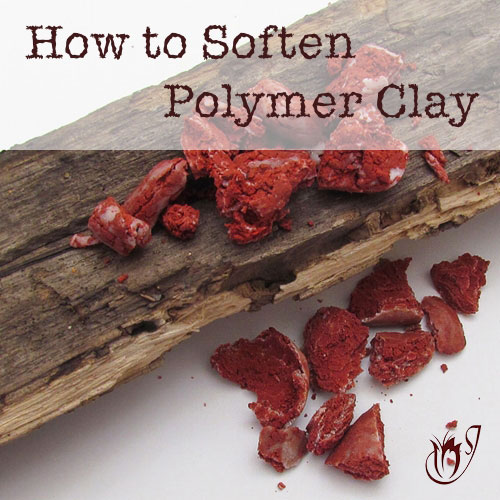
how to soften polymer clay
Hard clay
has to be one of the most irritating things you come across when working with
polymer clay. Thankfully there are many different things you can do to get it back on track.
In this article I’ll show you how to soften polymer
clay and bring some life back into it with a range of easy tips and tricks.
Do you have any great polymer clay tips to share? Let me know in the comments below.
This page will be constantly growing. If you would like to stay up to date with new articles and tutorials as they are released, please join my Facebook Group, and don't forget to like and share with your friends.
The group is the best place to keep up with all the latest news, product
releases and tutorials, and you will have early access to new material
before it is released on YouTube or the website. There are also exclusive
giveaways and a discount coupon for my shop, JessamaDesign on Etsy.
We have a fabulous group of members already. It's a great place to
share, be encouraged and ask all of your polymer clay questions.




Please leave your comments below: