Polymer Clay Art Pendant Tutorials
The polymer clay art pendant tutorials on this page showcase a wide range of techniques. Everything from faux to antiquing is covered here.
There is something for everyone, from simple projects suitable for complete beginners all the way to complex, multi-step projects. Having said that, every tutorial is explained in step by step detail, so don't be intimidated. If you see something you would like to make, give it a try. You may be surprised, and even if you don't get it perfect the first time, you will have learned a new skill that you can incorporate into your next project.
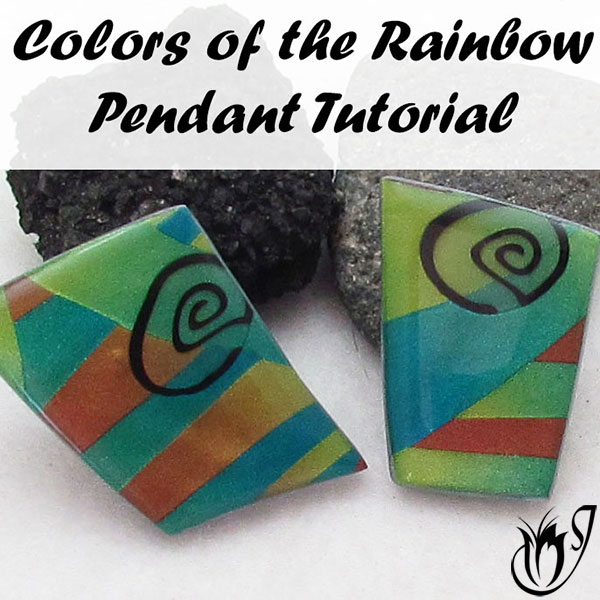
Rainbow Pendant Skinner Blend Tutorial
My Colors of the Rainbow Pendant is a fun Skinner Blend project that's easy to make and a
great project for beginners to try.
I’ll be showing
you the entire process, from making the pendant, to completing a beautiful polymer clay necklace.
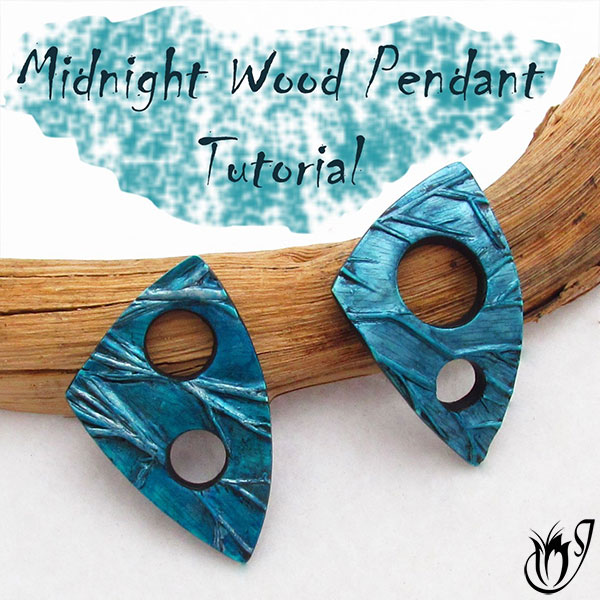
Midnight Wood Pendant Polymer Clay Tutorial
In this Midnight Wood Pendant
Polymer Clay Tutorial I’ll show you how to
make two beautiful pendants, using a hand-carved texture stamp, mica powders and alcohol inks.
See my Dead Tree Texture Stamp Tutorial to find out how to make the texture stamp, or you can buy it from my Etsy shop if you prefer.
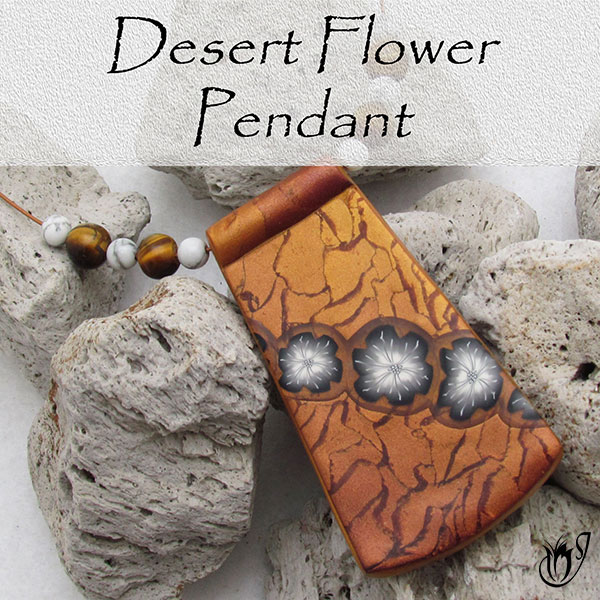
desert flower pendant necklace
The desert flower tutorial combines
the Dragonscale Mica Shift technique and a black and white Flower Cane
into a beautiful pendant, which we will string to create a necklace.
The techniques used in this tutorial lend themselves to many different designs, so play around with it and see what you can come up with.
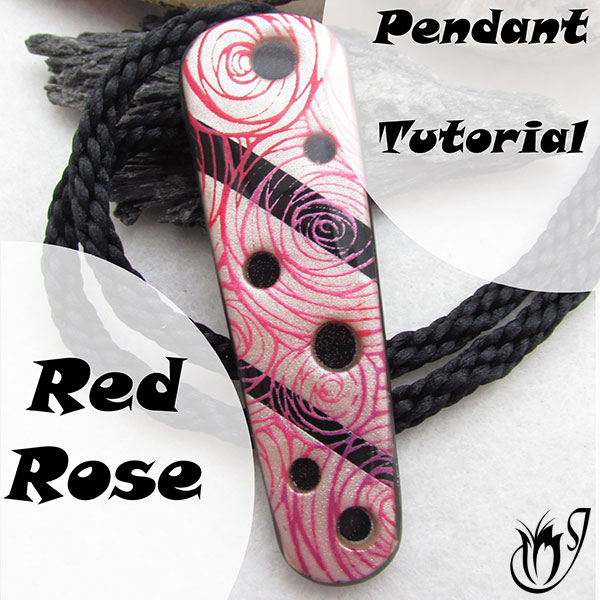
Red Rose Silk Screening Pendant Project
In this red rose polymer clay silk screening project we will be including a touch of romance by adding silk screened red roses to our design.
Silk screening is a great way to add interest to your polymer clay jewelry. You can use it alone or as a backdrop to other techniques. Keep the colors simple or add a rainbow. The possibilities are only limited by the silk screen designs you can find. Fortunately for us polymer clayers, there are plenty to choose from, so take a look around and have fun with them.
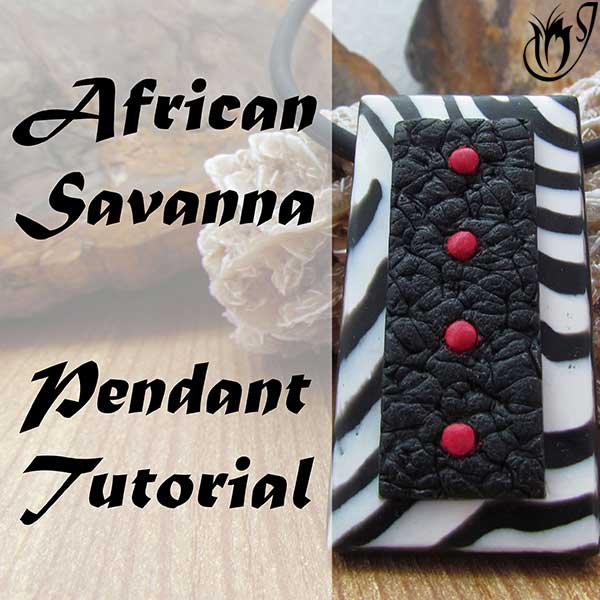
African savanna Polymer Clay Art Pendant
In this two part African Savanna tutorial I'll be showing you how to make three
different zebra stripe polymer clay designs and then using them along
with faux elephant skin to make African Savanna polymer clay jewelry.
The zebra stripe techniques range from silk
screening, through Mokume Gane to caning, so this is a cool project for
everyone, from beginner to the more advanced.
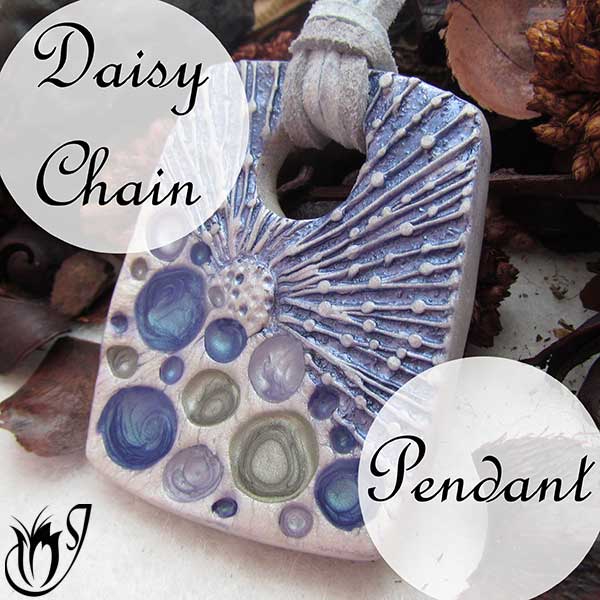
Daisy Chain Polymer Clay Project
In this Pebeo paint polymer clay project, I'll show you how to make a textured
polymer clay pendant, with small bezels that we will fill with Pebeo
paints and resin. I'll share some tips on how to manipulate the paint in
small spaces and how to fill the small spaces with resin without it
running over.
You can adapt the project to create many different
pieces. Just change up the shape, texture, colors, or all three. This is a
very versatile polymer clay jewelry project, using a combination of basic
techniques. Perfect for beginners.
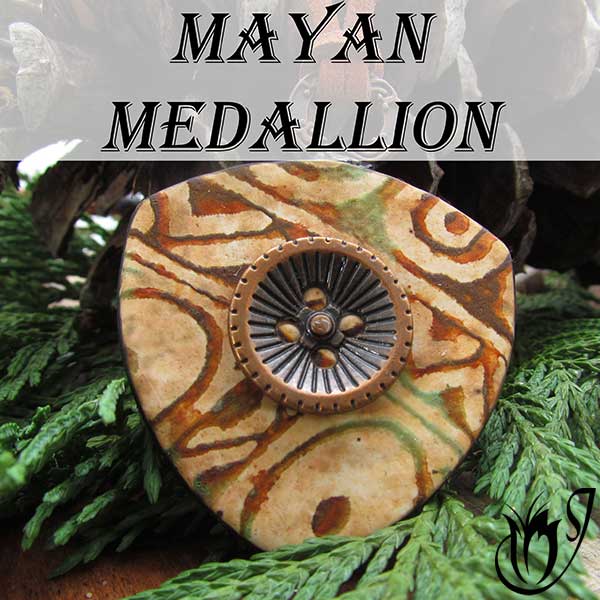
Mayan Polymer Clay Medallion Tutorial
This tutorial leads on from my Pills and Coffee Swellegant Veneer technique. In this second part I'll be showing you how to create a Mayan Polymer Clay Medallion.
This
tutorial includes tips on how to add buttons or focal pieces to your
work, as well as a cool bail idea and a simple, but effective stringing
technique that minimizes the need for fancy findings.
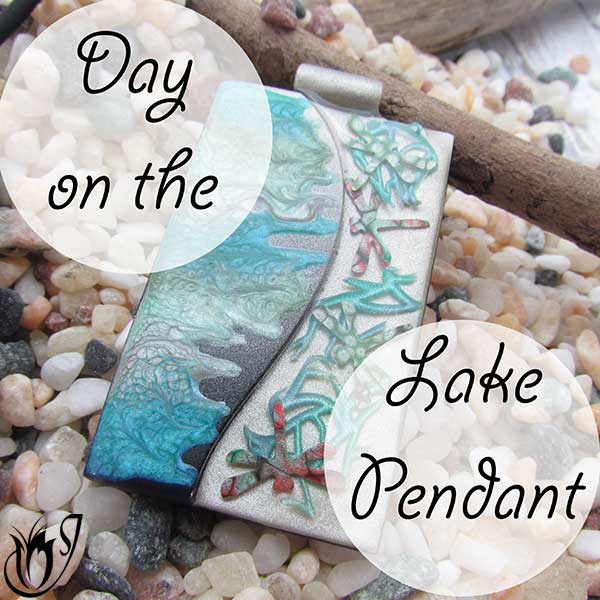
A Day on the Lake Polymer Clay art Pendant Tutorial
In this tutorial I'll be showing you how to make a focal polymer clay
pendant with a difference. We will be exploring new ideas for using
Pebeo paints and mica frills along the way.
There are lots of different techniques in this Day on the Lake project so it's quite long, but really fun to make.
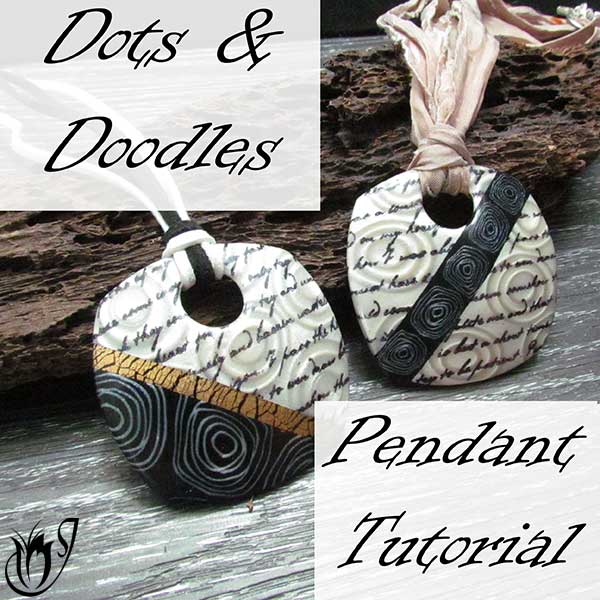
Dots and Doodles Polymer Clay art Pendant Tutorial
In this Dots and Doodles polymer clay pendant tutorial
I’ll show you how to make two beautiful pendants using the doodle rose cane and some simple ink stamping over a mica shift.
This is an easy but very effective polymer clay project, and can be adapted to create many different designs.
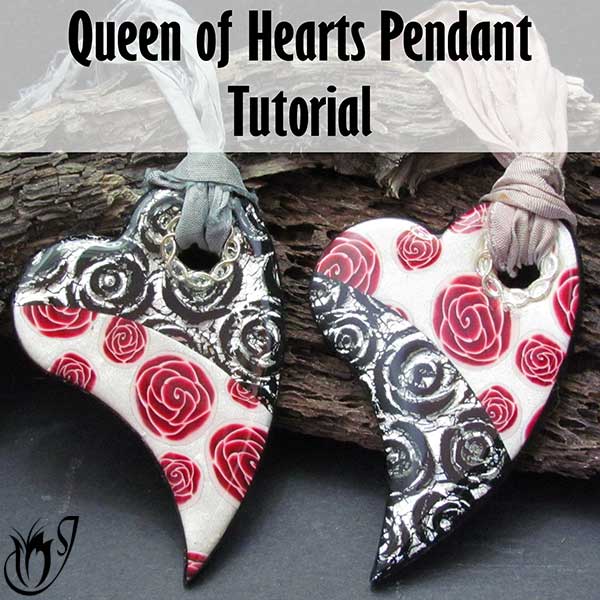
Queen of Hearts Polymer Clay Tutorial
This Queen of Hearts polymer clay project will incorporate a rose cane , as well as a Lisa Pavelka
Peel with a rose texture stamp and silver leaf. It will all be tied together
with a silver ring for a hanging point and a coat of resin for a shiny finish.
This project can be done with any shape pendant and can even be made into a
collar or bracelet, so have fun and experiment with the techniques shown.
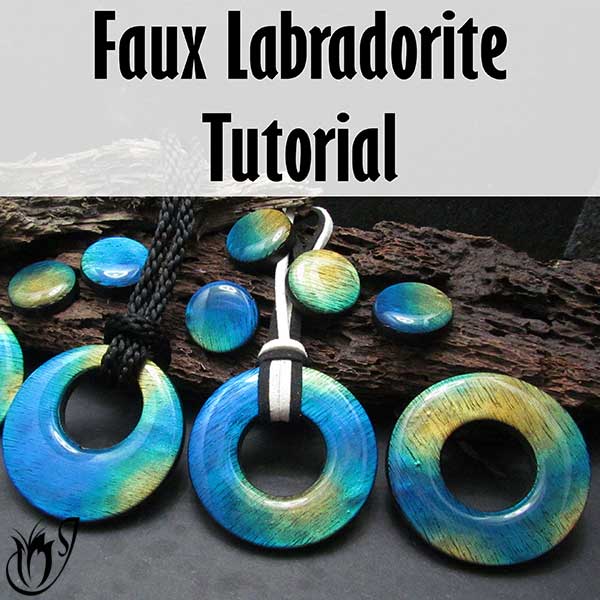
Polymer Clay Faux Labradorite Tutorial
This is an easy polymer clay tutorial, where I'll show you how to make faux
Labradorite using a simple method with just black polymer clay and mica powders.
The mica powders
recreate the shine that real Labradorite possesses. I show a real piece in the
tutorial as a reference.
This technique is super easy, fun and can be done with
any mica powder you want, so have fun and play around with what you can create.
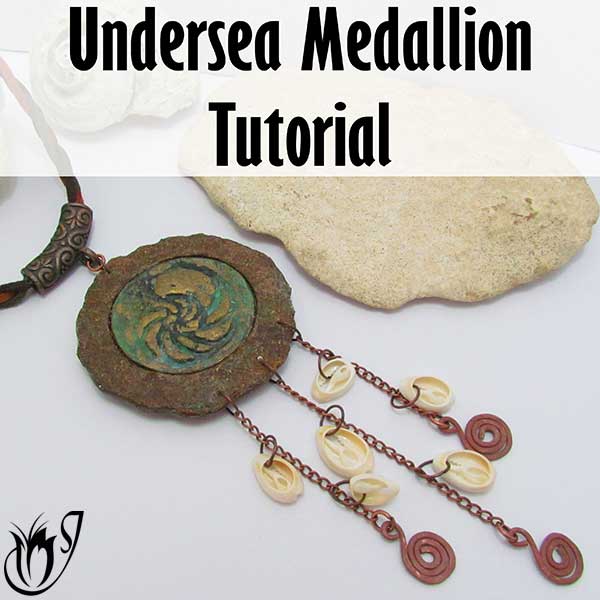
Under The Sea Polymer Clay Medallion Tutorial
This Under the Sea polymer clay medallion is a great excuse to have some
fun and mess around with Christi Friesen's fabulous Swellegant range.
This
is a very unpredicable medium, but I've been testing it out on various
projects for quite a while now, so hopefully, in this project I will be
able to give you some pointers to bring it a little more under control
and we will end up with a beautiful rusted polymer clay medallion.
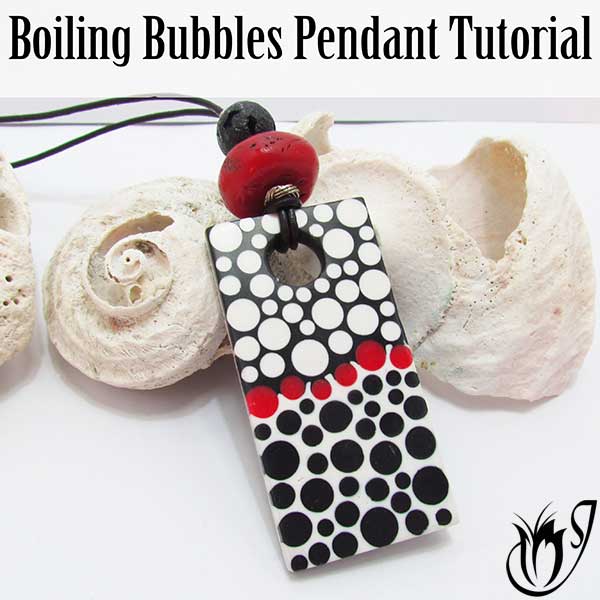
Boiling Bubbles Polymer Clay Design
This Boiling Bubbles polymer clay design is a follow on from my Faux
Coral and Lava tutorial above. If you haven't seen that video, you'll need to
watch it before you continue with this one.
In
this tutorial I'll be showing you how to use a basic back-filling
technique to create a stunning modern pendant to go with the Faux Coral
and Lava bracelet. The polymer clay techniques in this project are fun
to do, and I'll show you all the tips and tricks you need to make it
nice and easy to achieve a great result.
Electric Leopard Liquid Polymer Clay Donut Tutorial
In this Electric Leopard polymer clay donut tutorial, we'll be using tinted translucent
liquid clay to create a striking, faux dichroic donut pendant.
You
can switch up the colors and shapes to create lots of unique designs
using this simple and effective technique, so have fun playing around
with it.
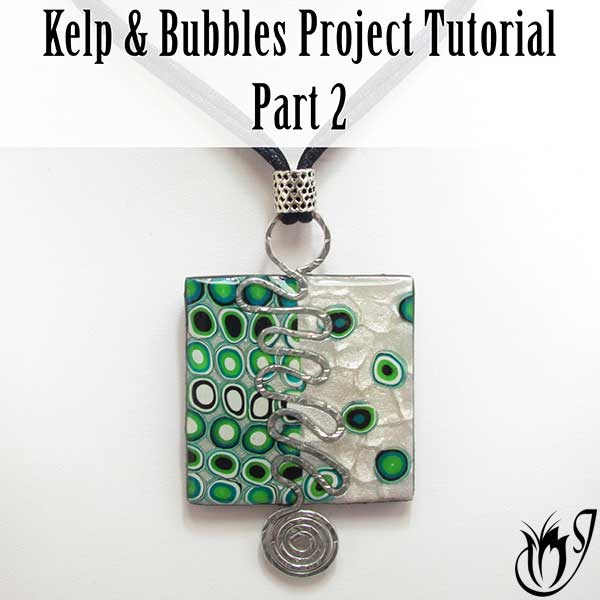
Kelp and Bubbles Polymer Clay art Pendant Project
This polymer clay art pendant project is part two of the Kelp and Bubbles
earring project. In this second part we will be using the mod cane we
made in part one to create a beautifully, eye-catching pendant with a
hammered wire insert. This tutorial includes lots of information on
burnishing, joining seams and using Ice Resin. I love how this pendant
came out. I hope you enjoy making it.
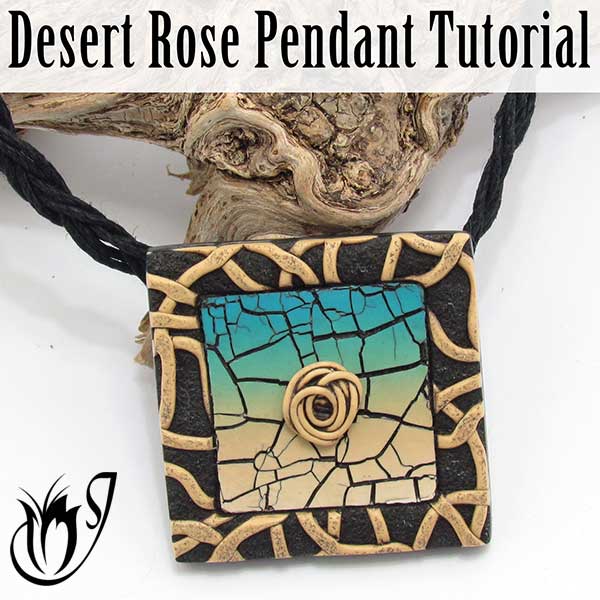
Desert Rose Polymer Clay Crackle Tutorial
In this polymer clay crackle tutorial, I'll be showing you how to create
a cracked earth, rustic crackle using a heat gun. We will also be
learning how to create a contained 3-part Skinner Blend, a symmetrical
border and exploring techniques with an extruder and antiquing.
Lots of fun techniques in this tutorial - have fun!
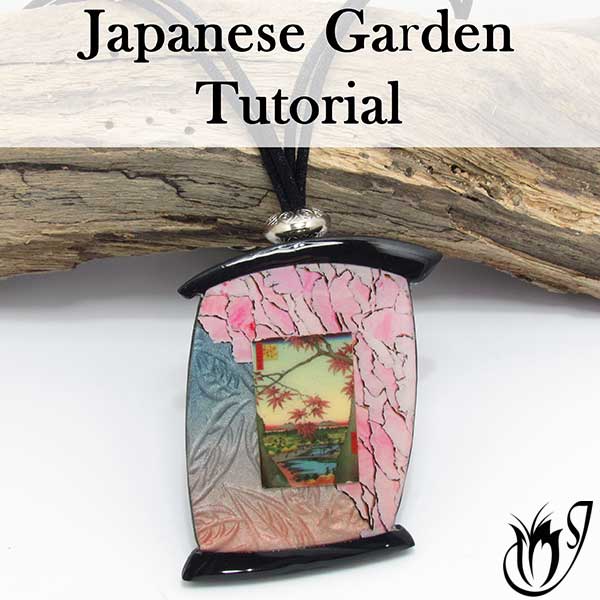
Japanese Garden Polymer Clay Transfer Tutorial
In this tutorial we will be creating a beautiful oriental pendant using a
polymer clay transfer, a Cernit Metallics skinner blend mica shift and
the ever popular watercolor technique.
I'll be showing you a different bail and stringing technique in this one, so be sure to watch to the end.
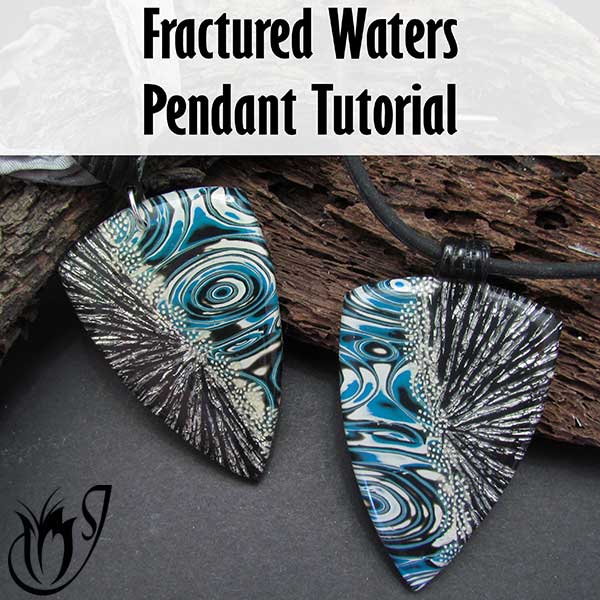
Fractured Waters Polymer Clay art Pendant Tutorial
This fractured waters polymer clay pendant tutorial is made up of a
beautiful combination of lots of easy, fun techniques. This video is
full of tips and tricks to help you get the most out of them.
I'll
show you how to remove the seams between your veneers, how to deal with
distortion, an easy way to make sure your bail is symmetrical and much
more in this video.
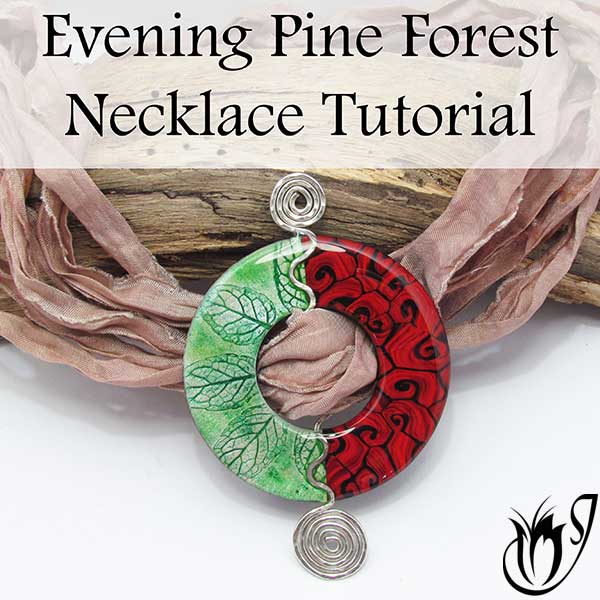
Polymer Clay and Wirework: Evening Pine Forest Project
In this polymer clay and wirework tutorial I'll revisit the popular Starry Night technique and
another technique involving mint leaves. I'll also show a new stringing
method using wire and sari ribbon.
This tutorial is full of
cool tips and tricks and the design works really well with most veneers ,
so feel free to use any veneers you want with it. Have fun.
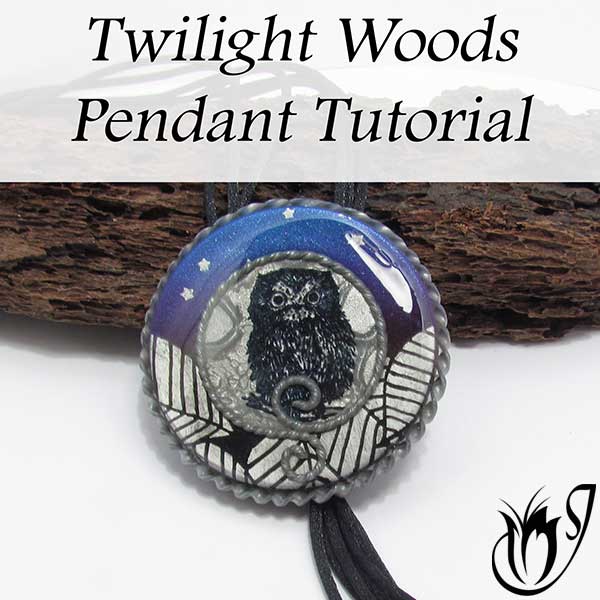
Stamping Polymer Clay: Twilight Woods Project
In this stamping polymer clay tutorial we will be making a pendant
with a twilight woods theme using a Skinner Blend, Mica Shift, stencils
and stamping.
This is a fun versatile polymer clay art design that
can be adapted to many different themes. You can switch it up by using
fall colors and a squirrel, spring colors and birds or summer colors and
flowers, bees or butterflies. Those are just a few ideas. See what you
can come up with and make your own design.
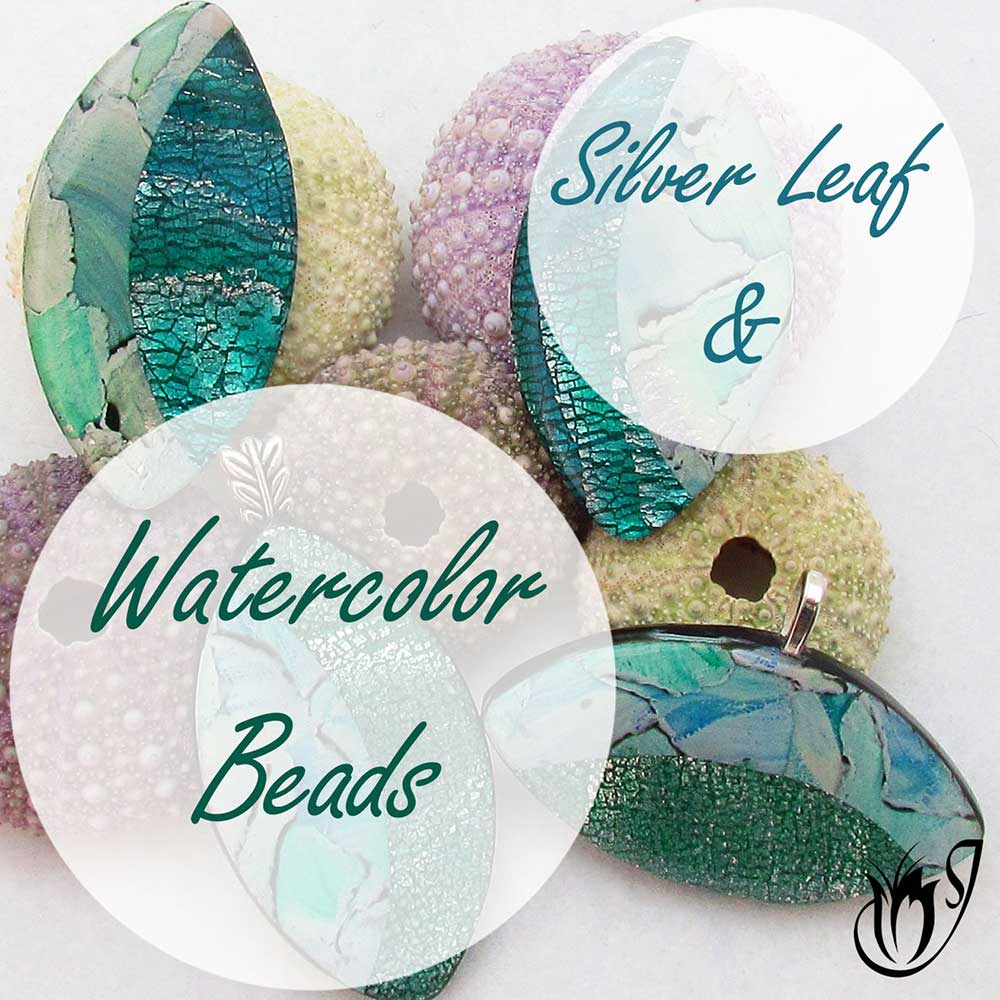
Watercolor and Silver Leaf Polymer Clay art pendants
After showing these
polymer clay pendants at the end of my Translucent Silver Leaf Mokume Gane Tutorial,
it was requested by many different people that I do a project tutorial on them.
Well here it is...
I'll be showing you how to combine the Watercolor Technique, with Translucent Silver Leaf Mokume Gane to make these beautiful, watery, Silver Leaf and Watercolor Polymer Clay Pendants.
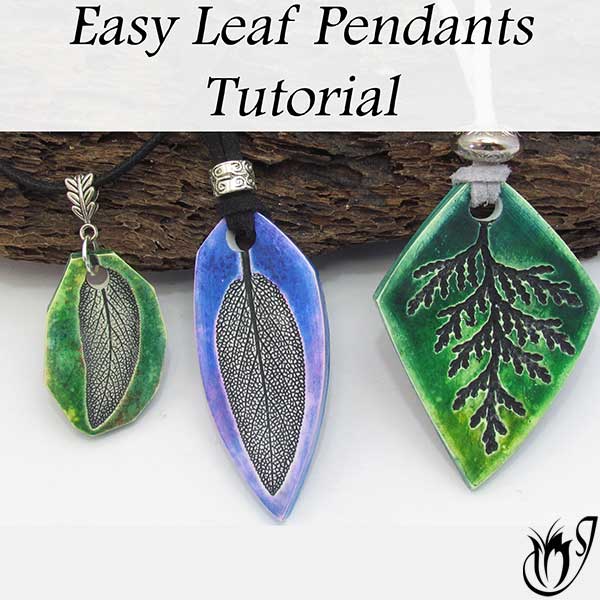
Easy Polymer Clay Leaf Pendants
This polymer clay leaf pendants tutorial is an easy, quick project.
Perfect for the markets or for gifts, these pendants are really fun to
make, and super versatile.
In this tutorial, I have used pastels
for the background and black paint for antiquing. You can try different
leaves and paint colors, but why not also use mica powders, alcohol inks
or even gilders paste instead of the pastels. You can also highlight
the leaves with mica powder instead of antiquing them. The combinations
are endless with this project. Have fun with your polymer clay art designs!
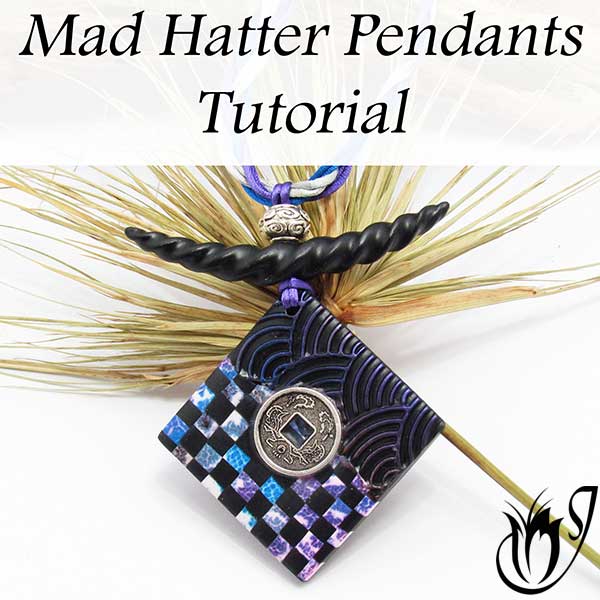
Mad Hatter Polymer Clay Pendant Design
Ever wonder what to do with your leftovers? Well in this Mad Hatter polymer
clay pendant design I’m going to take the four leftover veneers from our
polymer clay ring dish tutorial and turn them into four quirky pendants.
We’ll be creating a mosaic from the leftovers and we’ll pair
that with a Chinese coin, a fish scale texture and a new bail and stringing
design.
It’s great fun and has lots of cool techniques. This
leftover design will work with just about any bright leftovers you have so
gather up some of your leftovers and have fun.
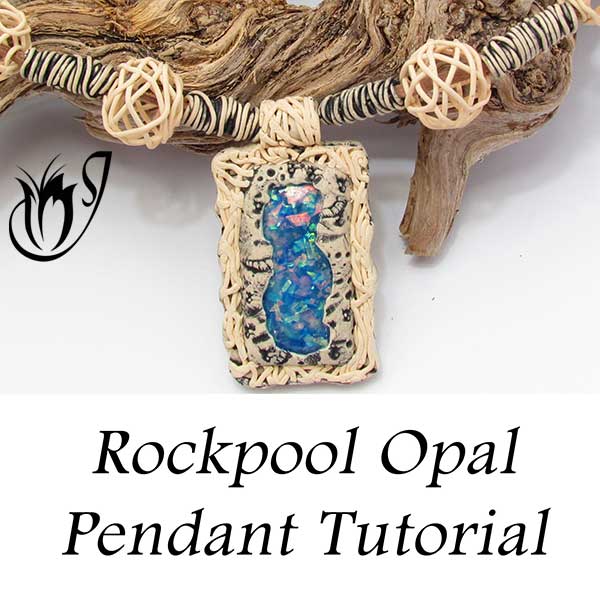
Rockpool Faux Opal Pendant Tutorial
In this faux opal tutorial I’ll demonstrate how to create a
deep blue opal cabochon and a rustic drift wood bezel.
I use a lot of different
techniques in this tutorial that can be used across many other projects. Feel
free to swap out the opal for any faux stone cabochon you want or even take
the bezel idea and apply it to beads, jars, coasters and many other projects. It’s
easy, fun and results in a stunning piece.
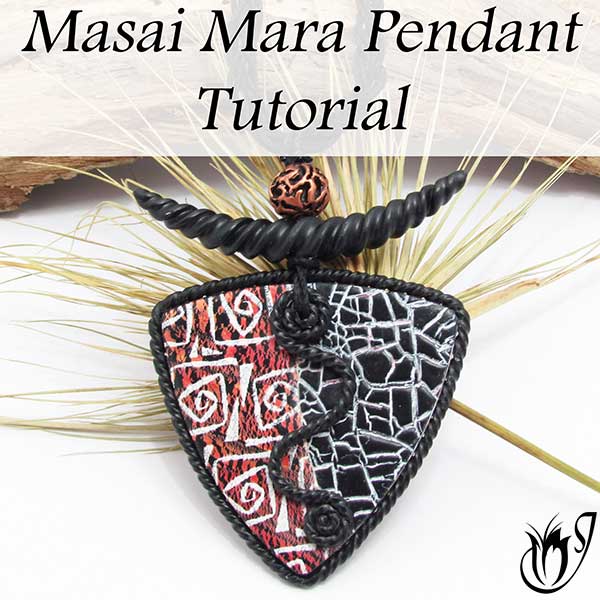
Masai Mara Polymer Clay Pendant Tutorial
In this Masai Mara polymer clay pendant tutorial I'll show a beautiful
paint crackle with a silkscreened tribal pattern on top of the veneer. I'll
also use a crackle stamp and some paint to create another veneer and finally
everything will be tied together with a beautiful twisted border and bail.
This project is fun, easy and the techniques can be applied
to many other projects so don't be afraid to try out some new things. Have fun.
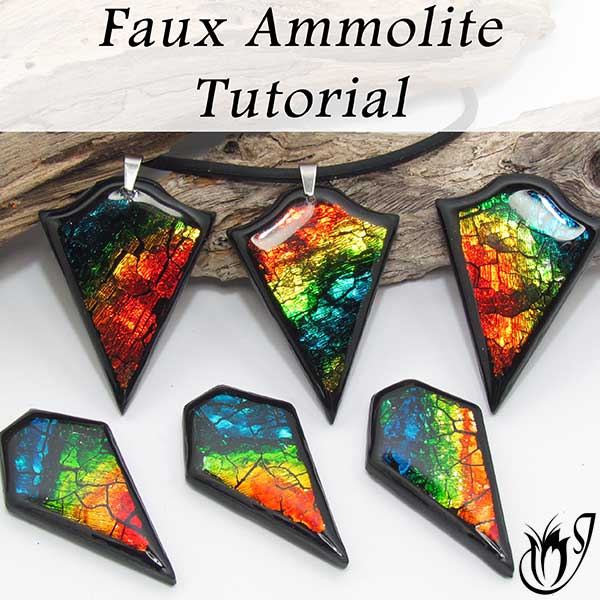
Faux Ammolite Polymer Clay Pendant Tutorial
In this tutorial I'll show a cool technique using alcohol
ink and metal leaf to achieve faux ammolite. It's a fun, stunning technique
that can be used to create many faux stones.
If you don’t want to create a faux stone, just change up the colors. The result
will still be gorgeous. You don’t even have to crackle the clay with a heat gun.
You could run the metal leaf and clay through a pasta machine and then apply
the inks to create a more subtle crackle if you wanted.
I'll be adding many more polymer clay art pendant tutorials to this page over the coming months. If you would like to stay up to date with new articles and tutorials as they are released, please join my Facebook Group.
The group is the best place to keep up with all the latest news, product
releases and tutorials, and you will have early access to new material
before it is released on YouTube or the website. There are also exclusive
giveaways and a discount coupon for my shop, JessamaDesign on Etsy.
We have a fabulous group of members already. It's a great place to
share, be encouraged and ask all of your polymer clay questions.
If you are looking for something a little more complex, take a look at my Patreon page. The community over there is steadily growing and I have lots of surprises and additional features coming up soon for my Patreons, so do come over and join us. We would love to welcome you. You can also find some of my more complex tutorials at my Etsy shop.
Don't forget to like and share with your friends, so that they can learn too.



Please leave your comments below: