Make a Polymer Clay Texture Stamp Inspired by Winter Tree Branches
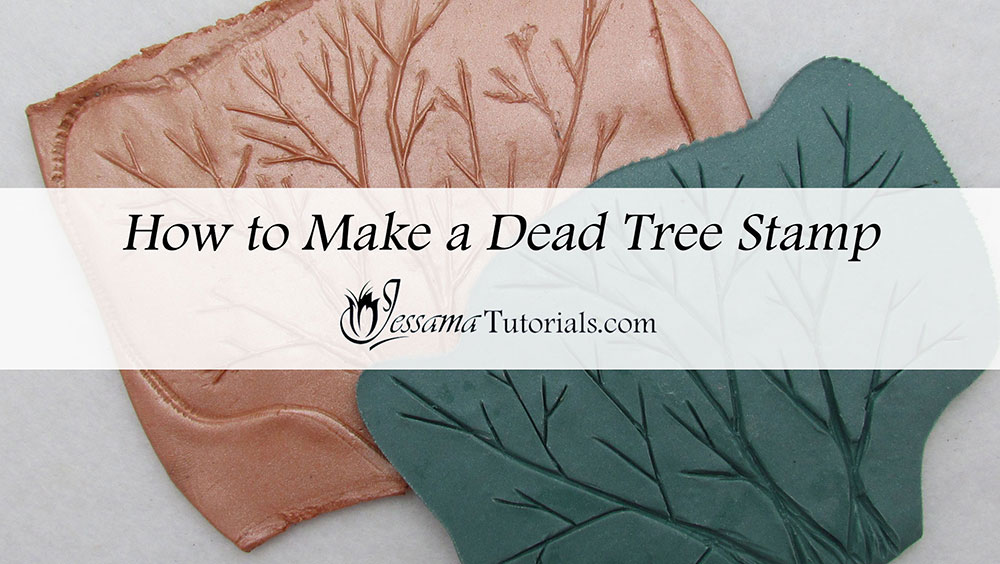
In this video, find out how to make a polymer clay texture stamp inspired by winter tree branches. It's easy to do and you can use the same technique to make any texture you like. It's uses very few supplies so everyone can give it a try.
This tutorial will be
part one of a three part project tutorial. The links to the rest of the series are in the suggested links box below the video. You’ll need the texture stamp to make the beads in part two.
If you don’t feel like spending all the time it takes to make this texture, it's available for purchase at my Etsy shop. You can also use a different texture for the upcoming project if you want to.
you will need the following supplies:
- A large piece of leftover clay
- A pasta machine
- A piercing pin, needle or skewer
- A tissue blade
- An oven
- An acrylic roller
How to Make a Polymer Clay Texture Stamp Inspired by Winter Tree Branches
- To start with you are going to need a large piece of ugly leftover clay that you really can't do anything else with.
- Condition your clay and make sure that it is soft, but not too soft. You want the consistency of fresh Kato, or firm Premo. This consistency yields the best carving results.
- First lightly trace the lines of the tree onto your stamp using your tool. At this point you don’t want to be pressing into the clay hard. You just want a rough outline of your texture. Don’t worry about getting all the little branches perfect, you’ll have plenty time to fix those later.
- Once you’re happy with the outline you can start to push into the clay, following the lines you’ve traced.
- Vary the lines from thick to thin as you travel further up the branches. (See the video for more detail.)
- Once you’ve finished, go over the design again, making the lines deeper. Add more branches if needed.
- Scratch inside the lines to give your texture stamp the texture of wood.
- Bake for a full hour at the recommended temperature for your clay brand.
- Let the stamp cool, and it's ready for use.
See part three in the series - Stringing the pendants to make a bracelet and a necklace.
suggested links
- Project Part Two - Making the Pendants
- Project Part Three - Completing the Jewelry
- Dead Tree Texture Stamp on Etsy
- How to Make a Pebble Texture Stamp
- How to Use Handmade Polymer Clay Texture Stamps
If I have missed something, or you still have questions, please leave a comment below.
You can like my Facebook page to stay up to date with more polymer clay tutorials like this one as they are released.


Please leave your comments below: