You are here: Home >> Polymer Clay Surface Effect Tutorials > Mica Smash
Polymer Clay Mica Smash Tutorial
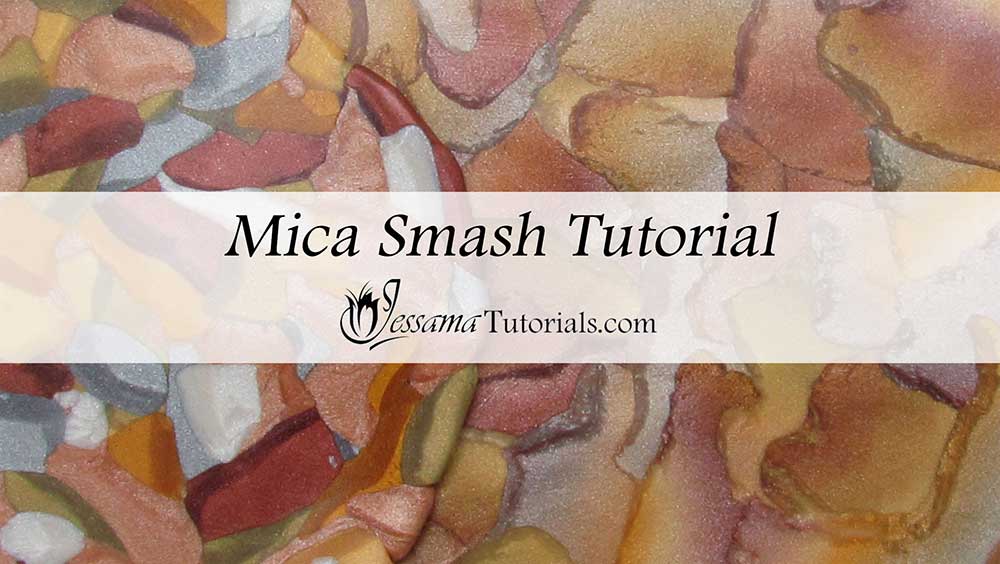
The Polymer Clay Mica Smash Technique is a fun combination of Maggie Maggio's Watercolor Technique and the Dragon Scale Mica Shift. In this tutorial I'll show two variations, one with plain colors and another with a Skinner Blend.
I thoroughly enjoyed myself putting this tutorial together. I hope you will too.
You will need the following supplies:
- Metallic polymer clay (I'm using the leftovers from my Mica Frills Tutorial)
- A tissue blade
- A pasta machine
- An acrylic roller
How to Make a Polymer Clay Mica Smash
Sheet One:-
To start with you’ll need metallic clay. I'll be using the leftovers from my Mica Frills Tutorial.
You can use any colors. The only rule is that they must be metallic to create the mica shift effect.
- Take these pieces and start smashing them together to form a sheet. There’s really no rhyme or reason to the pattern. It’s really supposed to look like a bomb went off. Just put the pieces together randomly.
- Once you’ve smashed them all together, flatten out the sheet with your acrylic roller.
- Now you’ll need a Skinner Blend made up of metallic clays. I’m using the same one I made in the Mica Frills Tutorial.
- Rip this up the same way you would for the Dragon Scale Technique.
- Layer the pieces together using the Dragon Scale Technique, but keep your pattern random. Push against the grain to expose the mica shift at the edge of the pieces. See the video for directions.
- Flatten the sheet out with your roller. Remember to roll in all directions to avoid distortion.
Suggested links
If I have missed something, or you still have questions, please leave a comment below.
You can like my Facebook page or join the Jessama Tutorials Polymer Clay Community on Facebook to stay up to date with more polymer clay tutorials like this one as they are released.
You may also like:
You are here: Home >> Polymer Clay Surface Effect Tutorials > Mica Smash


Please leave your comments below: