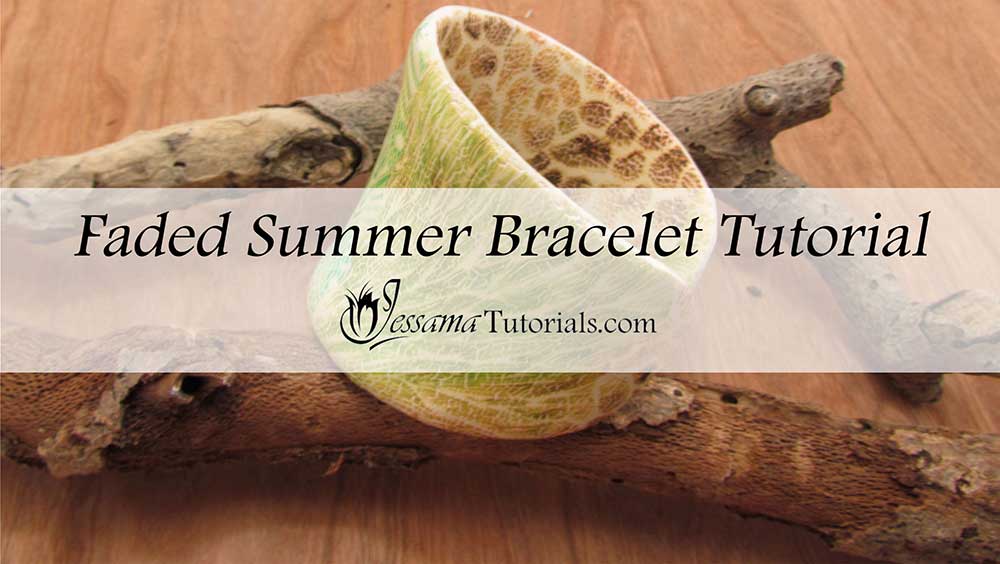
Faded Summer Polymer Clay Cuff Tutorial
In this polymer clay cuff project tutorial, I'll be showing you how to make another polymer clay bracelet cuff using a metal blank. We will be combining three alcohol polymer clay crackle sheets to make the cuff, which means no sanding! The tutorial includes lots of tips and tricks to help get
your bangle smooth, and perfectly finished off around the edges and on
the inside. You can apply these techniques to any bangle project.
The link for the alcohol crackle sheet tutorial you will need is in the suggested links box below the video.
You will need the following supplies:
- A cuff blank
- Alcohol ink crackle sheets
- A tissue blade
- A pasta machine
- An acrylic roller
- An oven
- Plain printing paper
- Bake and bond
- A dremel to buff
- Renaissance wax
Faded Summer Polymer Clay Cuff Step by Step
Preparing the Polymer Clay Veneers- To start you’ll need the alcohol crackle sheets from part one, as well as a bracelet cuff blank.
- Cut each of your three sheets in half and trim the edges to straighten them up.
- Lay your sheets next to one another and arrange them in such a way that you are happy with how the complete sheet will lay along the cuff. I have placed my Ginko in the middle.
- One at a time, overlay the sheets that will be next to one another and use your craft knife to cut a wavy line through both sheets.
- Remove the excess trimmings and place the sheets next to one another.
- Repeat for all of your sheets in the order that you had arranged them.
- Burnish the entire sheet. Use a piece of plain printing paper and your acrylic roller. This will flatten out your clay and remove the seams.
- Repeat on the back.
- Turn your sheet upside down and roll over the clay using your cuff.
- Trim around the indent you have left in the clay using your craft knife. Leave a fairly generous border.
- Carefully lay the cut out clay over your blank.
- Gently press the clay onto the blank. Pinch it along the edges.
- Trim with the craft knife.
- Go around and repinch to bevel the edges, then trim again.
- Bake for 40 minutes at Premos recommended temperature, resting on a piece of plain printing paper to prevent shiny spots.
- Allow to cool and then pop off of the cuff.
- Patch your leftover veneer pieces together to create a backing sheet.
- Burnish as before.
- Cover the inside of your baked cuff with a thin layer of Bake and Bond.
- Apply your burnished sheet to the back of the polymer clay cuff.
- Trim away the excess clay, then pinch and trim as before.
- Press the clay together using your fingertips, then pinch well around the edges and retrim.
- Continue to pinch and trim until you have eliminated the white line as much as you can.
- Bake again for another 40 minutes.
- When cooled, use a rotary buffing tool to buff. (You can also buff by hand.)
- Cover with a light layer of Renaissance Wax and buff again.
Suggested links
Supplies
If I have missed something, or you still have questions, please leave a comment below.
You can like my Facebook page or join the Jessama Tutorials Polymer Clay Community on Facebook to stay up to date with more polymer clay tutorials like this one as they are released.



Please leave your comments below: