Pine Tree Natasha Beads Polymer Clay Tutorial
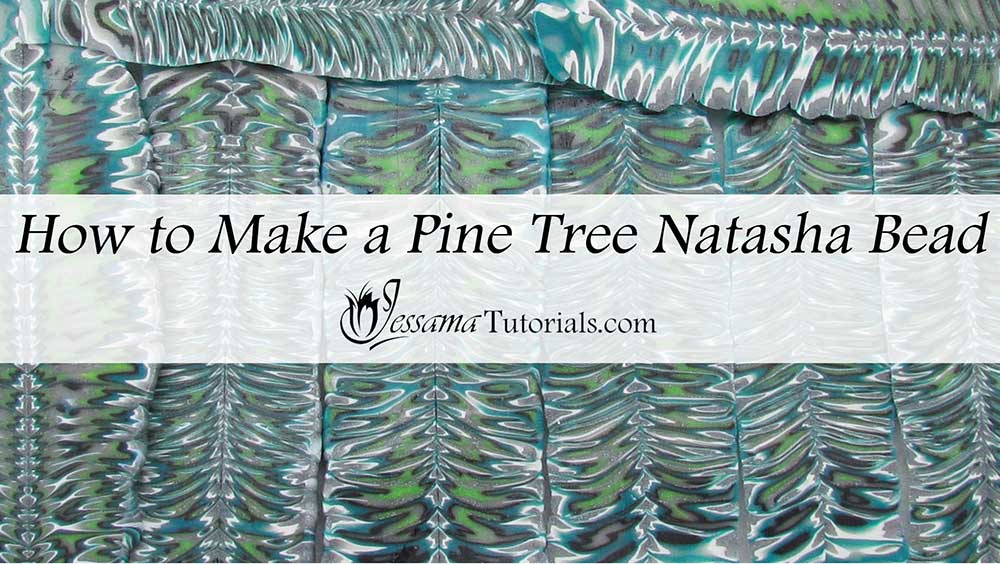
Pine Tree Natasha Beads have a beautiful, distinctive Pine Tree or Feather pattern to them. I'll show you how to make them using a fun spin on the traditional Natasha polymer clay technique, and the leftovers from my Rippling Bullseye
cane tutorial.
This technique introduces a specific way of getting the
needle look in the polymer clay pieces. It's so much fun to do and the result is
different every single time you use it. I hope you enjoy playing with it as
much as I did.
You will need the following supplies:
- A simple cane end
- A tissue blade
- An acrylic roller
To create these polymer clay beads you’ll need a fairly simple cane end. The sort you would have leftover from a Skinner Blend Cane, or a Bullseye Cane. A more complex cane end would probably result in a pattern that appears too crowded.
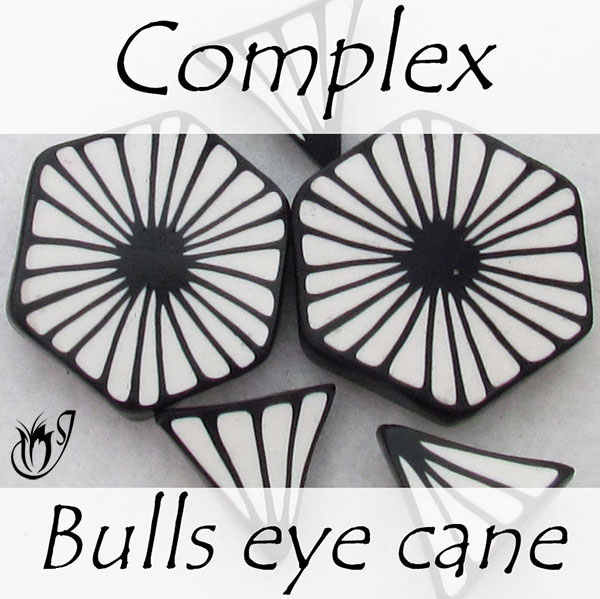
I'm using the leftovers from my Rippling Bullseye Mokume Gane Tutorial.
Steps To Making Pine Tree Natasha Polymer Clay Beads
- Roll up your leftovers into a ball and then roll into a compact log around half a cm or quarter of an inch in diameter, the longer the better. Make sure there aren’t any trapped air bubbles.
- Twist the log as you roll.
- Twist until it feels tight in your fingers.
- Stop at this point and roll the polymer clay against your work surface to loosen it up. Twist some more and repeat.
- Carry on twisting until you are happy with it. The more you twist the busier your resulting pattern will be. Less twists will cause a simple pattern.
- Once you're happy, you’ll need to squish the log back into a piece of clay that you can cut. When squishing the clay back in on itself, be sure to create folds in your clay. This is what gives the Pine Tree effect. See the video tutorial for specific instructions on how to do this correctly.
- Form your squished log into a triangular shape.
- Slice the triangular log in half with your tissue blade.
- Line the two pieces up to form a mirror image and gently press them together.
- Lay the resulting polymer clay piece, pattern face down, on your work surface and gently flatten it with your finger tips.
- Slice the uneven top layer away with your tissue blade bit by bit until you have a flat surface.
- Keep your leftover polymer clay slices for future projects.
Suggested links
- How to Make a Basic Bullseye Cane
- How to Make a Skinner Blend Bullseye Cane
- Rippling Bullseye Cane Mokume Gane Technique
- Traditional Natasha Polymer Clay Technique
If I have missed something, or you still have questions, please leave a comment below.
You can like my Facebook page or join the Jessama Tutorials Polymer Clay Community on Facebook to stay up to date with more polymer clay tutorials like this one as they are released.


Please leave your comments below: