Polymer Clay Sutton Slice Tutorial
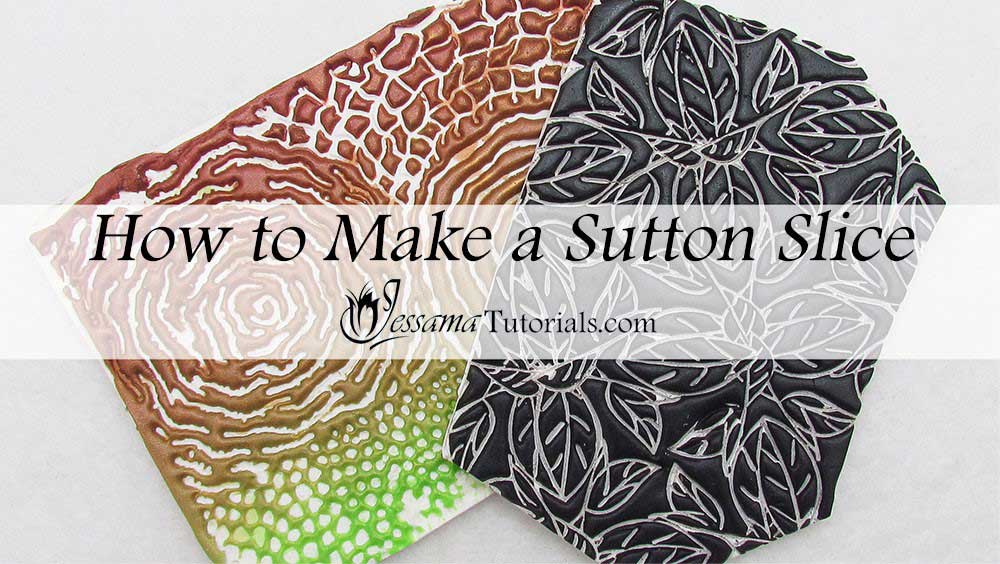
Create two versions of the Sutton Slice technique invented by Lisa Pavelka. One basic two color, one Skinner Blend. This technique can be a bit tricky in the beginning but great fun once you get the hang of it.
If you are new to this technique, it's best to start with the basic two color version. The Skinner Blend requires a bit more patience and skill with the tissue blade.
If you haven't made a Skinner Blend before, watch the tutorial listed in the suggested links box below the video before watching this one.
You will need the following supplies:
- Black and white polymer clay
- A skinner blend
- A tissue blade
- A pasta machine
- An acrylic roller
- A texture stamp of your choice.
The Polymer Clay Sutton Slice Technique Step by Step
The Basic Version- I’m working with black and white Premo and Lisa Pavelka’s Foliage Texture Stamp.
- Condition and roll out both colors on the thickest setting of your pasta machine.
- Put the white aside for now.
- Bring over your chosen texture stamp and press the black polymer clay into it bit by bit using your fingertips. Shave the tops off as you go. Don’t spray any water as you want the clay to stick in the stamp.
- Now gently scrape away any clay left so that only the clay in the texture is left. Spend a bit of time on this as you want the top of the stamp to be clean.
- Once you’re happy, place the sheet of white over the top of the stamp and press it into the stamp so that it sticks to the black clay in the stamp.
- Flip so that the white is resting on your tile and give a good strong roll with your acrylic roller to make sure that the white clay is stuck to the black.
- Slowly peel up the stamp. Go slowly so that you can see when the clay is sticking in the stamp. If it’s sticking, lay the stamp back down and press it into the white again and then carry on peeling it up.
- Gently tap the black clay down onto the white with your fingertips to make sure that the black and white clay are properly bonded.
- Trim up the edges.
- The Skinner Blend one is basically the same, but replaces the black with a Skinner Blend.
- It’s a bit more tricky, because you need to use a whole sheet rather than pressing in the clay bit by bit.
- Press the sheet into your stamp using your fingertips.
- Trim away excess clay around the edges.
- Gently shave the top layer of clay away from the stamp.
- Fill in any areas that lift up with a similar part of the Skinner Blend scraps.
- Lay your base sheet over the top of the stamp as before and press down and roll to bond the clay.
- The rest of the procedure is the same.
Suggested links
If I have missed something, or you still have questions, please leave a comment below.
You can like my Facebook page or join the Jessama Tutorials Polymer Clay Community on Facebook to stay up to date with more polymer clay tutorials like this one as they are released.


Please leave your comments below: