Polymer Clay Texture Stamp Review
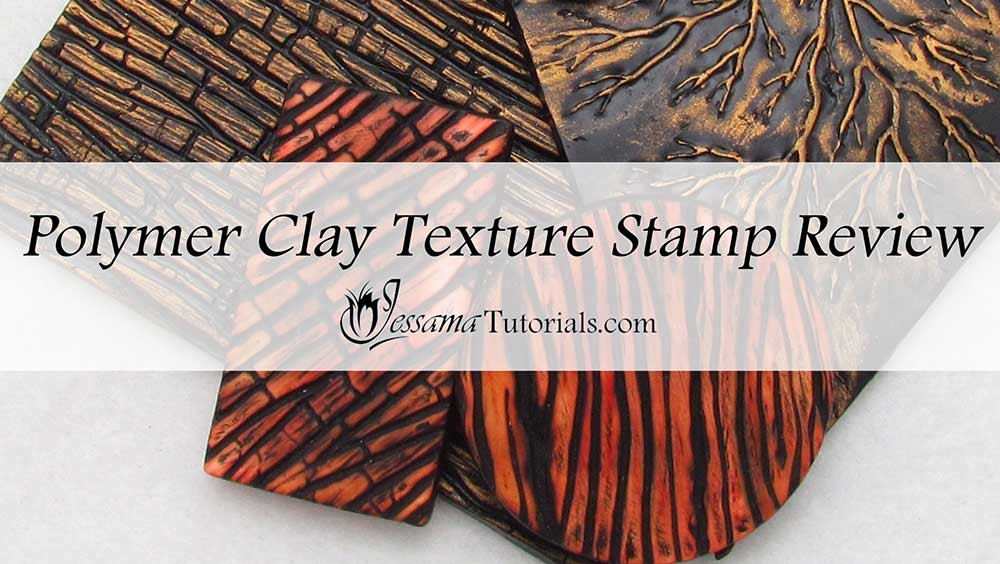
In this polymer clay texture stamp review I'll go through the ups and downs of stamps made from clay. They give great textures and patterns and you don't have to rely on someone else's designs.
They are a great way to bring your own unique touch to your polymer clay projects, and I'll show you how to use them in order to obtain the best results.
If you want to know how to make them, check out my Dead Tree Texture Stamp Tutorial for an example.
If you would prefer to save yourself some time, you can find some of my own designs in my Etsy shop.
how to use Polymer clay texture stamps
- Lubricate your stamp very well with water (or dust with cornstarch if you are using a clay brand that doesn't like water, e.g. Fimo or Cernit)
- Lay your sheet of clay over the stamp and spray it with water.
- Press the clay into your texture stamp using your fingertips, working from one side of the stamp to the other.
- Give a firm roll with your acrylic roller.
- Gently peel the clay away from the stamp.
What i love About Texture Stamps made from polymer clay
- They
produce the best natural textures I’ve seen. This is mainly because
they’re
handmade. You can vary the depths of texture. You can have scratches and
holes and gouges and
lines and all sorts of organic texture on top of the image you pressed
into the
clay. And your texture stamp will have natural flaws in it. This gives
the stamp a much more realistic look as most textures such as
wood aren’t smooth.
- You can make them yourself. All these stamps require is polymer clay and some everyday tools like a needle. You can carve your own now at home.
- You can make very specific textures such as wood grain, specific images such as flowers, or completely random textures.
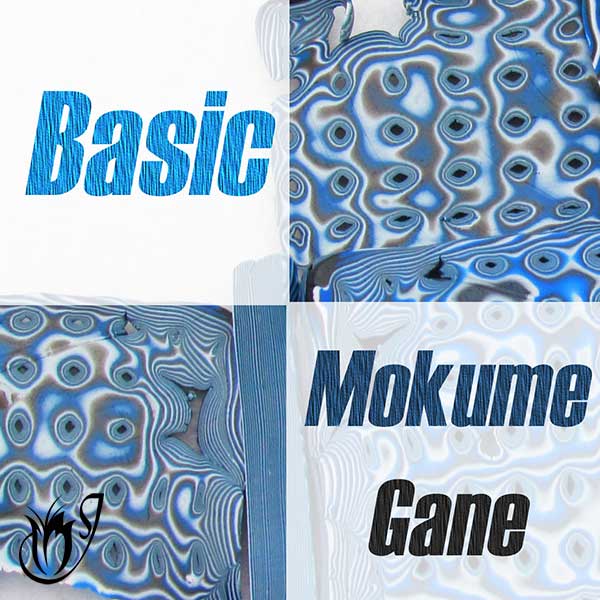
- The polymer clay texture stamps allow you to make any depth of texture you want. You can make ones that are nice and deep to use for Mokume Gane, or mica shift or you can make ones just for texture by making them shallow.
- The polymer clay textures give detailed images just like any other texture stamp.
- They’re super strong as long as you bake them properly and don’t use a weak clay brand.
- Because the stamps aren’t flexible this can prevent ghosting to a certain degree.
- Each texture is unique, as it’s not made by a machine.
- You can make a reverse of each texture.
Stamps made from polymer clay: Problems you may encounter
- You will struggle to create exact, geometric patterns, due to the nature of the carving process.
- The texture stamps aren’t flexible so you won’t be able to do techniques like Sutton Slices.
- It takes up to an hour or more to carve each stamp.
- You also need to make sure you lubricate the texture stamps properly. A good spray of water or a dusting of cornstarch will keep the clay from sticking. If you don’t do this the clay will stick and be almost impossible to remove.
Please watch the video for more information and lots of examples of the different textures you can create using this method.
Suggested Links
- My Own Texture Stamp Designs on the JessamaDesign Etsy shop
- How to Make Your Own Dead Tree Texture Stamp
- How to Make Your Own Pebble Texture Stamp
If you still have questions or recommendations from your experience, please leave a comment below.
You can like my Facebook page to stay up to date with more polymer clay supply reviews like this one as they are released.
articles and Videos in this series
- Skinner Blend Cutters Demo


Please leave your comments below: