Pebble Polymer Clay Texture Stamp Tutorial
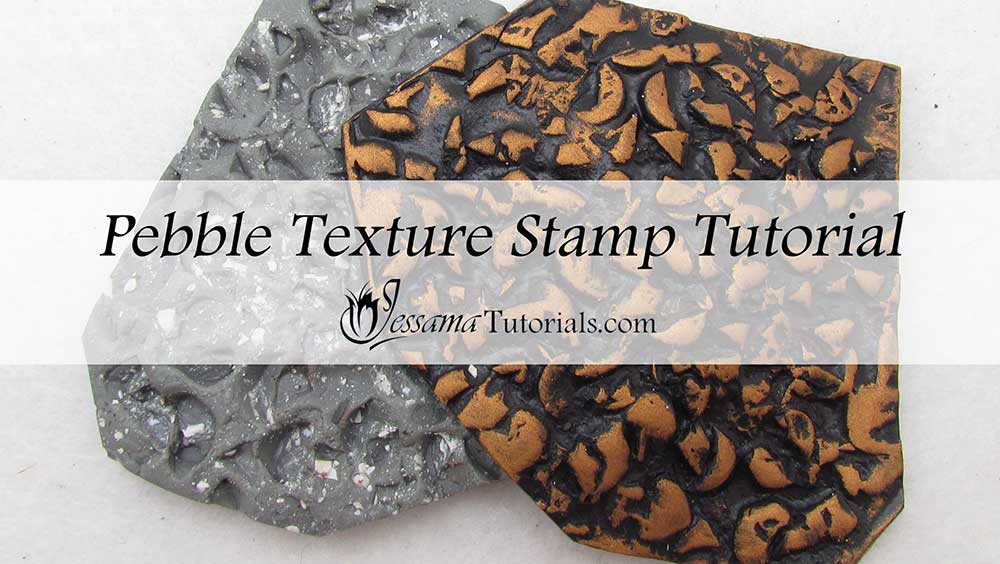
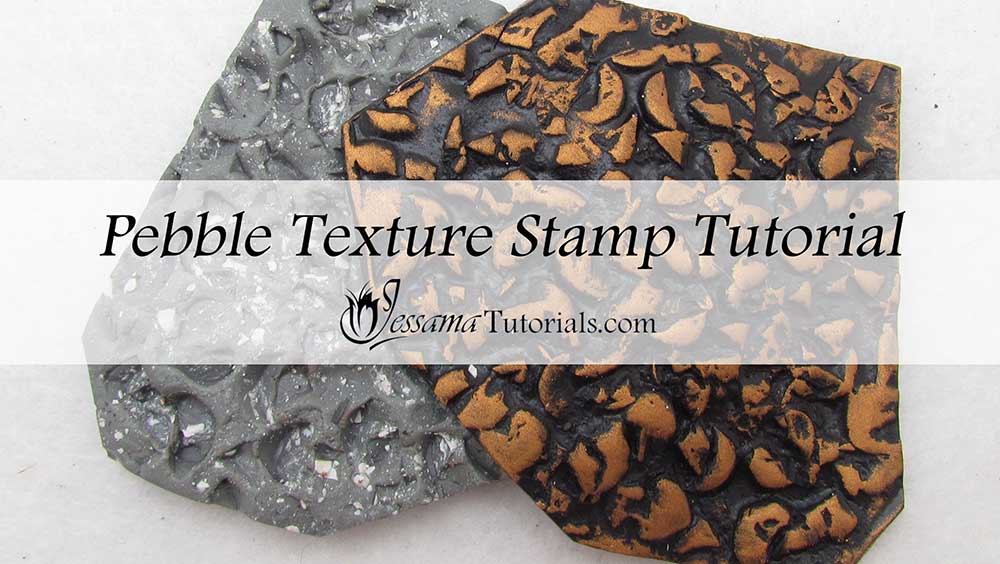
In this tutorial I'll show you how to make a pebble polymer clay texture stamp with fantastic effects using old leftover clay and old baked clay all at once.
It's super easy to do, and you can achieve different results every time by varying how finely you chop your baked clay. You can also mix and match the sizes of your baked clay pieces to achieve a more organic pattern.
This pebble technique is just one way that you can make your own polymer clay textures. You can find more ideas in my handmade tools section, or if you don't want to carve your own, I have a few designs for sale in my Etsy shop.
you will need the following supplies:
- A large piece of leftover clay
- A log or piece of baked clay
- A pasta machine
- A tissue blade
- An acrylic roller
How to Make a Pebble Polymer Clay Texture Stamp Using Old Clay
- To start with you are going to need a large piece of ugly leftover clay that you really can't do anything else with.
- Condition your clay and roll it through the thickest setting on your pasta machine.
- Fold your sheet in half so that you have a piece of clay that is twice the thickest setting on your pasta machine.
- Trim your sheet into a square.
- You’ll also need a log of baked clay. I'm using Sculpey 3 for the baked log as it has a nice crumble to it and it’s a great way to use up the test pack I bought. Other brands will work just as well.
- Chop up your log of baked clay into chips. Vary from small to large chips.
- Take these chips and lay them over your sheet of leftover clay.
- Roll over with your acrylic roller to make an impression in your clay.
- Gently remove your baked clay pieces from your sheet.
- Go over the pattern and fill in any gaps with indents using your baked pieces.
- This will leave a bunch of dents in the leftover clay. This is your texture.
- Bake your clay sheet for two hours at your brand's recommended temperature. (Just to make sure it’s really strong).
- Let the stamp cool, and then use a toothbrush to brush any loose pieces of baked clay from the texture stamp under running water.
See the video for a demonstration.
suggested links
If I have missed something, or you still have questions, please leave a comment below.
You can like my Facebook page to stay up to date with more polymer clay tutorials like this one as they are released.


Please leave your comments below: