Getting the Most Out of Your Polymer Clay Pasta Machine (Part 1)
Introduction
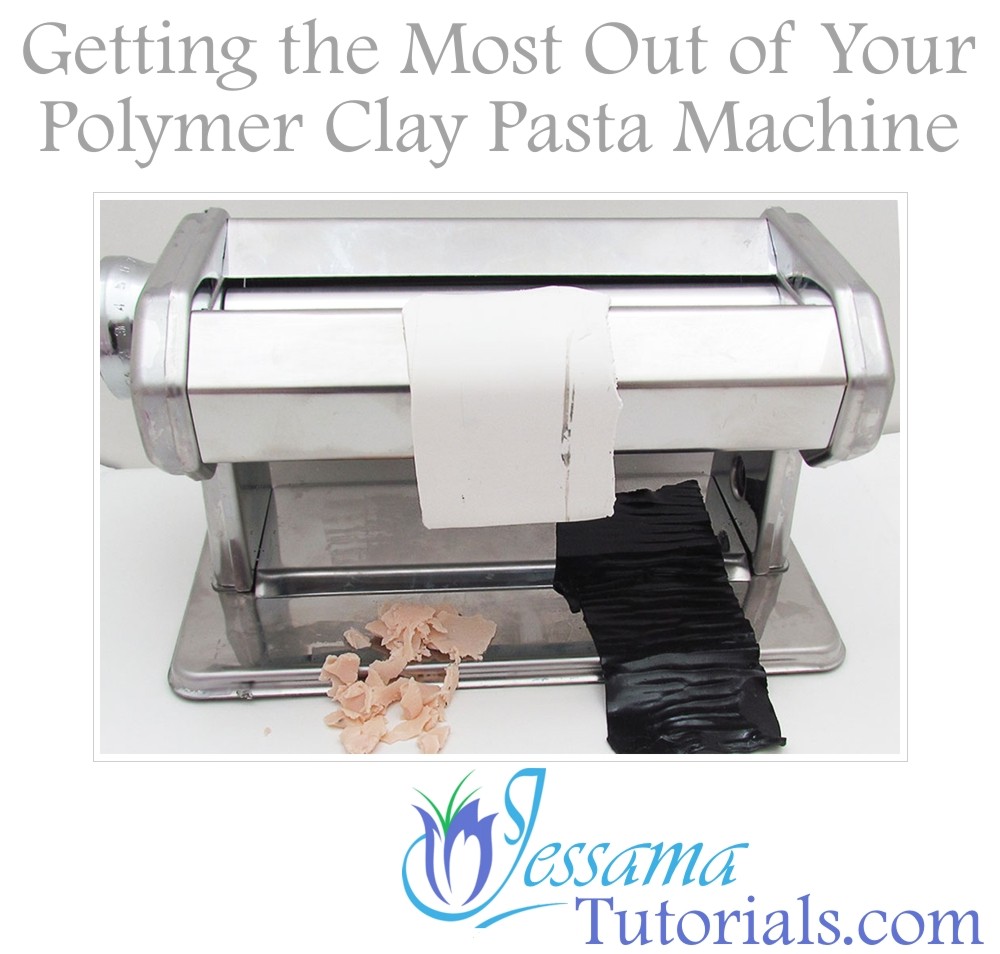
So you've determined which polymer clay pasta machine you should buy. You've ordered it, waited patiently for its arrival, lovingly unpacked it, and decided that today is the day! Beautiful polymer clay creations are at your fingertips. There's nothing standing in your way...
...until your first sheet of clay comes out looking more like a mangled dog's breakfast than art! Yes, this is the frustration all too familiar to us polymer clay enthusiasts.
Unfortunately, polymer clay pasta machines can be a real pain in the neck if you’ve
just started with polymer clay. They leave scratches, marks and smears or sometimes the clay just sticks to the rollers. In
this article I’ll address rippling clay, parallel lines, crumbling clay and smears and smudges - some of the biggest problems when it comes to
pasta machines for clay. In part 2 of this pasta machine series I’ll address some of the less common, but
no less annoying problems.
Click here for a bullet point summary...
Rippling polymer clay and Parallel Lines
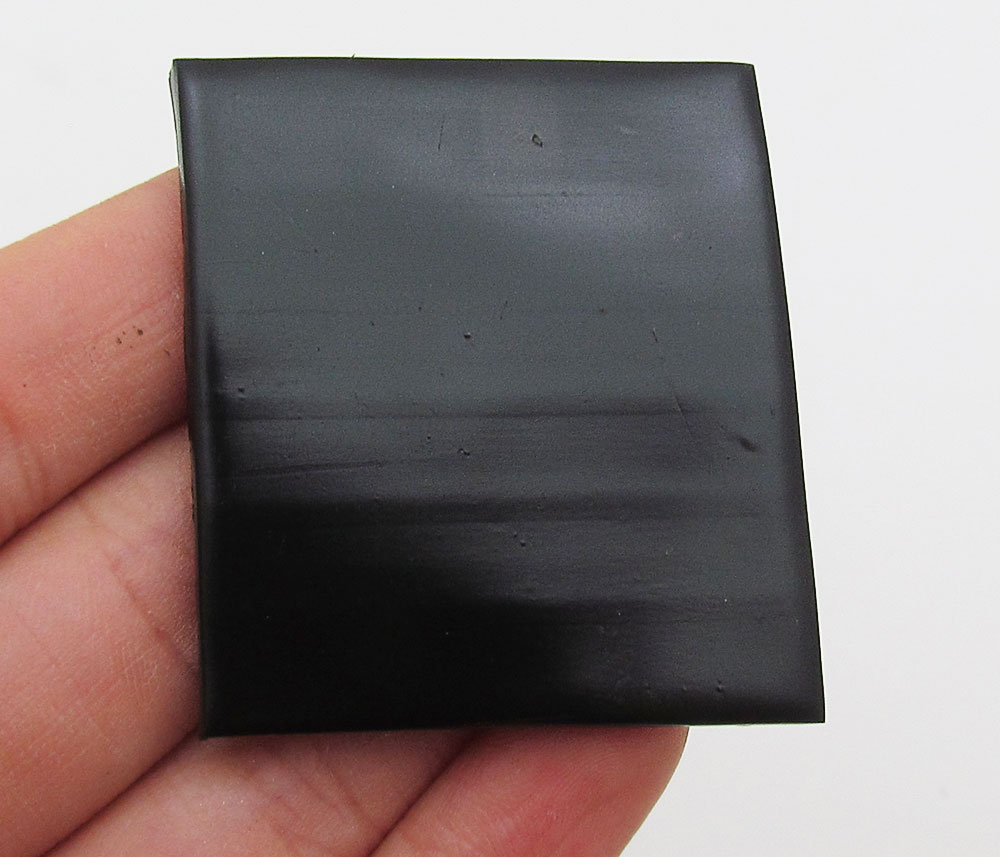

Parallel lines are caused when the gears in your pasta machine start to get out
of whack, usually because you’ve been shoving lumps of clay through your machine. Although I don’t experience this problem very often anymore, I used to,
way back with my first two polymer clay pasta machines. Eventually they both broke because I was far too rough with them. So be gentle with your machine.
If that ship has sailed and you already have parallel lines occurring there are a couple of things you can do.
Solutions:
- If the lines are not too visible you may be able to ignore them. You'll find that by the time you have sanded and polished your work they will be barely noticeable.
- However, if the lines are more pronounced, or if they really bother you, you’re going to want to use this tip. Grab a piece of plain white printing paper or greaseproof paper and place it over your clay. Gently rub back and forth with a roller. Don’t roll. Use a burnishing motion. This should clear away those lines.
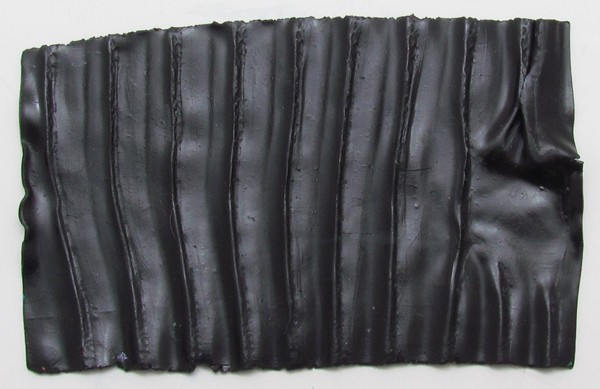

At thinner settings the same whacky gears will cause your clay to ripple. I’ve experienced this problem many times and spent a lot of time and effort, only to have my project ruined at the final hurdle.
As mentioned above, prevention is best. Treat your polymer clay pasta machine gently. Don’t go jamming big
lumps of clay through the rollers and your gear and roller alignment will last much longer. However, pasta machines for clay will begin to wear with use no matter how
gently you treat them. The more you use the machine, the more the gears will
wear and the more common rippling will become.
Tips and Tricks:
- If you can afford it, having
two machines can alleviate this problem. Use one pasta machine for polymer clay conditioning and blending, and reserve the other one to pass
your final sheets through thinner
settings. The second machine will last for ages this way and you won’t
encounter
rippling as quickly.
Rippling can also be caused by soft and sticky clay. Soft and sticky clay will ripple even if your pasta machine is brand new. Some polymer clay brands are softer than others and all of them will give trouble if you are working in a warm climate.
Tips and Tricks:
- The best thing to do is to make sure you’re using fairly firm clay such as Kato or Fimo Professional.
- If you use a softer brand, such as Premo, you can let it rest for a while after opening the packet or
leach the clay for a short amount of time to remove some of the plasticizers. Have a look at my article:
How to Firm up Soft Polymer Clay
to see how to leach your clay without weakening it.
- If you are working in a warm climate, make sure your clay is cold before you roll it (place it in the freezer for a few minutes) or air-condition your working area if you can. (This one is on my 'Things I would seriously love to have' list!)
See my tutorial: How to Prevent Pasta Machine Ripples, for more ideas.
Crumbling polymer clay
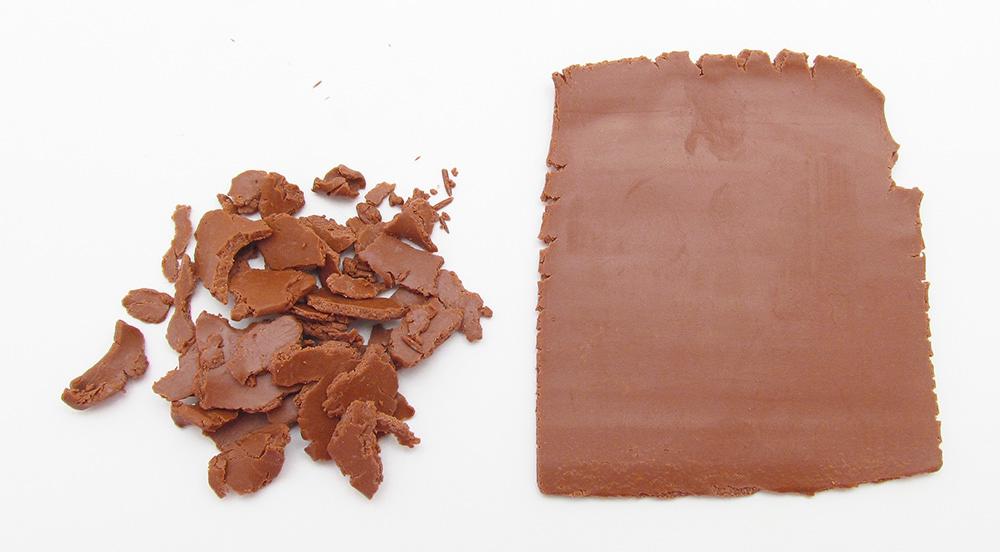

Crumbling polymer clay was another problem I encountered when I had my first polymer clay pasta machine. At this time I was using Kato. Now I know that Kato is a firmer clay then most other polymer clay brands, but that wasn’t the cause of the problem. It was me trying to jam lumps of clay through the pasta machine. This of course led to me having a pile of crumbs and a damaged machine.
Tips and Tricks:
- The best advice I can give you, is to roll out your clay by hand before passing it through your pasta machine. I never put anything more than half a centimeter or quarter of an inch thick through my machine now. Two pasta machines later I have finally learned my lesson!
- If you’re using firm clay like Kato then it helps to warm up the
clay before rolling it out. This makes the rolling easier and prevents the clay from crumbling.
You can do this by bashing it with a mallet or simply rolling it in your
hands for a little while.
- Watch my tutorial: How to Condition Polymer Clay to find out how to do it properly without putting strain on your machine.
smears and Smudges from Your Polymer Clay Pasta Machine
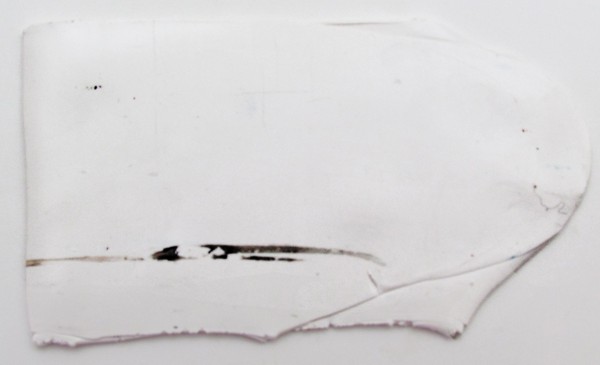

The third biggest problem I had when I first got my pasta machine was all the smudges I got on my clay. By the time I’d finished conditioning my white, it was more of a grey. This was because I didn’t know I had to clean my machine or how to do it.
As your polymer clay goes through the rollers on the machine, it gets stuck up against the blades underneath, and over time a layer of dirty, yucky clay builds up on the blades and bleeds off onto the clay you are rolling through. In the past, cleaning the blades was as simple as removing them and giving them a good wipe. However, all but the most expensive machines are now made with fixed, plastic blades which cannot be removed for cleaning. This does make life a bit of a challenge but there are still a few ways to get your machine fairly clean.
How To Clean Your Polymer Clay Pasta Machine:
- Start by turning your machine upside down. You’ll find that a thin cracked ribbon of clay has built up on the two bottom sides where the blades meet the rollers. Use a tooth pick or wooden skewer to gently scrape away the clay build up. Be careful not to damage the blades. Don’t use metal as it will scratch the rollers.
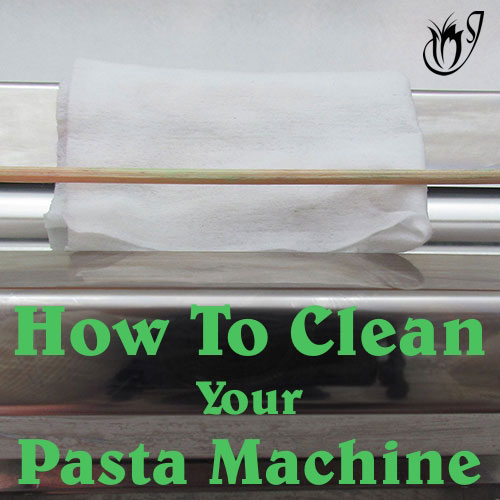
- Wipe the blades with a wet wipe to make sure that you have removed all of the residue.
- Turn the pasta machine back the
right way up, and wipe the rollers with a wet wipe while turning the
handle of your pasta machine.
- Wipe down the tray and the
outside of the machine once in a while.
By doing this regularly, you’ll keep your
pasta machine in good shape and it’ll stop those pesky dark smudges. See my tutorial: How To Clean Your Polymer Clay Pasta Machine for more information.
Other Tips:
- Always clean your machine before starting your project.
- Avoid using very soft polymer clays on your machine. The clay will smear all over the place and will make cleaning that much harder.
- Avoid putting any clay containing inclusions through your machine. At best the inclusions (particularly glitter) will get stuck all over the place and be almost impossible to remove. At worst the inclusions can scratch your rollers.
Hand rolling these clays using an acrylic roller and playing cards or acrylic spacers is a much better idea.
(If you can find an old machine with removable blades at a garage sale
or something, snatch it up. You will be the envy of all your polymer
clay friends! The rest of us have to pay big bucks to get this feature on our machines!)
in summary...
So in summary, there are a few polymer clay pasta machine techniques that will alleviate most of your problems:
- Don’t jam lumps of clay through the pasta machine’s rollers. Treat your pasta machine for polymer clay gently and it’ll be good to you.
- Having two cheap pasta machines can be better than one expensive one. Reserve the second one for your final pass through at thinner settings.
- Don’t use soft, mushy clay with your pasta machine. At best it will ripple and at worst, mess all over the rollers. If your clay is too soft, leach it before use.
- Warm up firm clay and roll it to an appropriate thickness before passing it through your pasta machine to prevent crumbling clay.
- Always clean your pasta machine before starting a project.
That's just the first article
That’s all the major problems I’ve had with my pasta machine and the solutions that I’ve found to work. Part 2 of this series deals with some other less common problems with polymer clay
pasta machines, like handles falling out and clay sticking to rollers.
Be sure to check that out.
I do hope that this article will help to alleviate some of the frustration surrounding your pasta machine. If you enjoyed it please like and share or leave me a comment.



Please leave your comments below: