Polymer Clay Cabochon Setting - Part One
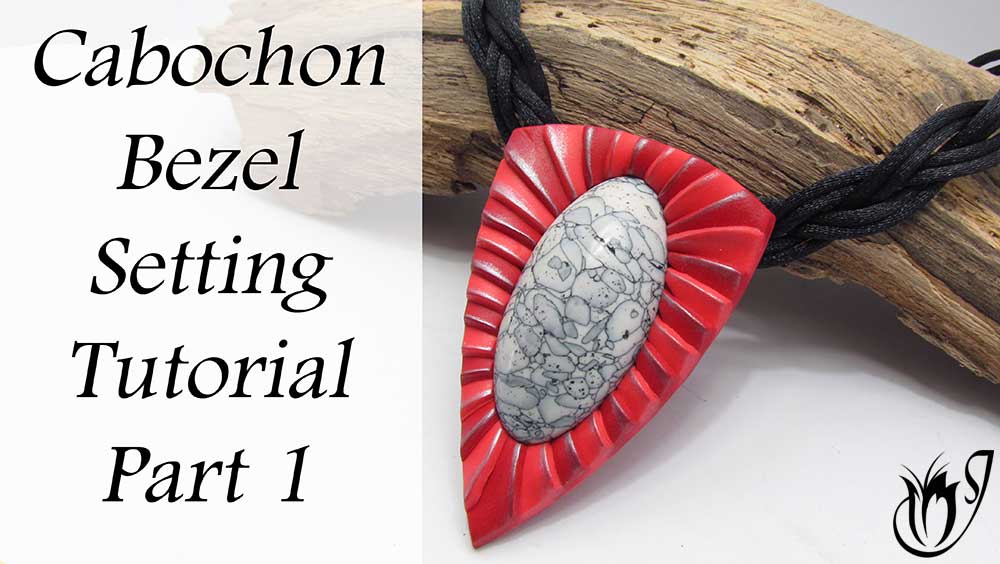
This polymer clay cabochon setting tutorial is part one of a series that I am planning, to show different polymer clay settings that you can use to finish off your cabochon pieces.
This setting is very versatile. You can use any shape or color. You can even use a color graduation if you prefer. There are all sorts of different ways that you can accent the folds, including antiquing with paint, brushing with mica powders or even using mixative alcohol inks. All of this will be covered in this tutorial.
It's a really simple technique, with a surprisingly effective result. I hope you enjoy it.
You will need the following supplies:
- Polymer clay (Souffle Poppy Seed, Cherry Pie, Mai Tai)
- A tissue blade
- A pasta machine
- Pendant Cutters
- Mini Teardrop Cutters
- Cabochons
- Mica powder
- Paint
- A straw
- Sand paper/ Polishing papers
- Renaissance wax
- Buffing wheel
- An oven
Polymer Clay Cabochon Setting Tutorial Step by Step
- To start you’ll need a cabochon and a cutter of your choice for your setting. I will be using a Tiger Eye cabochon and a rectangular cutter.
- You will also need to choose the color of clay for your setting. I am using Souffle black rolled out to about 1mm thick.
- For this technique we will be using small graduated teardrop cutters. You can use your own, or otherwise I have some on my shop, JessamaDesign.
- Make an imprint on your sheet of clay using your pendant cutter.
- Lay your cabochon in the center and trace around it lightly with a sharp object.
- Roughly cut away the excess clay. We will use this clay to create the effect.
- Cut out a teardrop using the largest of the mini cutters and lay it on the corner outside of your cabochon shape as shown.
- Go one size down and lay a second teardrop over the first.
- Go down one more size and lay teardrops all the way down to just before the next corner, then go up one size, then another to repeat the pattern on the first corner.
- Continue in the same manner all the way around the cabochon space, going up to the larger sizes around the corners.
- When you get all the way around, tuck your last teardrop under the one you laid first. See the video.
- Smooth off with your fingers and lay your cabochon in the center. Press down.
- Cut out using your pendant cutter.
- Gently clean up the edges.
- On the video, I show a second option using a different shape and graduated colors, so be sure to check that out.
- The next step is to create a bail for the setting.
- Roll out a strip of clay at 2mm thick. Cut down to the desired width, wrap around a straw and trim at the seam.
- Smooth the seam with your fingers then use your blade to push the bail off the straw.
- Place the bail on the back of the pendant, seam down, and use a rounded tool end to smooth it on.
- Place the pendant, cabochon down, on a soft cloth, and bake for an hour at the recommended temperature.
- Leave to cool.
- Apply gold paint to the front of your setting using a soft brush. Allow to dry.
- Remove the excess paint using a wet wipe. Be especially careful to clean off the cabochon.
- Sand if required starting from your lowest grit and working all the way up, then buff using a buffing wheel.
- Apply a light layer of renaissance wax and buff again.
- String your cabochon pendant on a ready made rubber cord.
Buy Supplies
- Mini Teardrop Cutters
- Pendant Cutters
- Silver Mica Powder
- Polishing Papers
- Buffing Wheels
- Where to Buy Souffle Clay and Lumiere Paints
If I have missed something, or you still have questions, please leave a comment below.
You can like my Facebook page or join the Jessama Tutorials Polymer Clay Community on Facebook to stay up to date with more polymer clay tutorials like this one as they are released.


Please leave your comments below: