You are here: Home >> Polymer Clay Surface Effect Tutorials > Oyster Mica Shift
Oyster Mica Shift Polymer Clay Tutorial
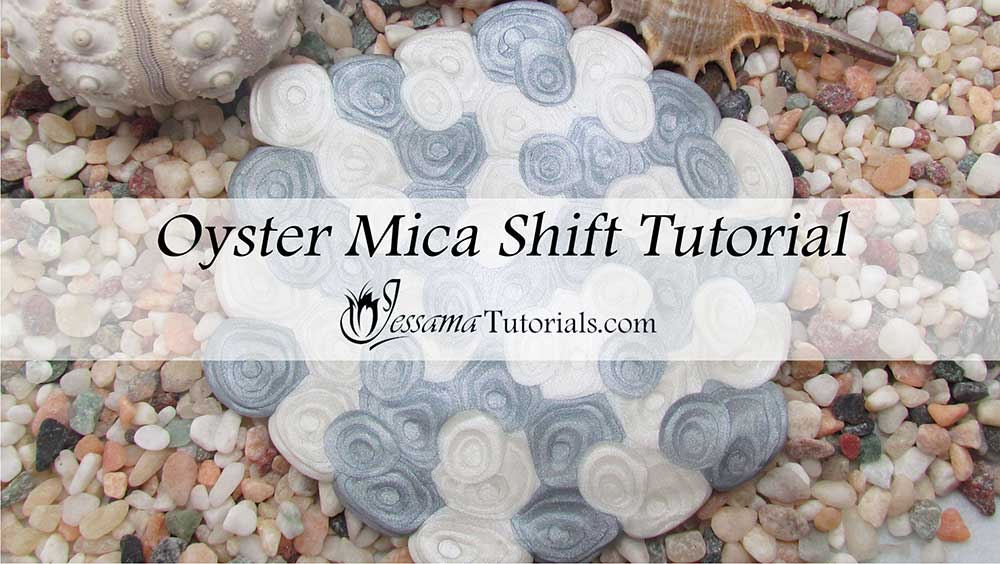
This is the second in a three part collar necklace tutorial. In this part I will be showing you a simple oyster mica shift technique to create a pretty polymer clay veneer that we will be using as the backing for our collar in part three.
If you haven't seen part one you can watch it here: Silk and Bubbles.
You will need the following supplies:
- Pearl white and silver polymer clay
- Small circle cutters
- An acrylic roller
The Oyster Mica Shift Technique Step by Step
-
To start with you’ll need metallic clay. Today I’ll be using Premo Pearl White and Silver.
You can use any colors. The only rule is that they must be metallic to create the mica shift effect.
- Take the colors you’ve chosen and roll them out on the middle setting of your pasta machine.
- Use your largest circle cutter to cut circles from each sheet.
- Layer the circles next to one another so that they just overlap.
- Use the next size down to cut out more circles.
- Lay these on top of the larger circles, silver on silver, and pearl white on pearl white.
- Repeat with each of your smaller cutters.
- Use your fingertips to pinch the sides of the circles in and flatten them.
- Roll over with your acrylic rod to flatten the sheet.
- Add more groups of circles at the joins and repeat the flattening process. See the video for details.
Suggested links
- Part One - Silk and Bubbles
- Part Three - Rockpool Collar
- Oyster Watercolor Technique
- Mini Circle Cutters
- Micro Circle Cutters
If I have missed something, or you still have questions, please leave a comment below.
You can like my Facebook page or join the Jessama Tutorials Polymer Clay Community on Facebook to stay up to date with more polymer clay tutorials like this one as they are released.
You may also like:
You are here: Home >> Polymer Clay Surface Effect Tutorials > Oyster Mica Shift



Please leave your comments below: