Liquid Clay Bezel Pendant Tutorial
In this tutorial, I'll be showing you a cool liquid clay technique that you can use to make your own liquid clay bezels.
You can make them in any size or color, patterned or plain, and you can fill them with whatever embellishments you want to.
There is so much scope to play around with this technique to develop your own ideas, and it's quick and fun too.
You will need the following supplies:
- Liquid clay (Kato liquid clay purple, black and white)
- An oven
- Metal cutters
- 99% alcohol spray
- A craft knife
- Embellishments (cogs, shells, charms, glass glitter, micro beads, etc)
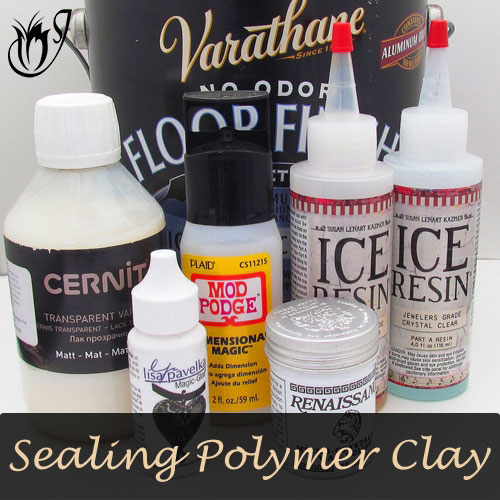
- Ice resin
- Piercing pin
- Pin drill
- Bail
- Readymade rubber cord
- Pliers
How to Make A Liquid Clay Bezel Pendant
Making the Liquid Clay Bezel- To start with, you need a small ceramic tile and kato liquid clay. (I am using Black, White and Purple.)
- You also need a metal cutter, preferably with a non-symmetrical shape, and a needle tool.
- Lay your liquid clay down in stripes on your tile. (You can also choose a different pattern.) Test the clay you are laying down against the size of your cutter so that you don't pour too much and waste it.
- Use your needle tool to manipulate a pattern into the clay. You can spray it with 99% alcohol if you want to, to feather the pattern.
- Place your cutter over the clay, and leave for at least five minutes. The clay will creep up the sides of the cutter.
- Bake for an hour at the recommended temperature.
- While still warm, lift the clay from the tile using your tissue blade and remove the clay around the outside of the cutter.
- Check that the sides are clean and press the clay out of the cutter.
- Clean up the edges and the bump where the metal seam was using your craft knife or a pair of scissors.
- Start off by adding any embellishments that you want to.
- Place your bezels on a silicone resin mat.
- Mix up your ice resin. Make sure to mix for at least five minutes.
- Use a skewer to drip your resin slowly into the bezel. See the video for the process. I also have an Ice Resin Tutorial for step by step help if you struggle with resin.
- Allow to sit for a while and then blow over with a straw to remove bubbles.
- Allow to cure overnight.
- Use a push drill to drill a hole through your pendant starting from the resin side.
- Attach an ice pick bail.
- String using a premade rubber cord.
Suggested links
If you are struggling with the Ice Resin, you can find a full Tips and
Techniques tutorial that walks you through the process on my Patreon community page or in my Etsy Shop.
If I have missed something, or you still have questions, please leave a comment below.
You can like my Facebook page or join the Jessama Tutorials Polymer Clay Community on Facebook to stay up to date with more polymer clay tutorials like this one as they are released.



Please leave your comments below: