Polymer Clay Fire Flower Cane Tutorial
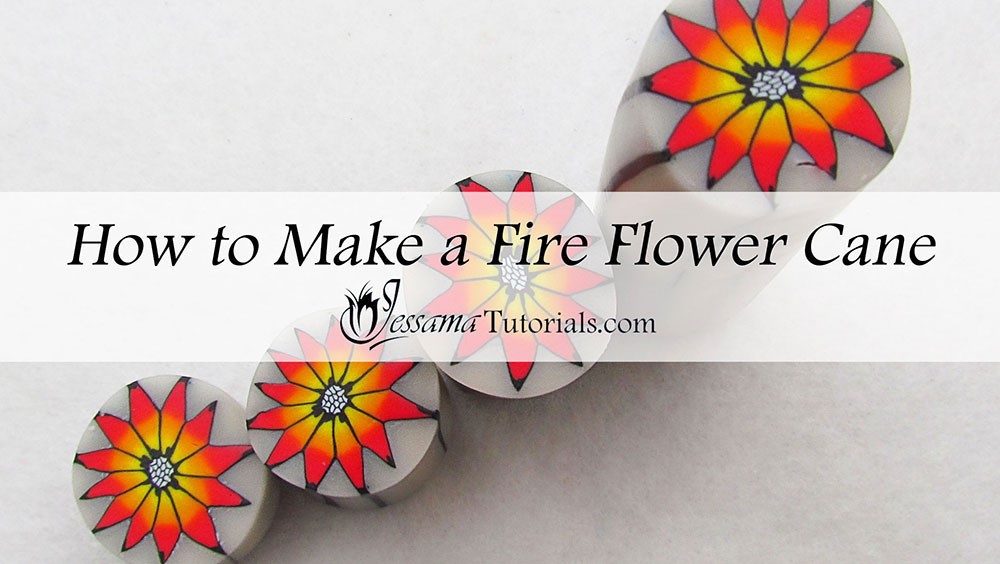
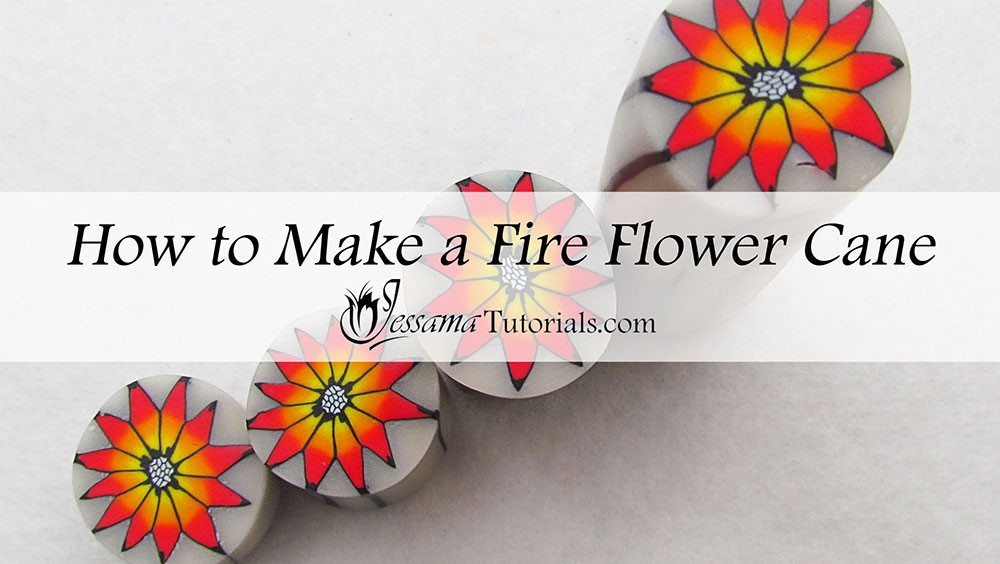
In this polymer clay tutorial I'll be showing how to make a beautiful fire flower cane. Flower
canes are a great type of polymer clay cane to learn. They come in many different styles and can be used in many ways, including jewelry, home decor and so much more. They can be used on
their own to great effect or incorporated into other more complex cane pieces. There are so many different styles to
play around with. You can expect plenty more cane tutorials on flowers in the future.
In order to complete this tutorial you will need to know how to make a three part Skinner Blend Plug. You can find the link to the tutorial for this in the suggested links box below the video.
You will need the following supplies:
- A three part Skinner Blend Plug (I’m using one made from Fimo Professional true yellow, true orange and true red.
- Black and White polymer clay (I’m using Fimo Professional True Black and True White)
- Translucent clay (I’m using Premo)
- A tissue blade
- A pasta machine
- An acrylic roller
Steps To Making A Polymer Clay Fire Flower Cane
- The first step is to prepare your clay.
-
You’ll need a Skinner Blend of yellow, orange and red. I’m using Fimo Professional True Yellow, True Orange and True Red. You can mix your own colors if you like, but I recommend using either the Kato or Fimo brand.
See my three-part Skinner Blend Tutorial to see how to make one.
-
Next you'll need to turn your Skinner Blend into a plug.
See my Skinner Blend Plug Tutorial for more information.
- You will also need a sheet of black polymer clay, conditioned and rolled out on the middle setting of your pasta machine.
- Wrap the wider side of the plug in a layer of black clay.
- Trim away any excess at the ends and at the join.
- Reduce until it is long enough to get twelve pieces from it. See the video for more on the correct reducing procedure.
- Trim off the ends to neaten it up.
- Pinch the cane into the shape of a football with pointy ends. See the video for more details.
- Use your fingers to smooth out any bumps and pits in your flattened cane and try to even it out so that the whole cane is roughly the same size.
- Trim off the ends again.
- Cut your cane into twelve equal pieces.
- The next step is to make a black and white lace cane.
-
Start by making a Bulls Eye cane with a white core and a black wrapping.
See my tutorial on Basic Bullseye Canes for more details.
-
Reduce until you can cut out about fifteen pieces. Put those all together in a random fashion.
For more detailed information on how to make a lace cane, see my Translucent Lace Cane Tutorial. Just replace the translucent clay with white in this case.
- Reduce the lace cane into a log until it is the right size to place twelve flower petals around it.
- Trim off the ends and cut a piece slightly longer than the pieces you have cut for the petals.
- Place six petals in a semi-circle with the yellow ends facing inwards.
- Repeat with the other six petals.
- Place your lace cane in the middle and join the two halves together.
- Trim off the excess lace cane.
- Take a few minutes to make sure that the inner points of your petals are touching the lace cane properly.
- Now you need to fill in the gaps between the petals with clay. I like to use Premo translucent. Any nice color will work though.
- Roll out a log of your chosen clay and pinch it into a triangular shape.
- Cut it into pieces the width of your flower cane.
- Push a piece into one of the gaps between the petals. You might need to reshape it a bit to get it to fit nicely.
- Repeat for all the gaps until you have a round cane.
- Condense the cane gently to push the triangles into place. Don't push too hard. See the video for the correct procedure.
- You can now reduce the flower cane to the size you like.
- Trim off the ends of the cane to tidy it up.
suggested links
- How to Make a 3 Part Skinner Blend
- How to Make a Skinner blend Plug
- How to Make a Bulls Eye Cane
- How to Make a Lace Cane
If you need more information on reducing your canes, take a look at my reducing polymer clay canes tutorial, where I show how to reduce round, square, triangular and hexagonal canes correctly.
If I have missed something, or you still have questions, please leave a comment below.
You can like my Facebook page or join the Jessama Tutorials Polymer Clay Community on Facebook to stay up to date with more polymer clay tutorials like this one as they are released.



Please leave your comments below: