finishing polymer clay the right way
How to sand and buff your polymer clay
In this article I’ll give you a run down on the most popular polymer
clay sanding materials and what they're best used for, as well as how to
get a good shine from your buffing. Remember these are steps two and three in a four step process. You’ve already baked your bead and managed to avoid all the twists and turns involved. And you still need to seal your work for that professional look we all desire.
Who knew finishing polymer clay could be so taxing? Well, the hard work is only just beginning. Sanding and buffing absolutely cannot be skipped if you want to achieve a professional finish.
Click here for a bullet point summary...
When should you sand your bead?
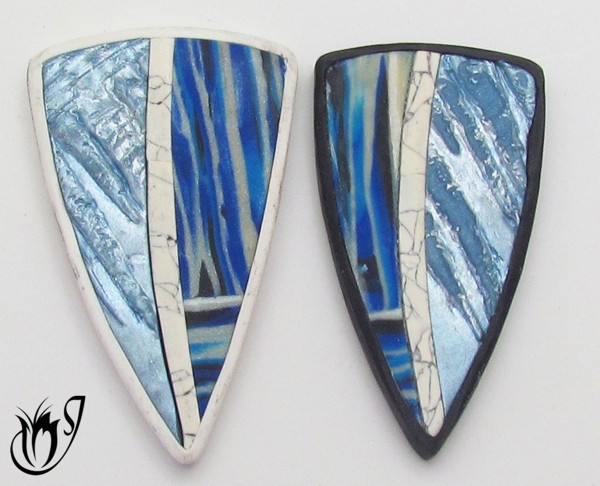 The bead on the left has not been sanded while the bead on the right has. You can see the place on the right hand bead where the mica powder has been sanded off.
While sanding is essential to finishing polymer clay in most cases, you should be aware that most surface techniques won’t take kindly to it.
Ask yourself - if you scratch at a surface technique, is it likely to come off of the polymer clay? If so, you shouldn’t sand that part of your bead. Only sand areas that won’t get damaged.
 The bead on the left has not been sanded while the bead on the right has. You can see the place on the right hand bead where the mica powder has been sanded off.
finishing polymer clay with Wet/Dry sandpaper
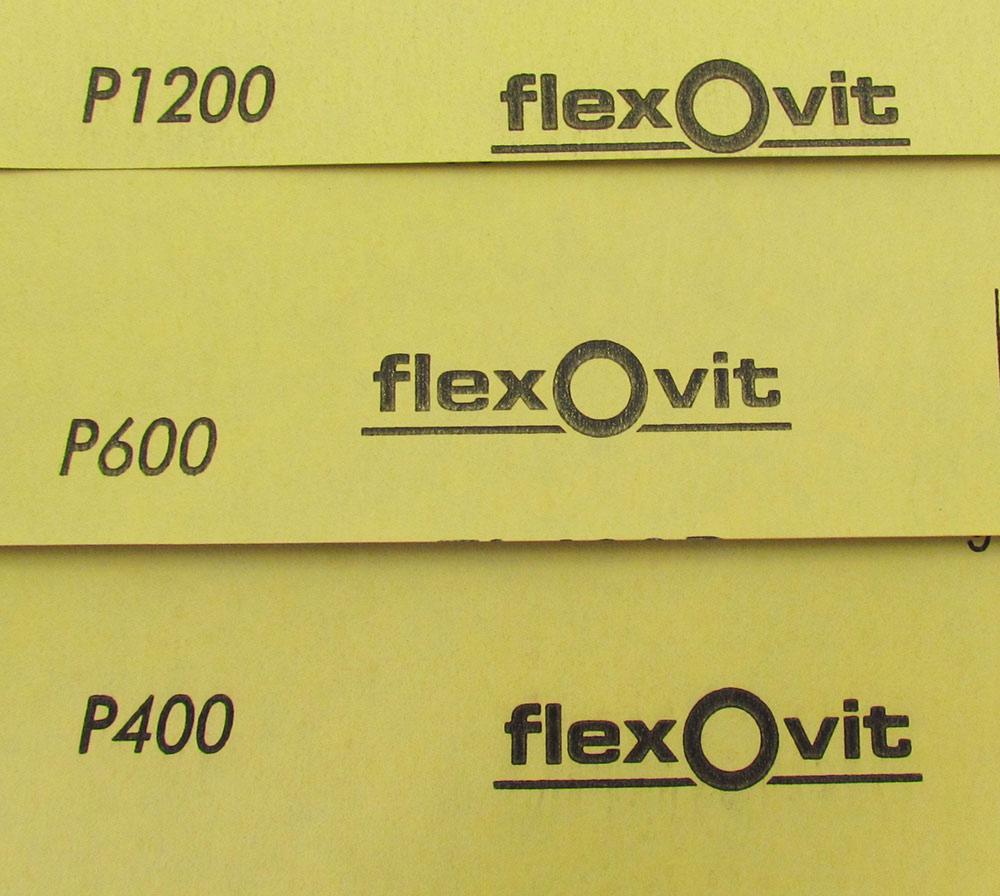
Wet/dry sandpaper is one of my favorite sandpapers to use when finishing polymer clay. It's also one of the easiest to get hold of. Most hardware stores will stock a good range of grits.

Wet/dry sandpaper is tough enough to get rid of unwanted finger prints, but not so harsh that it will mark the polymer clay. Here are the advantages and disadvantages of using this sandpaper.
Advantages:
- Wet/dry sandpaper is cheap and easy to get hold of. You can find it in hardware shops or automobile stores.
- It covers the ideal range of grits for polymer clay from 400 to 2000. You want to start with the 400 and work your way up from 600 to 1200 and finally 2000. This will result in a smooth surface ready to be buffed.
- You can sand under water. Wet sanding polymer clay keeps fine dust from sticking to the bead's surface and makes sanding much easier. It also prevents scratch marks on your beads.
Disadvantages:
- You need to keep the paper wet while you are sanding, either by dipping it in water periodically, or sanding under water. Sanding with dry paper causes dust to get into the scratch marks the sandpaper makes while sanding. This dust will be almost impossible to remove and will end up messing up your bead's appearance.
- The sand paper easily clogs up with the dust from the polymer clay if you don’t sand under water. To prevent this add a small amount of dish washing liquid to the water you’re dipping your sandpaper into. This will keep the dust off.
- Because the sandpaper is flat, and uncushioned, you have to sand with the bead resting on your work surface and you sanding it from the top. Don't sand the other way around with the sandpaper resting on your work surface and you rubbing the bead over the sandpaper. If you do it the wrong way around, you will end up with an uneven sand. You can also sand polymer clay beads with them resting in your hand, but be careful not to sand your fingers. You would be surprised at how easily this can happen, and at how painful it is!
Wet/dry sandpaper is best used when you have a lot of finger prints and bumps on your bead, otherwise you can use a softer sanding material like polishing cloths which are less likely to result in scratching.
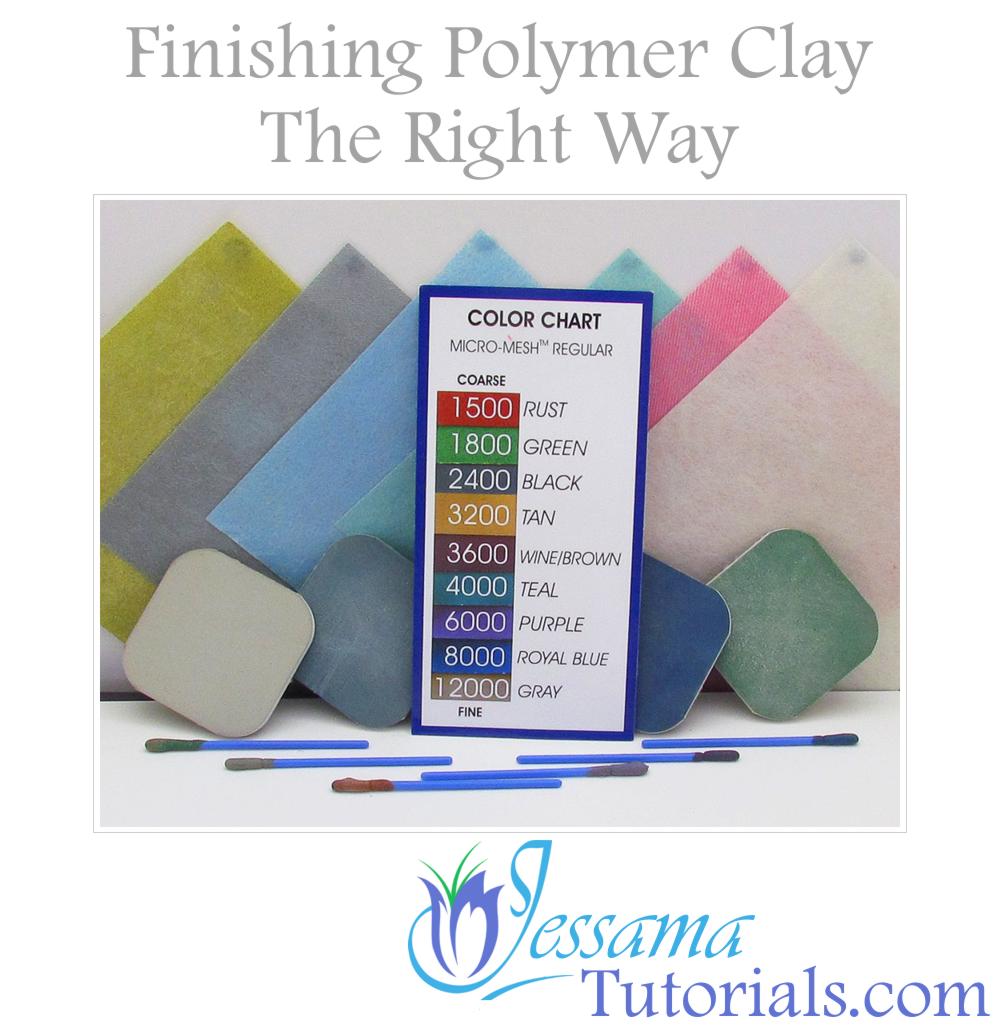
finishing polymer clay with Micro mesh pads
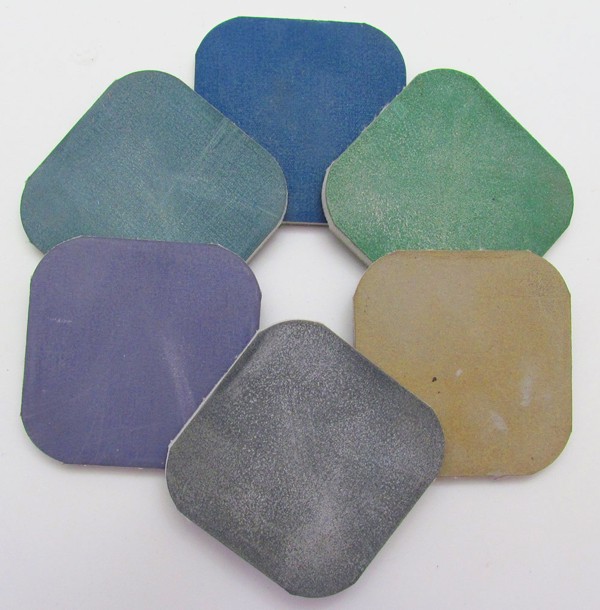
Sanding polymer clay with micro mesh pads is a good way to get rid of prominent fingerprints and scratches.

Advantages:
- Unlike wet/dry sandpaper, you can lay the pad flat on your work surface and move your bead over it in a circular motion to sand it. Your sand will be even because of the cushioning in the pad. This means that you don't have to hold the bead in your hand and risk sanding your fingers.
- There is a wider variety of grit sizes so that there’s less of a jump between sizes. Sanding through all the grits, results in a smoother finish than you can achieve with the sandpaper.
Disadvantages:
- They can’t be used underwater, so fine dust does tend to clog them up. Consequently they wear out quite quickly.
- They can leave scratch marks on your beads if you’re not careful. Rinse your bead between grits to get rid of any accumulated dust that may cause scratching.
- They’re not that easy to get hold of and are fairly expensive. I get mine from Firemountaingems.com.
These are okay to use if you don’t want to constantly have to hold your beads while sanding, but I still recommend finishing polymer clay with wet/dry sandpaper or the polishing cloths below.
finishing polymer clay with Polishing cloths
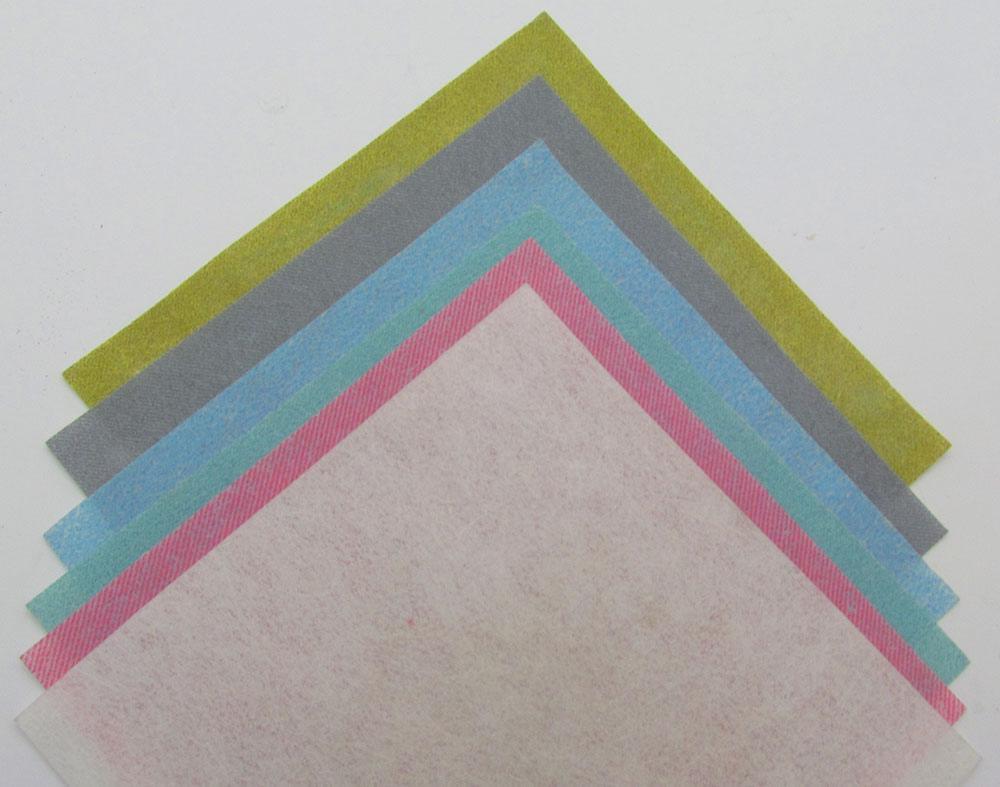
Polishing cloths are the best sanding material to get a super smooth surface before finishing polymer clay with a good buff.

Advantages:
- They are easy to use and very flexible. You can lay the paper flat on a folded cloth on your work surface and move your bead over it in a circular motion to sand it. Or you can hold the bead in your hand and sand it there. You can even wrap the polishing paper around your finger to sand beads.
- Polishing papers are less likely to sand away at your hands while you’re working.
- If you work through all the grits, they produce a higher shine compared to sandpaper or micro mesh pads. This means your buff with come out shinier too.
Disadvantages:
- They won’t get rid of fingerprints or scratches like wet/dry sandpaper. They’re best used after you’ve gone through the wet/dry sandpaper grits.
- They wear out quite quickly if you don’t sand your bead first, using either wet/dry sandpaper or micro mesh pads. If you do plan to use them without sanding first, you’ll find they last longer that micro mesh, but will wear out faster than the wet/dry sandpaper.
- They are not that easy to get hold of. UPDATE: I now stock them on JessamaDesign.
These are best used after you’ve gone through the wet/dry sandpaper grits. Polishing cloths are more for polishing that sanding (hence the name), but they produce a shine that neither sandpaper nor micro mesh pads can achieve. Still a must have in your polymer clay arsenal and my go to choice.
buffing Polymer Clay
Now that you've sanded your bead, it's time to buff or polish. Polishing polymer clay is a must do. It leaves a wonderful sheen on your bead and a silky texture. While sanding polymer clay can be a bit of a headache, buffing is really easy. There are basically two ways to do it:
- The first and simplest is hand buffing. Take a soft cloth, (cut up old denim works really well) and rub your bead up against it like mad. The goal is to produce friction. The faster you rub, the better the buff.
- The second is to use a motorized tool. You will never reach the same sheen by hand as you can achieve quite easily with the right tools. A Dremel or a Jool Tool are good options with a polymer clay buffing wheel attachment. You'll have to go through a bit of a learning curve to get the best buff possible, but it's worth it in the end if you're making lots of beads.
So whats my opinion on the matter? Hand buffing vs machine buffing, which is best? Personally, I prefer the machine. It's easy once you get past the learning curve. It's also much faster and produces better results. But, then again, hand buffing still goes a long way. Don't buy the machine unless you really need it. It's quite an investment.
in summary...
So in summary, here is what you need to know to get the best results from sanding and buffing polymer clay:
- Wet/dry sandpaper is inexpensive and readily available and can be used under water which reduces dust and the potential for scratches.
- But, it needs to be kept wet while sanding, it can clog up with dust quite easily and it is inflexible making the sanding process more taxing.
- It's best used for removing fingerprints and bumps.
- Micro mesh pads are flexible and easier to use. They also come in a wider range of grits.
- But, they are expensive, difficult to find, wear out easily and can leave scratch marks if you are not careful to clean the dust off of your beads regularly.
- They are best used for removing fingerprints and bumps.
- Polishing cloths are flexible and easy to use, gentle on your hands, and they produce a higher shine than sandpaper or micro mesh pads.
- But, they won't remove fingerprints or bumps and they wear out quite quickly if you don't use sandpaper or micro mesh pads first. They're also fairly expensive and difficult to find.
- They are best used to give your beads a final polish after sanding with either of the first two options.
- Buffing your bead after sanding is essential to finishing polymer clay properly.
- You can buff by hand or invest in a motorized tool. This is a really worthwhile investment if you are making a lot of beads.
Recommendations For finishing polymer clay
All in all I recommend using the wet/dry sandpaper and the polishing cloths for your sanding needs. They’re a great pair and get the job done no matter what bead you’re finishing. The micro mesh pads don't really add enough value to warrant the expense.
As far as buffing polymer clay goes, I love my Dremel, but it is a bit expensive if you aren't going to use it much. For me, it's a lifesaver, and was nowhere near as expensive as a Jool Tool. I would love to hear if you know of any other options. Let me know in the comments, and please like and share with your friends.
Again, sanding and buffing is only part of finishing polymer clay. For a full overview, see the rest of the articles listed below.


Please leave your comments below: