How To Dome Polymer Clay
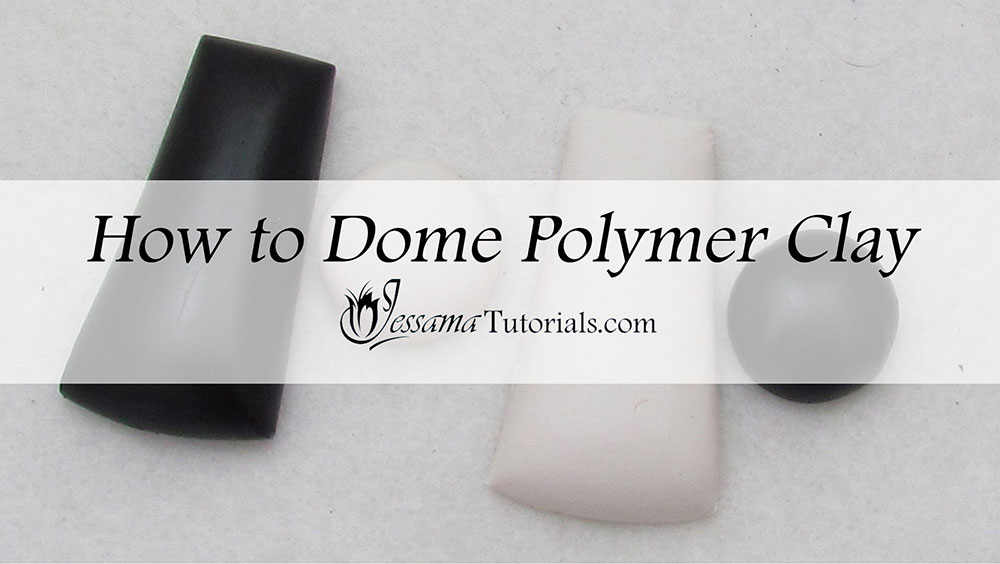
In this polymer clay tutorial, I'll be showing you how to dome polymer clay beads. Depending on your particular project, doming can add a new and interesting dimension to your work. It's a simple, but useful polymer clay technique that is worth adding to your repertoire.
Doming
polymer clay is easy once you’ve learned a few basic tips and tricks. There are
two ways of doing it. The first and more common method is done by using a
cutter. The other is with a template. I’ll be showing both of these methods in
the tutorial.
You will need the following supplies:
- A shape template
- A piece of thick plastic (I use ziploc bags torn at the seams)
- A cutter
- Polymer clay
- A craft knife
The first thing to keep in mind when doming polymer clay is how thick your polymer clay is. I like it fairly thick. Usually twice the thickest setting on my pasta machine. This will give you a better dome.
The thickness of your plastic also matters. The more layers the better. I like to use two layers.
The thicker the polymer clay and the thicker the plastic the more pronounced the doming effect will be. This applies to both methods.
How to Dome Polymer Clay Beads
First we will cover the cutter method.- You’ll need any type of cutter, your polymer clay and a plastic bag. I use sandwich bags.
- Take your sandwich bag and smooth it onto your polymer clay. The plastic will create the dome when you cut your bead.
- Press your cutter into the spot you want domed. As you press the cutter down, take care not to crease the plastic.
- Peel the plastic away to reveal your bead.
- No matter how careful you are, you will sometimes end up with a crease or two around the edges. Smooth these away with your fingers.
- Neaten up the edges, and there you have your domed polymer clay bead.
Now for the template method.
- Cut out the shape of your polymer clay bead using the template. Then get rid of the excess clay so that you only have the bead.
- Lay the plastic over the bead and then the place the template over that so that your bead is centered in the same shape that you used to cut the bead out.
- Press the template down until it lies flat on your work surface.
- The plastic will have created a dome. Lift up the template and peel away the plastic.
- Place the template back over the domed bead and cut out the bead again. The doming process can cause distortion.
- Neaten up the edges, and there you have your second domed polymer clay bead.
The only thing to look out for is the creases or wrinkles. The plastic can cause this and means that sometimes you’ll have to smooth the edges of your polymer clay beads to neaten them up.
If you still have questions, please leave a comment below.
You can like my Facebook page to stay up to date with more polymer clay tutorials like this one as they are released.


Please leave your comments below: