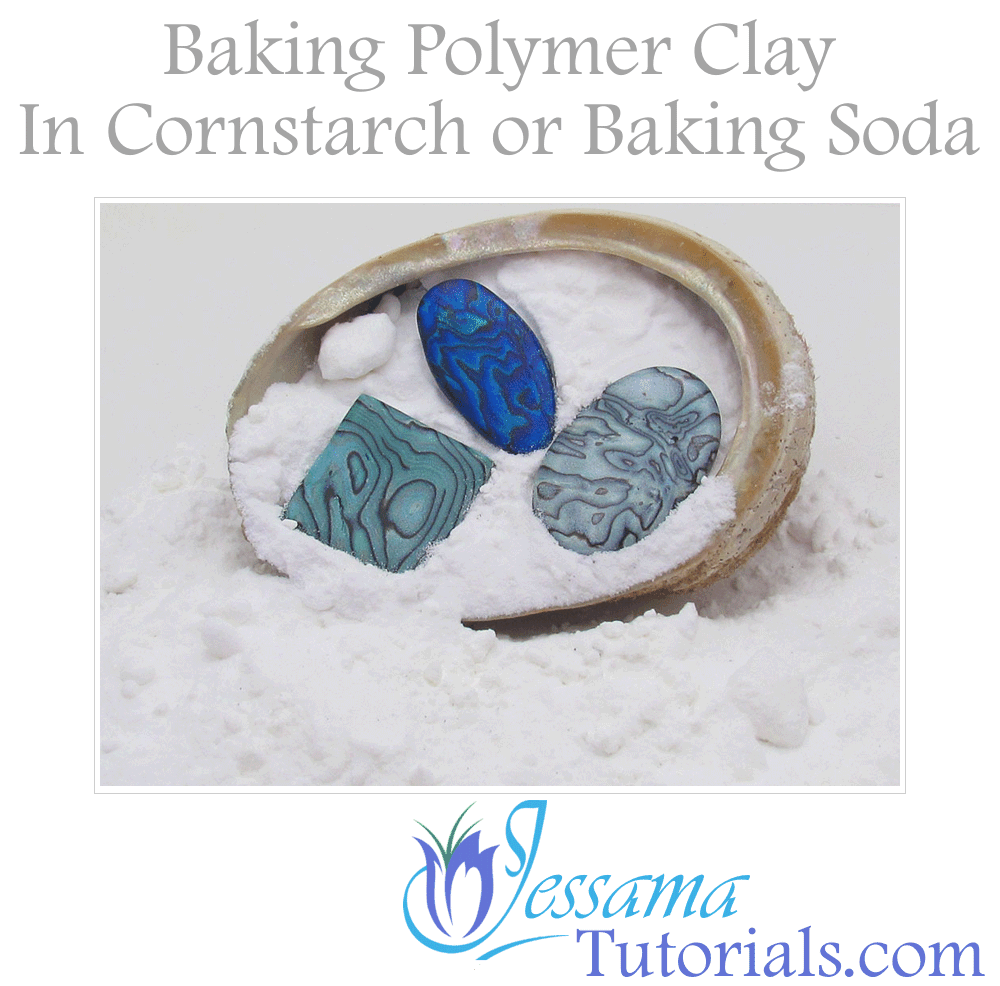
Baking Polymer Clay In Cornstarch or Baking Soda
Introduction
In this article I’ll talk about the ins and outs of baking
polymer clay in cornstarch or baking soda and things to look out for. I’ll also show
you a few alternatives that achieve the same results without as many hassles.
Baking in cornstarch or baking soda has long been recommended. These products protect the shape of your bead and prevent flat spots, stop your beads from rolling around, and, most importantly, help prevent burning.
Click here for a bullet point summary...
Baking polymer clay In Cornstarch
- Cornstarch is a great way to prevent your clay from burning. Simply bury your pieces in a bowl of cornstarch and they will be completely protected.
- It’s also an excellent way to maintain the shape of your polymer clay during baking. Round beads will come out completely round and won’t have any shiny spot on them. Sculptures can be gently buried in the cornstarch to prevent sagging.
- Some people use cornstarch to stop round
beads from rolling around during baking and sticking to each other.
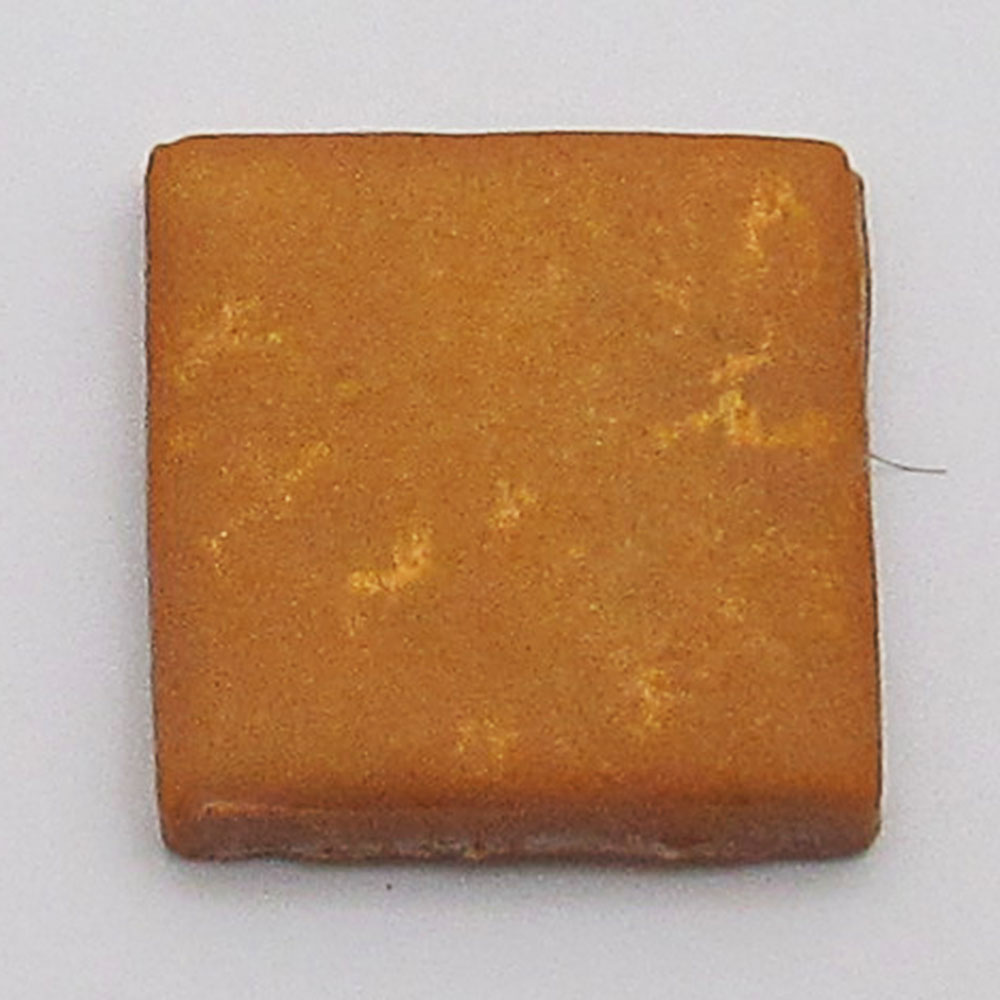 As you can see the cornstarch has eaten into the gold clay and has discolored the surface.
Cornstarch is a great product to have in your baking arsenal, but like anything else there are a few things to be aware of:
- The biggest problem with
cornstarch, is that it will leach your raw clay if you leave it on the
cornstarch
for too long. This makes your clay weak and easy to break. To avoid this problem, always try to
put your clay in the oven immediately after you place it in the
cornstarch. This will
prevent any leaching.
- During the baking process some of the cornstarch particles will get stuck to your clay. The softer and stickier your clay the more the particles will stick. The particles will also react with the moisture in your clay which affects the color of the top layer. Rinsing under running water and scrubbing with a toothbrush should get rid of the particles, but your beads will still need a good sand afterwards to remove that top discolored layer and the marks that the particles will have left on the clay.
 As you can see the cornstarch has eaten into the gold clay and has discolored the surface.
Baking polymer clay In baking soda
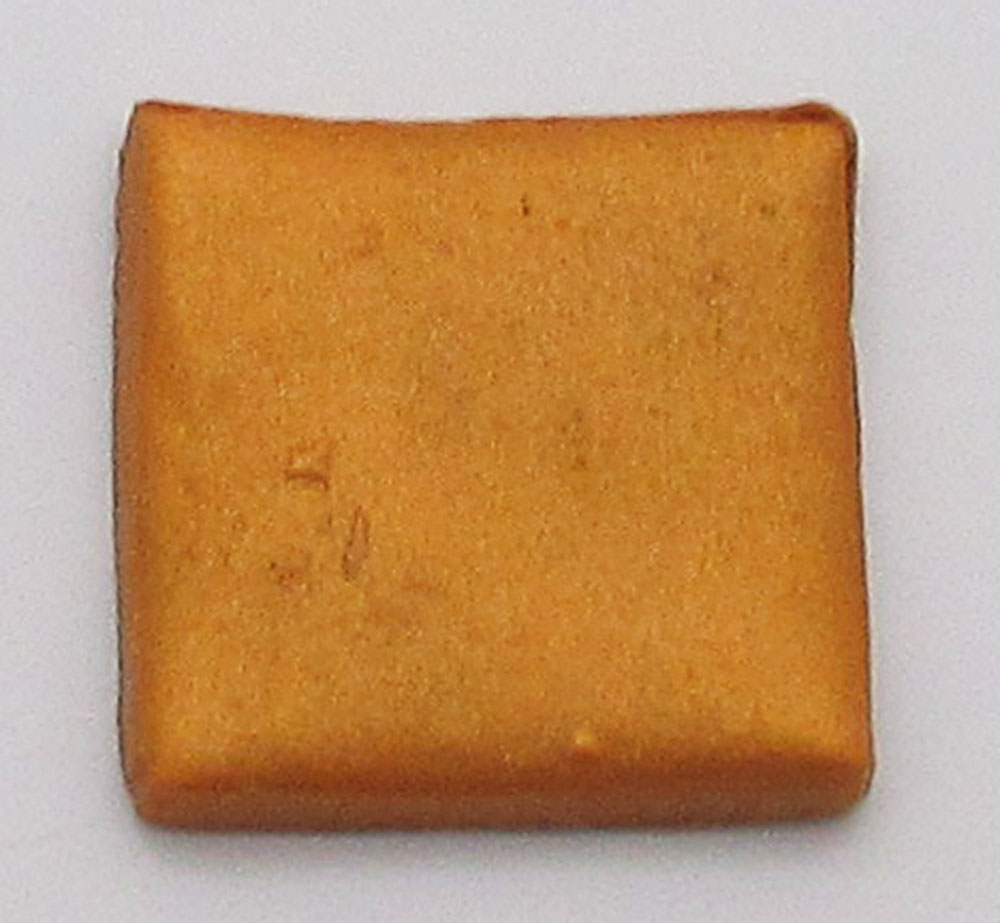 Unlike the cornstarch, the baking soda doesn't eat into polymer clay. It does however leave deeper marks on the surface of the clay that will need to be sanded off.
Baking soda basically does the exact same thing as cornstarch.
- It’s great at preventing burning.
- It helps beads stay in shape.
- It puts a stop to flat spots.
- It prevents beads rolling around and
sticking to each other.
As with cornstarch there are a few things to watch out for:
- Baking soda will also leach your polymer clay if it is left too long on the baking soda before baking.
- The baking soda particles will also stick to your clay.
But this is where the similarities end.
- The
biggest advantage of baking soda over cornstarch is the fact that
baking soda washes off so much more easily. It dissolves in running
water and you won't need to scrub it off. In addition it does not react with the clay the same way as cornstarch so there is less color shift.
- The biggest disadvantage is that the particles are larger. They will make deeper indents, and if you're not careful, nasty marks on your clay. You will have
to do quite a bit more sanding than you would have to with
cornstarch because of the larger particle size.
 Unlike the cornstarch, the baking soda doesn't eat into polymer clay. It does however leave deeper marks on the surface of the clay that will need to be sanded off.
Baking Soda or Cornstarch
As always there is no clear cut winner. Basically cornstarch is harder to remove from your clay after baking and your clay will need a good scrub. On the other hand baking soda particles are bigger and leave deeper and bigger marks in your clay, meaning more sanding. Also it's a bit more expensive.
On balance, I would go with the cornstarch. I'll take scrubbing with a toothbrush over sanding any day! However, I have developed an option or two of my own for baking polymer clay that avoid most of this fuss, so keep reading...
Alternative Methods For Baking Polymer Clay
First of all if you are baking sculptures, I recommend using cornstarch. Nothing beats a bed of cornstarch to prevent your sculpture from woeful drooping during baking.
However, if you are baking polymer clay beads, these alternative measures will give you all the benefits of cornstarch or baking soda with much less risk of leaching, no clean up hassles and with much less sanding.
Dimensional Beads:
Anything other than flat beads can be placed on a bed of tissue on a ceramic tile and covered with another layer of tissue. The tissue maintains the bead's shape, prevents flat spots, stops beads from rolling around and helps prevent burning. The big advantage is that it doesn't stick to the beads and leaves only very light marks which require minimal sanding.
Flat Beads:
Flat beads can be placed between two sheets of plain printer paper on a ceramic tile. The paper helps to prevent burning and stops those annoying, flat, shiny spots from developing on the back of your beads during baking. You can also add another tile on top to weigh the bead down, thereby ensuring that it bakes nice and flat. Weighing the bead down also reduces air bubbles. Again, nothing sticks to the beads and sanding required is minimal in comparison to that needed after using cornstarch or baking soda.
I tend to use one of these two alternatives rather than cornstarch whenever I can, simply because there is less clean up and less sanding and, therefore less time wasted. And besides, I hate sanding!
Make sure that you use plain paper. The ink from any lines or other marks on the paper will transfer to your clay during baking. Depending how deep the ink seeps into the clay, these lines can be a mission to remove. Better to just avoid them.
Make sure that you use plain paper. The ink from any lines or other marks on the paper will transfer to your clay during baking. Depending how deep the ink seeps into the clay, these lines can be a mission to remove. Better to just avoid them.
in summary...
So in summary, these are your best options for protecting your beads during baking:
- Cornstarch is great for protecting sculptures during baking. Just don't wait too long before baking or your clay will leach.
- Tissue beds are the best option for baking dimensional beads. There is no clean up, minimal sanding and all the advantages of cornstarch or baking powder.
- Use a tile and paper sandwich for flat beads. As above, all the advantages without the hassles.
- Baking soda will work if it's all you have, but be prepared for some major sanding.
Conclusion
I hope these tips have been helpful.
If they were please like and share with your friends.
Again, if I was going to recommend baking polymer clay in either cornstarch or baking soda, it would most definitely be the
cornstarch.
However, I do suggest that you only use it when you have to. The
sanding can be quite a lot of work and we all know how much polymer clayers love sanding!. Use alternatives whenever you can. If you have any problems let me know in the comments below. I'm happy to help.


Please leave your comments below: