How To Bake Polymer Clay
How Do I Bake Polymer Clay?
Everything you need to know about how to bake polymer clay from start to finish. It's one of the first basic things you will need to know about polymer clay. I'll show you how to bake perfect pieces first time, every time, to get the best results out of your polymer clay creation.
Click here for a bullet point summary...
All seasoned polymer clay artists will tell you, this simple
process can be fraught with the most unexpected, and frustrating
roadblocks. If you already know how to cook polymer clay but you still have questions or problems like air bubbles
or cracks please have a look at my article: Baking Polymer Clay - Questions
and Answers.
Problems start before you’ve even turned up the heat
Many of the problems associated with baking and finishing polymer clay can actually be avoided before the clay even goes in the oven. Here are a few things to look out for:
- Conditioning your clay properly is the first hurdle. Make sure that you are not introducing air as you pass it through your pasta machine. When you bake polymer clay, any air trapped in it expands and shows up as bubbles under the surface. If you see that air has crept into your raw clay, slit the bubbles with a sharp blade and gently smooth the clay down again. For more information on how to condition your polymer clay correctly, please have a look my tutorial: How to Condition Polymer Clay.
- Try to avoid using water or water-based products on your polymer clay. The water can get into the clay and turn to steam in the oven. This will cause cracks during baking. If you must use water or water-based products, wipe off as much as you can or allow plenty of time for the moisture to evaporate before baking.
- Focus on your polymer clay’s surface before you bake it. Finger
prints, scratches and dents should all be looked after before your clay goes into the oven. It takes an awful lot of sanding to get rid of these imperfections after your polymer clay is cured.
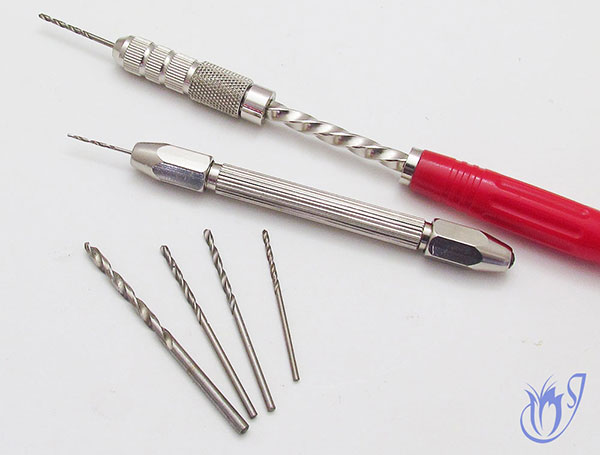
- Don't get into the habit of piercing holes in your raw polymer clay with a beading awl . While it's quick and easy, it just doesn’t give a professional look. The piercing process can introduce a lot of finger prints and distort your bead’s shape, making lots of extra work for you later on. You don’t need anything fancy to drill holes into baked polymer clay. I use a hand drill. It's not expensive and dead easy to use and it will save you a lot of work in the long run and give you a much cleaner finish.

Get to know your oven before you bake polymer clay
Before you
put any of your handiwork in to bake, make sure you’ve made friends with your
oven. It sounds funny, but not all ovens are created equal. Breaking your oven in, calming it down and understanding your oven's particular quirks will go a long way towards preventing frustration.
Please note that all of my experience comes from baking polymer clay in a toaster oven. I don’t know if these tips will work with other types of ovens, it’s worth a
try though.
I also
don’t recommend you use the oven where you cook your food to bake polymer clay. Polymer clay emits fumes and gases as it bakes which will get into your food if you use the same oven. Since it is basically a plastic, it's not good to eat!
Please note that all of my experience comes from baking polymer clay in a toaster
oven. I don’t know if these tips will work with other types of ovens,
it’s worth a
try though.
I also
don’t recommend you use the oven where you cook your food to bake
polymer clay. Polymer clay emits fumes and gases as it bakes which will
get into your food if you use the same oven. Since it is basically a
plastic, it's not good to eat!
- Breaking in your oven is a very important first step. It’s like when you get a new pair of shoes; they're only comfortable after you’ve worn them for a little while. The same goes for your oven. In the beginning it will be very unpredictable. Bake a small piece of left over clay in your oven for about an hour each day for a week or two. This initial usage should be enough to loosen up your oven and make it more stable.
- Always keep as much metal as you can out of the oven. Metal causes unpredictable temperature spiking. (Rapidly rising and falling temperatures.)
- Put the biggest tile you can fit into your oven on your oven shelf. The ceramic absorbs a lot of the direct heat from the elements. This helps to keep the temperature stable and prevents spiking.
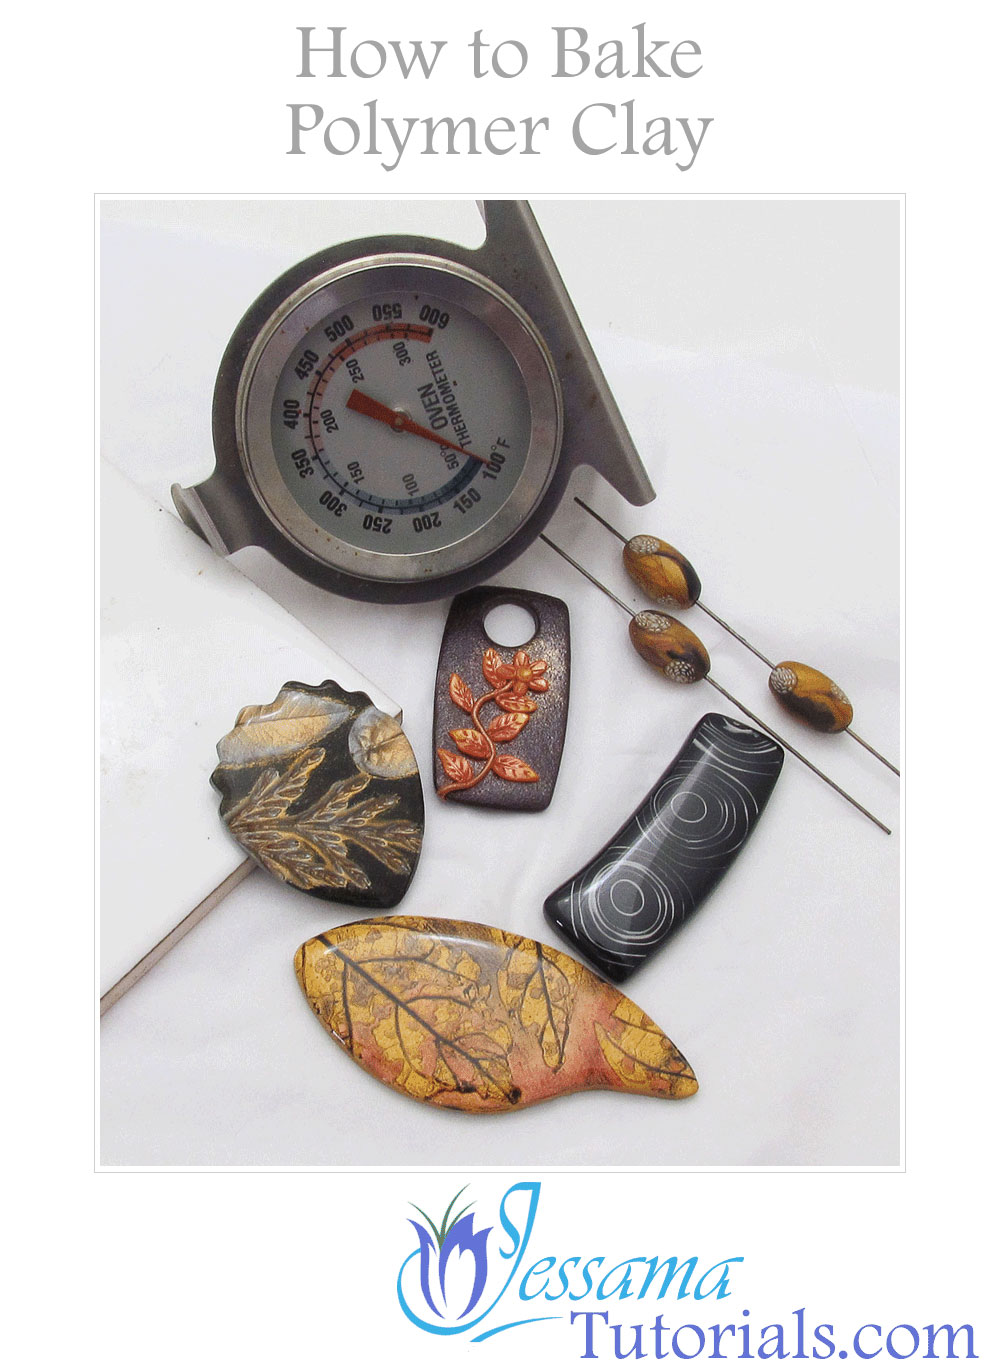
- Always keep a thermometer inside the oven to monitor the actual temperature. The thermometer built into your oven isn’t accurate enough and the temperature on your dial will never match the exact temperature inside the oven.
After a while, with some trial and error, you should be able to find the settings on your particular oven that work well for baking polymer clay and you shouldn't need to fiddle with them too much from one bake to the next.
How to bake polymer clay without mumps, bumps and burning
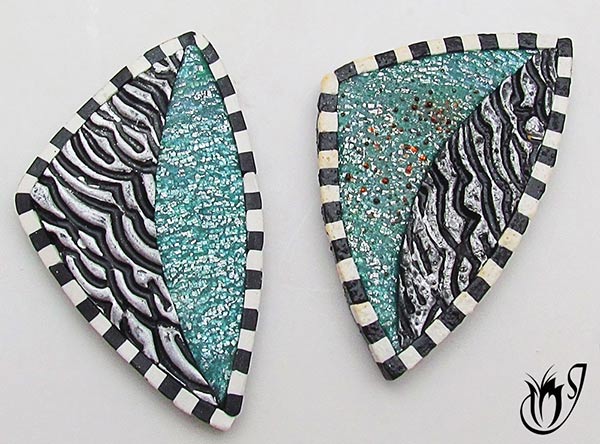 The bead on the left is unscorched, however you can see brown bubbles on the bead on the right. This is due to scorching.
Most
toaster ovens will have open elements that send direct heat onto your polymer
clay. Even if your temperature is spot on, your beads can still come out of the
oven scorched. And no matter how carefully you condition and handle your clay, the odd air bubble here and there is inevitable. Now that you have gotten your oven to co-operate follow these steps to make sure that your clay plays along.
 The bead on the left is unscorched, however you can see brown bubbles on the bead on the right. This is due to scorching.
Tips and Tricks for Perfect Baking:
- Always bake polymer clay at the temperature recommended on the packet. If you are mixing two brands of clay in one project use the mid-point between the temperatures recommended for each brand.
- Bake polymer clay for at least 35 minutes. An hour is better. Baking polymer clay for longer makes it stronger, however, don't forget to take into account the stages in your creating. If your bead will need to be baked more than once throughout the creation process, baking for 35 minutes a time should be sufficient.
A good way to test if you are baking your clay for long enough, and at the right temperature, is to put a test chip in the oven with your finished piece. When your baking time is up, remove the test chip and bend it. If it is flexible, you know that you have baked your piece for long enough. If it snaps, put it back in the oven with your finished piece for another half an hour, and retest. You may also need to adjust your temperature.
A good way to test if you are baking your clay for long enough, and at the right temperature, is to put a test chip in the oven with your finished piece. When your baking time is up, remove the test chip and bend it. If it is flexible, you know that you have baked your piece for long enough. If it snaps, put it back in the oven with your finished piece for another half an hour, and retest. You may also need to adjust your temperature.
- Make sure that your baking shelf is in the middle of your oven or as
close as you can get it. If you have to choose put it closer to the
bottom, because your tile will offer some protection.
- Always bake your polymer clay beads on a piece of plain paper on top of the tile on the shelf in your oven. Don't use a metal or foil tray! The tile helps to regulate the oven's temperature. The paper prevents scorching and flat shiny spots.
Always use plain paper. The ink from lined paper can seep into your clay!
Always use plain paper. The ink from lined paper can seep into your clay!
- Never, ever bake polymer clay beads upside
down. Your baking surface absorbs the heat from the metal of the oven shelf and may scorch
your clay. Placing your beads on paper protects your beads to some
degree but don't take chances. Bake so that your pattern is facing up
and the back of your bead is facing down. A lightly scorched back is
much easier to fix.
- If you have flat beads, cover the top
with another sheet of plain printing paper and then a second tile.
The paper dulls the effect of the heating element and the tile weights
your bead down and helps to soften the effect of air bubbles.
- Dimensional
beads can be placed on a bed of soft tissue on top of your tile. The tissue protects from scorching, prevents flat spots and stops your beads from rolling around. I prefer this method to using a beading rack because commercially made beading racks are made of metal. To
protect the top you can either cover the beads with more tissue or tent them
with cardboard. The tent shields your beads without touching them.
Many people use a foil tray to tent their beads, however I do not recommend this. The more metal you put in your oven, the more likely the temperature is to spike.
Many people use a foil tray to tent their beads, however I do not recommend this. The more metal you put in your oven, the more likely the temperature is to spike.
- Be especially careful to protect white or translucent clay.
- Don't
wait too long after placing your polymer clay on paper or tissues
before you bake it. The paper will absorb the plasticizers from the clay
making it brittle and susceptible to cracking.
What to do after you bake polymer clay
To get the
best out of your baked polymer clay you should always take plenty of time after
baking to sand and varnish.
Sanding will get off any marks and smudges you may have
missed and will give your polymer clay a professional look.
I have an article on how to sand and clean beads properly after
baking and what sanding tools to use if you’d like some help with deciding what
to use.
Don’t sand beads with surface effects like paint, pastels, pastes etc. The sanding will remove some of the top layer.
Don’t sand beads with surface effects like paint, pastels, pastes etc. The sanding will remove some of the top layer.
After sanding you need to seal your creations. Which sealant you use will depend on what, if anything, you have used on your clay as a surface effect, and how much shine you want to add.
Deciding what sealant to use with
your project can be daunting, but don’t worry, I have an article that explains all about sealing polymer clay, so do check it out.
in summary...
Here are the basic steps you need to follow to minimize problems when you bake polymer clay:
- Take care to condition your clay properly to minimize air bubbles.
- Avoid or minimize the use of water in preparing your beads to minimize cracking.
- Clean up the surface of your clay as much as you can before you bake it to reduce your workload after baking.
- Drill your holes after baking instead of piercing the raw clay.
- Break in your oven before you use it to bake your handiwork.
- Minimize metal in your oven.
- Always bake polymer clay with a large ceramic tile on your oven shelf.
- Monitor your oven temperature using an oven thermometer. The built in thermostat can be unreliable.
- Bake polymer clay at the temperature recommended on the packet.
- Bake for at least 35 minutes. An hour is better.
- Make sure that your baking shelf is as close to the center of your oven as possible.
- Bake on a sheet of plain paper or a bed of tissues on top of your ceramic tile. Never use a metal or foil tray.
- Bake your beads face up, never face-down.
- Protect your polymer clay beads from scorching by covering with another sheet of plain paper, tissue or a cardboard tent.
- Don't wait too long after placing on paper to bake polymer clay. The paper will leach the plasticizers out of the clay making it brittle.
- Take plenty of time after baking to properly sand and seal your clay.
Baking polymer clay is easy
If you follow the steps outlined above you should see an end to your baking woes, and be pleasantly surprised by how easily you can turn out perfectly baked polymer clay pieces time after time.
However, if you have questions about what your polymer clay is
doing during and after baking, please have a look at my article: Baking Polymer Clay - Questions and Answers. You should find a solution to your problem
there. If you are still struggling, let me know in the comments below. I'm always happy to help.
In the meantime, happy claying and please remember to like and share!



Please leave your comments below: